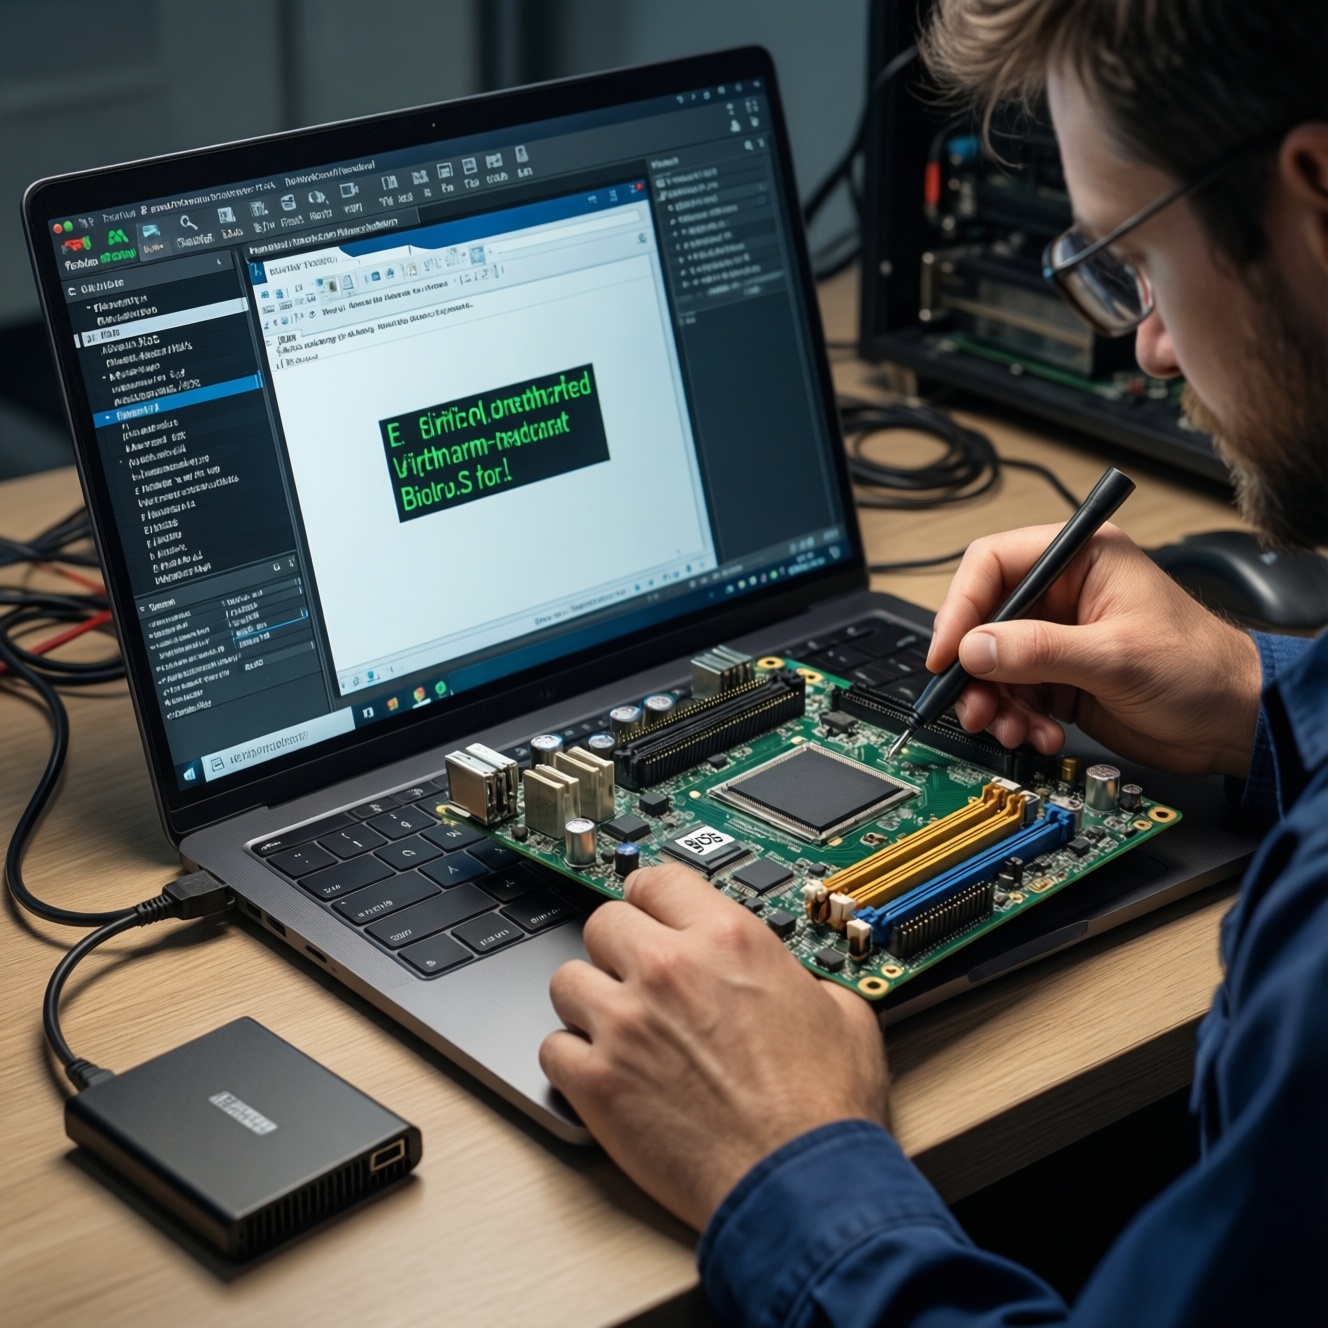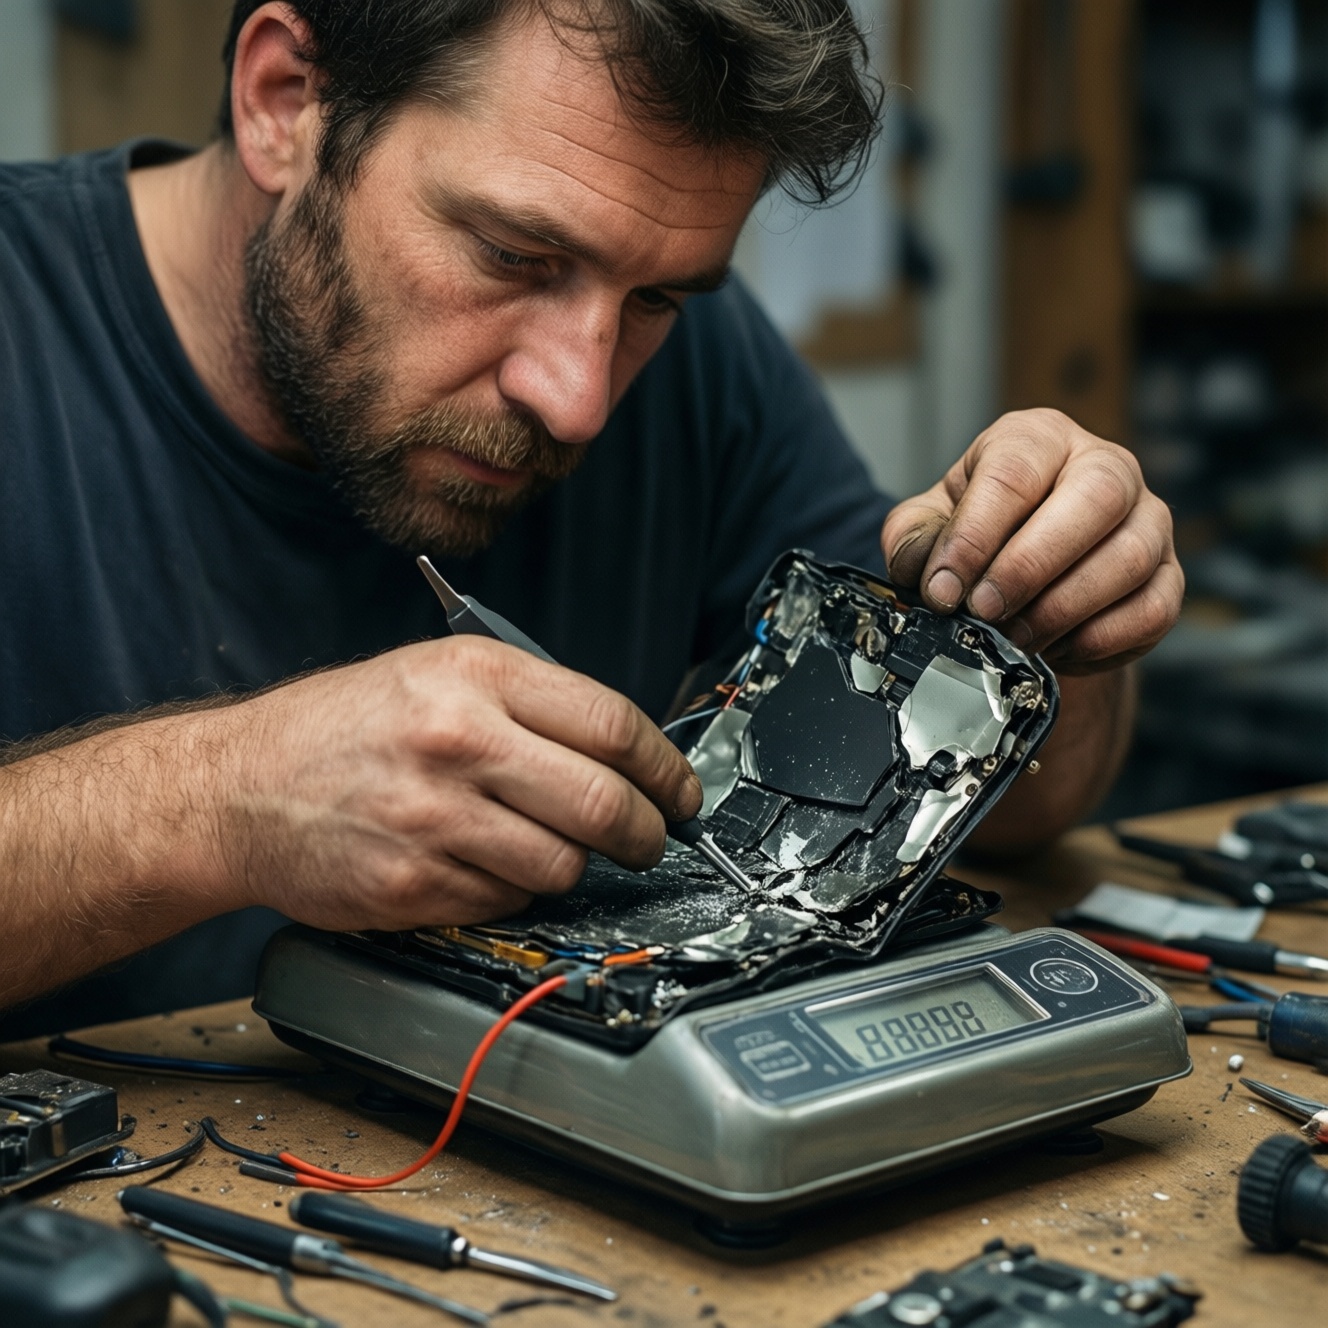
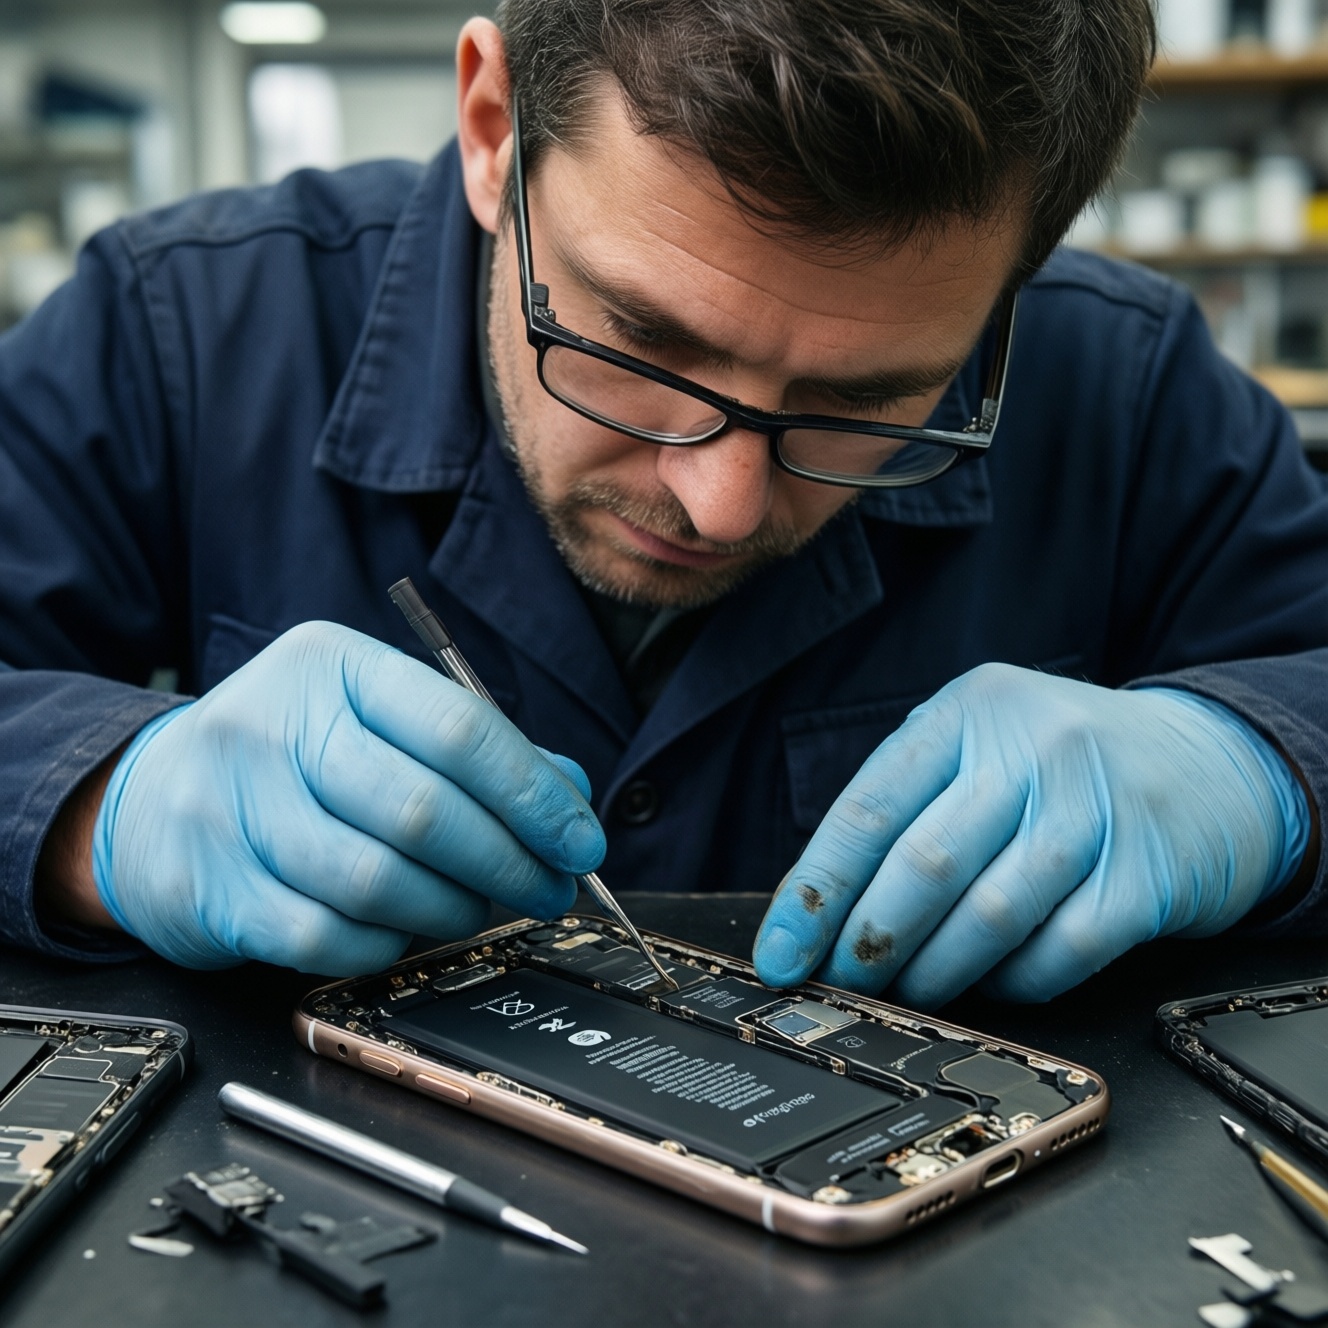
To revive a smartphone battery safely, first confirm whether rapid drain comes from battery wear, software, heat, charging accessories, or physical damage. Check battery health, inspect for swelling, back up your data, and avoid opening a damaged battery. If capacity or runtime is clearly degraded, use a qualified technician for เปลี่ยนแบตเตอรี่สมาร์ทโฟน rather than forcing a risky DIY repair.
Essential Battery Diagnostics at a Glance
- Inspect the phone for swelling, lifted panels, unusual heat, smoke, smell, or leakage before testing.
- Use the built-in iOS or Android battery screen to เช็กสุขภาพแบตเตอรี่โทรศัพท์ and identify abnormal app or charging activity.
- Compare battery behavior during light use, heavy use, standby, and charging instead of relying on one percentage reading.
- Back up data and power the phone down before any repair attempt.
- Stop immediately if the battery is punctured, swollen, hot, smoking, or difficult to remove.
- Choose a reputable service provider when the phone uses strong adhesive, a sealed frame, or a damaged battery.
Interpreting Battery Health Metrics and What They Mean
This procedure suits users who need to distinguish normal aging from a software problem before arranging service. It is not suitable for a phone with a swollen, leaking, smoking, or physically damaged battery; do not press, puncture, bend, freeze, or continue charging such a device.
Read the available health indicators
- iPhone: Open Settings, Battery, then Battery Health or Battery Health & Charging. Review maximum capacity, performance messages, and service recommendations.
- Android: Open Settings, Battery, and any Battery Health, Diagnostics, Device Care, or Support menu provided by the manufacturer. Menu names differ by model and software version.
- Usage pattern: Check which apps consume power, whether mobile signal is weak, and whether background activity or high screen brightness explains the drain.
Interpret the result cautiously
A lower capacity generally means shorter runtime, but a health percentage is not a complete diagnosis. Sudden shutdowns, abnormal heat, charging interruptions, or rapid drops from a high percentage require inspection of the charger, software, connector, and battery condition.
Practical Tests to Verify Capacity, Voltage, and Internal Resistance
Use built-in diagnostics first. Advanced electrical tests require suitable equipment and experience because a lithium-ion cell can short-circuit or ignite when handled incorrectly.
What you may need
- The original or a reputable compatible charger and cable.
- A cool, dry, well-lit workspace away from metal objects and flammable materials.
- A backup destination and the phone's account credentials for post-repair testing.
- Manufacturer diagnostics or a trusted service diagnostic tool.
- A multimeter, USB power meter, or battery analyzer only if you understand the device limits and safe connection method.
- Eye protection and nonconductive tools for inspection; never use sharp metal tools near a cell.
Use non-invasive verification first
- Record the baseline. Note the battery percentage, temperature if shown, charger, cable, network conditions, and active apps.
- Observe charging. Confirm that the connector fits firmly and that charging does not stop, become unusually hot, or cause swelling.
- Compare controlled use. Test a short period of light use, then standby. Excessive drain only during gaming, navigation, camera use, or weak-signal conditions may not prove battery failure.
- Review shutdown behavior. Record unexpected restarts, sudden percentage changes, or shutdowns while the displayed charge is still substantial.
Do not connect a bare lithium-ion cell directly to a power supply to estimate capacity. Do not measure a swollen or damaged cell with a multimeter. Voltage alone cannot confirm usable capacity or internal resistance.
Identifying Software Versus Hardware Battery Issues
Follow these steps before deciding whether แบตเตอรี่โทรศัพท์เสื่อมทำอย่างไร should mean a battery replacement or a software correction.
-
Check recent changes.
Review recently installed apps, system updates, location access, hotspot use, high brightness, and weak mobile signal. Remove or restrict only clearly unnecessary background activity.
-
Restart and update safely.
Restart the phone and install pending system updates from the manufacturer when the device is stable and adequately charged. Avoid unofficial firmware tools while diagnosing power faults.
-
Inspect charging equipment.
Try a known-good compatible charger and cable. Examine the port for lint or corrosion, but do not scrape contacts with metal or force debris deeper into the connector.
-
Test in a reduced software state.
On Android, use Safe Mode if supported to compare battery behavior without third-party apps. On iOS, review Battery usage and system recommendations because the platform does not provide the same Safe Mode workflow.
-
Check for physical symptoms.
Look for a lifted screen or back cover, gaps in the frame, smell, leakage, repeated overheating, or a battery that moves inside the device.
- If any symptom appears, stop charging and stop testing.
- Place the phone away from heat and combustible materials without pressing on it.
- Arrange assessment by an authorized or suitably qualified repair service.
-
Make the decision.
Choose service when controlled testing shows poor runtime, unexpected shutdowns, charging instability, or physical deterioration after software and accessory checks have been completed.
Safe Procedures for Preparing a Smartphone for Battery Replacement
Before arranging เปลี่ยนแบตเตอรี่สมาร์ทโฟน or opening the phone, use this preparation checklist:
- Back up photos, contacts, messages, authenticator data, and important files.
- Confirm the exact phone model and battery part compatibility.
- Record the phone's condition, including screen, cameras, buttons, and biometric functions.
- Remove the SIM card and memory card when practical.
- Disable device tracking or activation locks only according to the service provider's instructions.
- Power the phone down; do not begin with a connected charger.
- Let a hot phone cool naturally before handling it.
- Do not attempt removal if the battery is swollen, leaking, smoking, or firmly stuck.
- Ask the technician about data privacy, replacement-part quality, warranty, and disposal of the old battery.
Step-by-Step Battery Replacement with Risk Mitigation
Battery replacement in sealed smartphones can involve adhesive, fragile display cables, water-resistant seals, and cells positioned beneath sensitive components. A professional repair is the safer route when you lack model-specific tools or experience.
Risks and limits before starting
- Stop if the battery is swollen, hot, leaking, smoking, or damaged.
- Do not use excessive heat; it can damage the battery, display, cameras, or frame.
- Do not insert a sharp tool into the battery or bend the cell.
- Disconnect the battery before manipulating nearby components when the model's repair procedure allows it.
- Assume water resistance may be reduced after opening the phone unless the seal is correctly replaced and tested.
- Confirm the model-specific procedure. Obtain a repair guide or service documentation for the exact model. Do not substitute instructions from a similar-looking phone.
- Prepare an organized workspace. Use a clean, dry, nonconductive surface and keep screws separated by position. Disconnect chargers and remove nearby metal objects.
- Open without force. Warm adhesive only within the limits specified for the model and use plastic opening tools. Stop when resistance suggests a cable, shield, or battery is underneath.
- Disconnect power. Once accessible, disconnect the battery connector before removing other components where the design permits. Avoid shorting exposed contacts.
- Release the battery carefully. Pull only manufacturer-designed adhesive tabs or use the specified method. Never lever directly against the cell, puncture it, or fold it.
- Install the compatible replacement. Check the connector, insulation, seating, and routing before applying adhesive. Do not use a damaged, swollen, or unknown battery.
- Test before sealing. Reconnect the battery and check charging, display, touch, cameras, speakers, microphone, buttons, cellular connection, and biometric functions as appropriate.
- Reassemble and document. Replace adhesive and seals intended for the model, then record the part source and repair date. Do not claim water resistance without appropriate testing.
Frequent errors to avoid
- Working while the phone is charging.
- Mixing screws or installing a screw in the wrong hole.
- Pulling display or fingerprint cables during opening.
- Using metal tweezers on exposed battery contacts.
- Applying heat directly and continuously to the battery.
- Reusing torn adhesive or damaged seals.
- Testing with a battery that has an unknown origin or incorrect connector.
- Discarding the old battery in household waste.
Post‑Replacement Validation and Long-Term Care Tips
Validate the repair
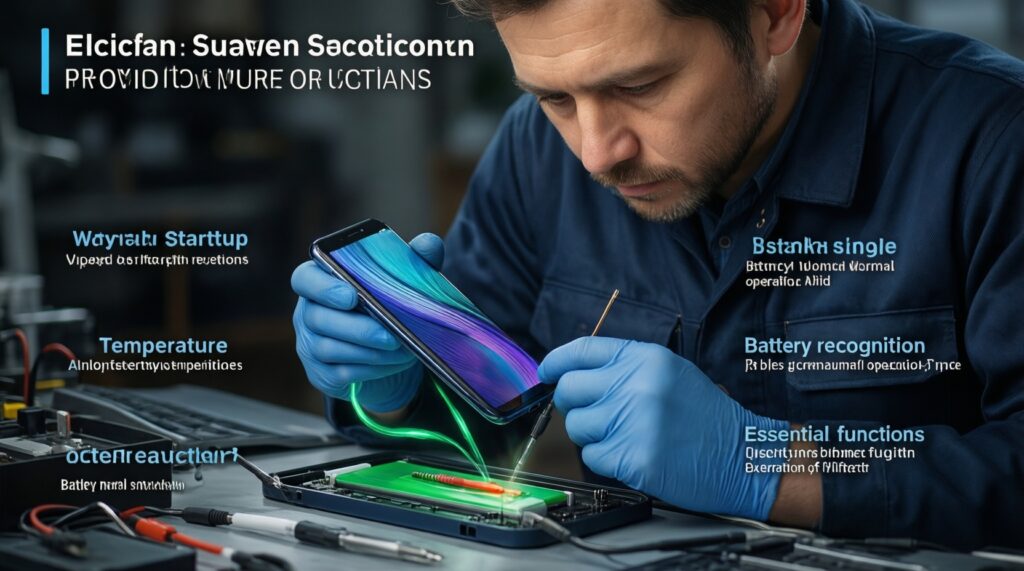
- Confirm that the phone starts normally and recognizes the battery.
- Check charging with a compatible charger and cable.
- Watch for unusual heat, smell, swelling, percentage jumps, or repeated restarts.
- Test essential functions affected by opening the device.
- Review battery usage after normal use rather than judging the repair from one short session.
Safer alternatives when DIY repair is unsuitable
- Authorized service center: Best when the phone is under warranty, water resistance matters, or biometric and display calibration may be required.
- Reputable independent technician: Suitable when the provider identifies the exact model, explains the part and warranty, and follows safe battery handling.
- Replacement phone: Consider this when the device also has display, charging-port, frame, or software problems and the combined repair is not practical.
- Temporary power management: Use lower brightness, restrict background activity, and carry a safe power bank only while arranging repair; do not use this to ignore swelling or overheating.
When searching for ร้านเปลี่ยนแบตมือถือใกล้ฉัน, verify the technician's battery disposal process, part warranty, data policy, and whether the service tests the phone before and after replacement. For ราคาเปลี่ยนแบตเตอรี่โทรศัพท์, request a written total that identifies the part, labor, seals, warranty, and any diagnostic charge.
Common Concerns About Battery Safety and Performance
Can a battery health reading alone prove that replacement is necessary?
No. Combine the reading with runtime, shutdown behavior, temperature, charging stability, and physical inspection. A software or accessory problem can imitate battery wear.
Should I keep charging a phone that has a lifted screen?
No. A lifted screen or back cover may indicate swelling. Stop charging, avoid pressure, and seek qualified inspection.
Is it safe to replace a smartphone battery at home?
Only when the exact model procedure, tools, and safety controls are understood. Sealed phones and damaged batteries should be handled by a qualified technician.
Does replacing the battery restore water resistance?
Not automatically. Opening the phone can compromise seals, and proper replacement does not guarantee factory-level water resistance without suitable testing.
Why does a new battery still drain quickly?
Check background apps, signal strength, screen use, charging accessories, system indexing, and battery-part quality. Persistent heat, shutdowns, or swelling require service.
What should I do with the old battery?
Keep it away from heat and metal objects, do not puncture or crush it, and take it to a battery or electronics recycling point that accepts lithium-ion cells.