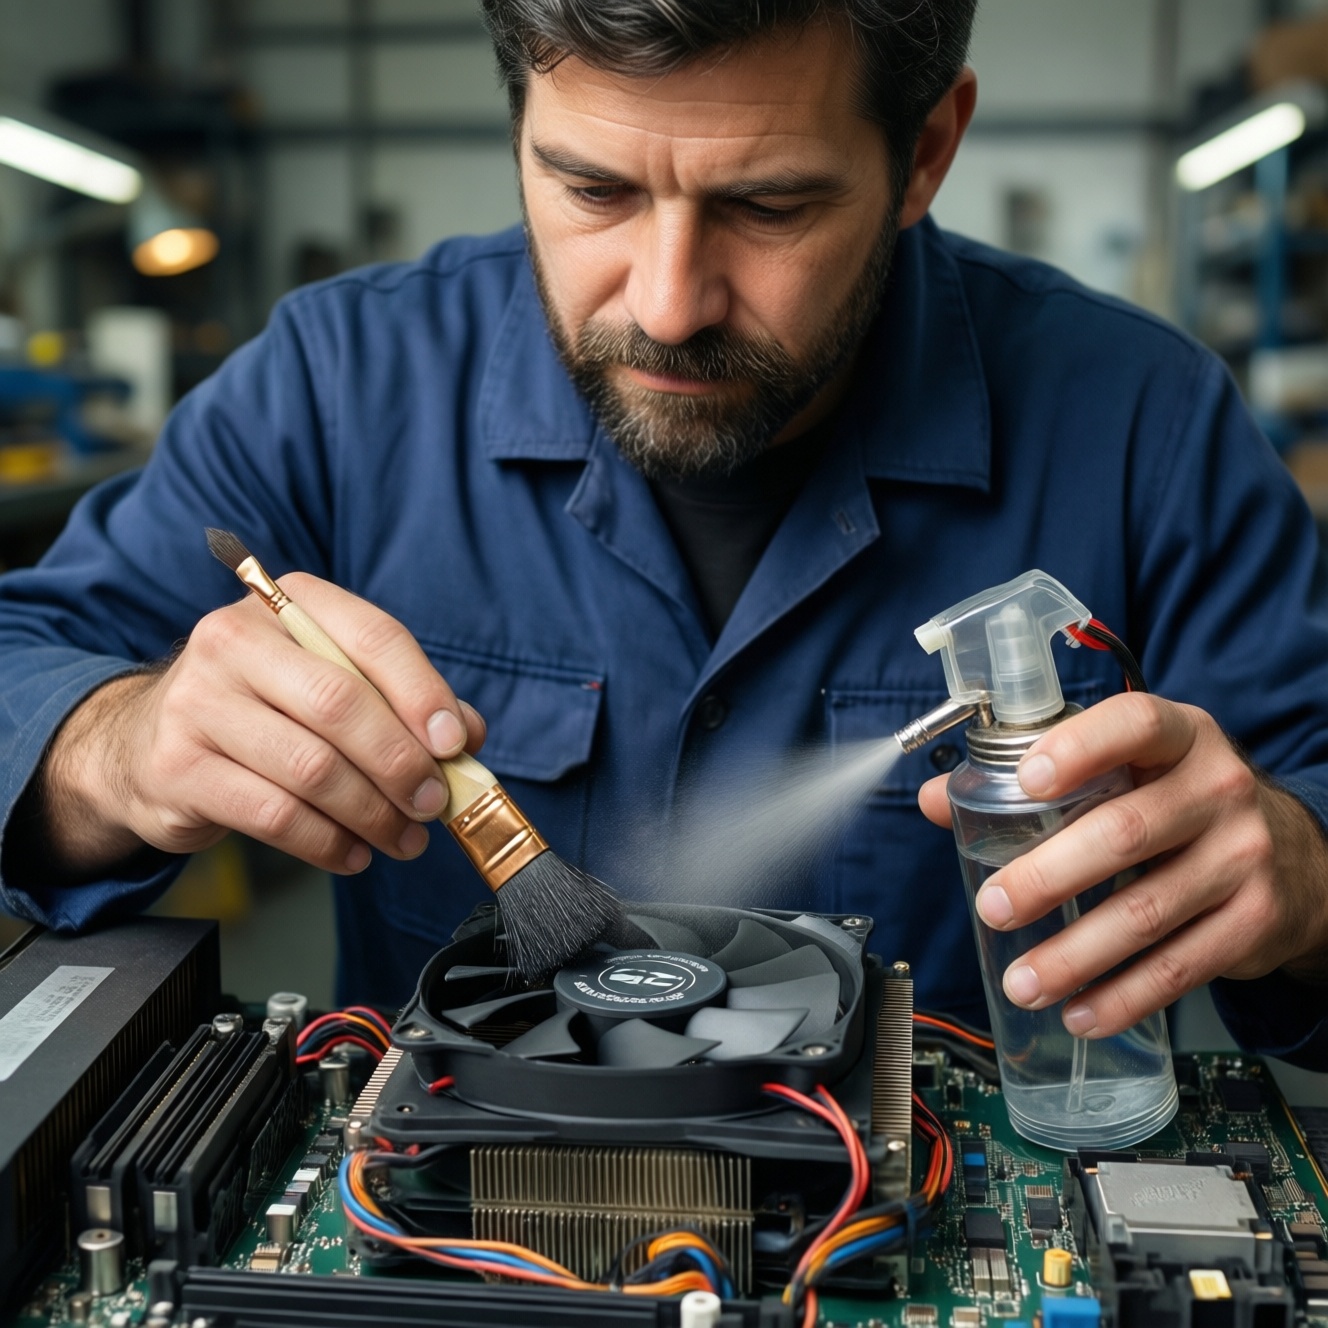
To clean a PC fan and heatsink without damage, power down fully, control static electricity, immobilize the fan blades, and remove dust with a soft anti-static brush plus short bursts of compressed air. Only repaste the CPU when the heatsink is removed or the paste is clearly compromised. Reassemble carefully, then verify temps and noise.
Critical precautions before you start
- Disconnect all power (AC adapter and battery where possible) and let components cool before touching the heatsink area.
- Prevent overspin: always hold fan blades still when using สเปรย์ลมทำความสะอาดคอมพิวเตอร์ to avoid bearing damage and back-EMF into the fan header.
- Use ESD controls: at minimum, work on a non-carpet surface and touch grounded metal often; ideally use an anti-static wrist strap.
- Avoid liquids near the motherboard; use only high-purity isopropyl alcohol for thermal paste work, applied to a cloth/swab (never poured).
- Stop if you see corrosion, burnt smell, swollen battery, or broken fan wires; cleaning won't fix these and can make them worse.
Why proper fan and heatsink cleaning preserves performance and avoids damage
Dust buildup blocks airflow through heatsink fins and forces fans to run harder, increasing noise and heat. Safe cleaning restores airflow while minimizing risks like snapped fan blades, damaged bearings, stripped screws, torn thermal pads, or ESD-related faults.
- Good fit: Desktop PCs, gaming laptops, mini PCs, and consoles where you can access vents/fans without prying glued parts.
- Do not DIY (or stop early): Devices under warranty seals you must break, ultrabooks with glued batteries, liquid-cooled systems you're not trained to service, or anything with visible liquid damage.
- Rule of thumb: If you can't access the fan without forcing plastic clips, do external vent cleaning only and consider professional service.
Essential tools, consumables and PPE for safe cleaning
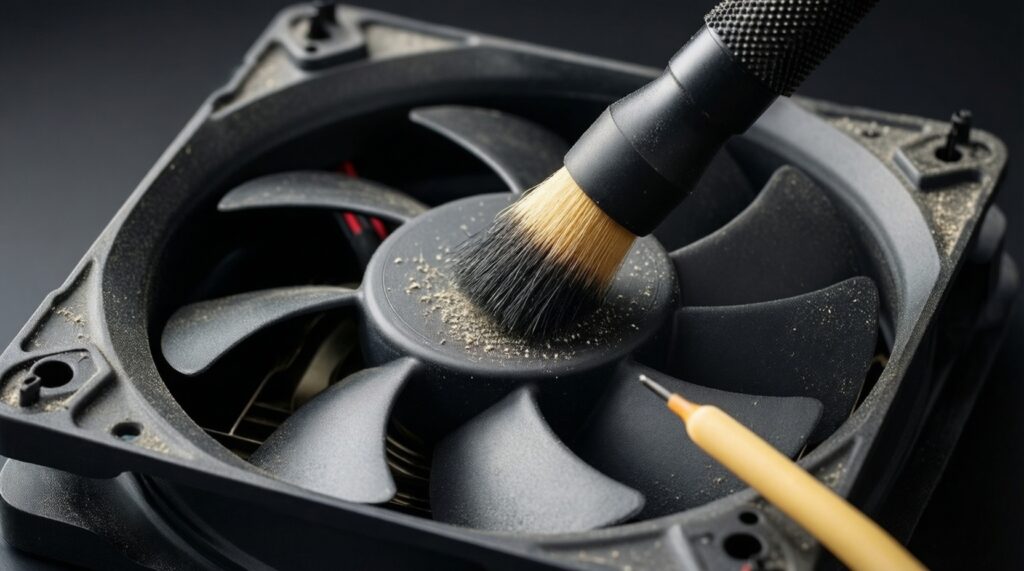
Choose tools that remove dust without generating static, overspin, or moisture. A ready ชุดทำความสะอาดพัดลมคอมพิวเตอร์ is convenient, but you can assemble equivalents.
Tools and consumables checklist
- Precision screwdrivers (Phillips/JIS for laptops; Phillips/Torx for desktops depending on model)
- Plastic pry tool/spudger (for laptop bottom covers; avoid metal where possible)
- แปรงทำความสะอาดคอมพิวเตอร์กันไฟฟ้าสถิต (soft bristles; small head for fins)
- สเปรย์ลมทำความสะอาดคอมพิวเตอร์ (compressed air) or an ESD-safe electric air duster (preferred for frequent use)
- Microfiber cloths and lint-free wipes
- Isopropyl alcohol (high purity) for paste cleanup
- Thermal paste (only if repasting); if you plan ahead, ซื้อซิลิโคนซีพียู from a reputable brand and source
- Optional but helpful: tweezers, flashlight/headlamp, small container for screws, painter's tape for labeling connectors
- PPE: dust mask if you're sensitive to dust; safety glasses if using compressed air close-up
Quick fix when dust feels oily or sticky
- If dust is sticky/greasy, don't keep blasting air-switch to brushing and careful wipe-down, because wet/greasy dust can redeposit deeper into fins.
Preparing the device: shutdown, disassembly boundaries and ESD controls
- ESD shock to components: Most likely when you're tired, rushing, or working on carpet-use a stable table and consistent grounding.
- Fan header and cable damage: Pulling cables by wires (not the connector) can break crimp pins or rip pads.
- Heatsink/paste complications: Once you lift a heatsink, you should plan to clean and reapply paste; partial re-seating often causes hotspots.
- Screw stripping and plastic clip cracks: Wrong bit size or prying in the wrong spot turns a cleaning job into a repair.
-
Do a controlled shutdown and isolate power
Shut down the OS (no sleep/hibernate), unplug AC, and disconnect peripherals. For laptops, disable internal battery in BIOS if available or disconnect the battery after opening.
- Press the power button for several seconds after disconnecting power to help discharge residual charge.
-
Document the starting state
Take clear photos of cable routing, fan connectors, and screw locations. This prevents pinched cables and incorrect screw lengths during reassembly.
-
Set ESD controls before touching internals
Work on a hard surface, touch grounded metal frequently, and avoid wool/synthetic clothing. If you have a wrist strap, clip it to a grounded chassis point.
-
Define your disassembly boundary
Decide upfront whether you are doing external vent cleaning, fan-only access, or full heatsink removal. Don't escalate mid-way unless you already have thermal paste and cleaning supplies ready.
- If you will remove the heatsink, ensure you also have alcohol and wipes for paste removal.
-
Open the device safely
Use the correct screwdriver bit and steady downward pressure. Use a plastic pry tool for clips; never force a panel that's still held by a hidden screw.
-
Disconnect fan power before deep cleaning
If you can access the fan connector, unplug it by gripping the connector body (not the wires). This reduces the chance of back-EMF or accidental spinning while connected.
Step-by-step fan cleaning: brush, compressed air and bearing care
- Immobilize the fan blades Hold the blades with a finger or a non-conductive tool so they cannot spin freely.
- Brush loose dust first Use an anti-static brush to break up dust mats around the hub and frame, especially where air enters/exits.
- Use compressed air in short bursts Aim air at an angle through the fan frame and surrounding vents; keep the can upright to avoid propellant spray.
- Clean intake/exhaust paths Dust often accumulates on mesh filters and vent grilles; clean these so the fan isn't forced to fight restriction.
- Bearing care (only if designed for it) Only add a tiny amount of suitable oil if the fan has a serviceable bearing under a removable sticker/cap; otherwise, don't lubricate-replace the fan if noisy.
Result verification checklist (fan)
- Fan blades spin freely by hand without scraping.
- No visible dust mats on the hub, frame corners, or vent openings.
- Fan cable is not rubbing the blades and is routed as in your photos.
- Fan connector is fully seated; no bent pins.
- No propellant residue or moisture is visible anywhere near the fan or board.
- All filters/meshes are clean and fully dry before reinstalling.
- Nothing loose is left inside the chassis (screws, swabs, plastic bits).
Quick fix if a ticking noise appears after cleaning
- If the fan makes a new ticking sound after cleaning, stop and re-check for a cable touching the blades or a cracked blade edge.
Heatsink maintenance: dust removal, fin cleaning and when to replace thermal compound
Heatsink fins clog easily and can look clean from the outside while being blocked internally. Clean from both directions when possible, and avoid bending fins. Replace thermal paste only when the heatsink is removed or when symptoms suggest poor contact.
Common mistakes that cause damage or worse cooling
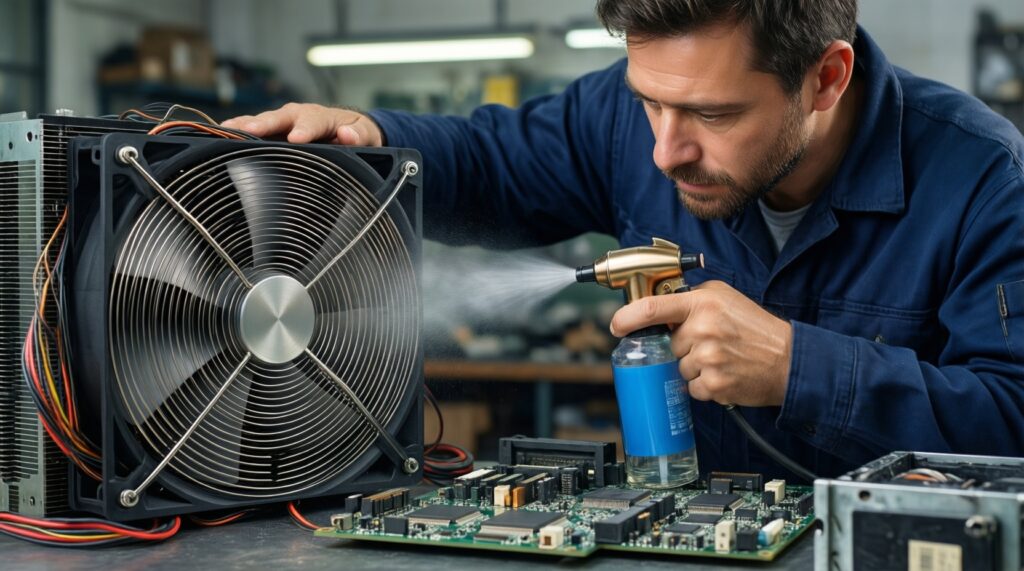
- Blasting compressed air straight through without holding the fan still, causing overspin and bearing wear.
- Bending fins with a stiff brush; even slight fin deformation reduces airflow channels.
- Using a vacuum nozzle directly on boards (static risk) instead of brushing/air-dusting at a safe distance.
- Removing the heatsink just to check and then reusing old paste; this often increases temperatures.
- Mixing or stacking thermal materials (paste on top of pads, or pads where paste is required).
- Using unknown solvents; if you need to clean paste, use appropriate น้ำยาทำความสะอาดซิลิโคนซีพียู or high-purity isopropyl alcohol on a wipe.
- Over-applying thermal paste; excess can squeeze out and make cleanup harder (and can be risky with electrically conductive pastes).
- Not tightening heatsink screws in a cross pattern; uneven pressure can warp contact.
When you should repaste (and when you shouldn't)
- Repaste: You removed the heatsink, paste is dry/chalky, or temperatures remain abnormal after dust cleaning and verified fan operation.
- Do not repaste: You cannot confidently re-seat the heatsink evenly, you lack proper cleaning supplies, or the device uses complex thermal pad layouts you can't restore.
Quick fix if temperatures spike right after reassembly
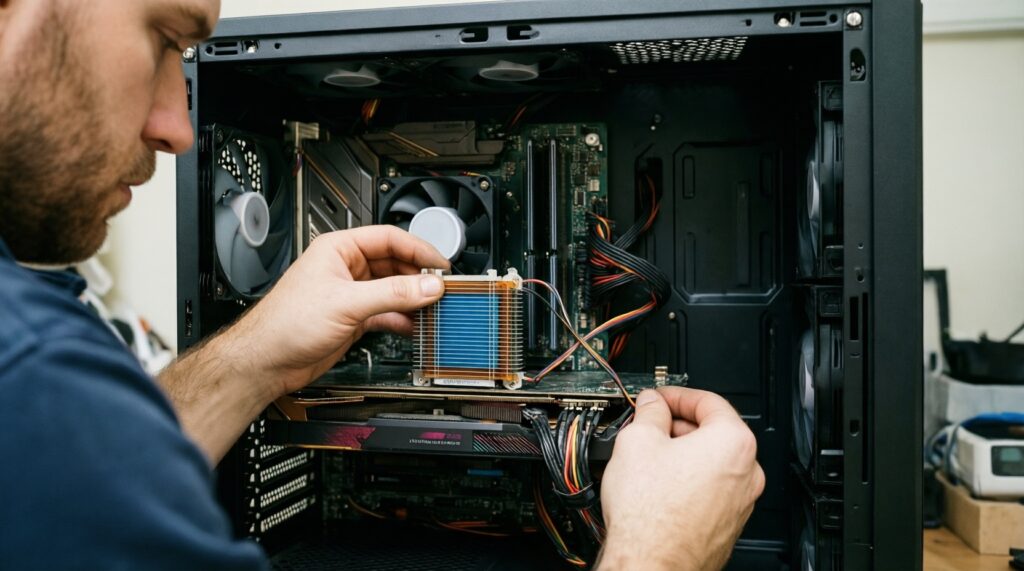
- If temps spike immediately after reassembly, shut down and re-check heatsink seating and fan connector-don't burn in a bad mount.
Reassembly, testing and a risk-aware maintenance schedule
- Reassemble in reverse order using your photos Verify every connector and cable path before closing panels.
- Initial power-on check Confirm the fan spins, no abnormal noises occur, and airflow feels consistent at exhaust vents.
- Thermal validation Use your usual monitoring tool and a known workload; you're looking for stable behavior (no sudden throttling, no runaway fan curves).
- Set a maintenance trigger Clean based on observed dust, rising noise, or rising temps-not by an arbitrary schedule.
Alternatives when opening the device is risky or unnecessary
- External vent cleaning only: Suitable when warranty seals matter or access is difficult; use short air bursts and a brush on grilles while preventing fan overspin.
- Professional internal cleaning: Best for thin laptops with fragile clips, or if you suspect the heatsink must be removed and you're not set up to repaste.
- Replace the fan instead of servicing bearings: Recommended when a fan is grinding or wobbling; lubrication is often temporary and can attract dust.
- Use a powered air duster + filters: For frequent cleaning in dusty environments; combine with keeping the PC off the floor and using case dust filters.
Fast answers to typical troubleshooting and safety concerns
Can I use a vacuum cleaner to remove dust from a PC fan?
Avoid using a vacuum nozzle directly on internal components due to static risk and the chance of snagging cables. If you must, keep it at a distance and prefer brushing plus compressed air instead.
Why must I hold the fan blades still when using compressed air?
Free-spinning can overspeed the fan, damaging bearings. It can also generate back-EMF that stresses the fan header if the fan remains connected.
Is สเปรย์ลมทำความสะอาดคอมพิวเตอร์ safe for laptops?
Yes if used correctly: short bursts, can upright, and fan immobilized. Stop immediately if you see any propellant moisture and let everything fully dry before power-on.
Do I need to repaste every time I clean the heatsink fins?
No. Repaste only when you remove the heatsink or when symptoms persist after proper dust removal and verified fan operation.
What should I buy if I plan to repaste the CPU?
Plan ahead and ซื้อซิลิโคนซีพียู from a known brand, plus wipes and alcohol or a dedicated น้ำยาทำความสะอาดซิลิโคนซีพียู. Don't open the heatsink unless you can complete the full clean-and-reseat process.
Which brush is safest for electronics?
Use a soft แปรงทำความสะอาดคอมพิวเตอร์กันไฟฟ้าสถิต. Avoid stiff bristles that can bend heatsink fins or flick small components.
My fan is still loud after cleaning-what's the next step?
Re-check for a cable touching the blades, confirm screws are tight, and verify airflow isn't blocked by a dirty filter. If noise is mechanical (grind/rattle), replacement is usually safer than lubrication.