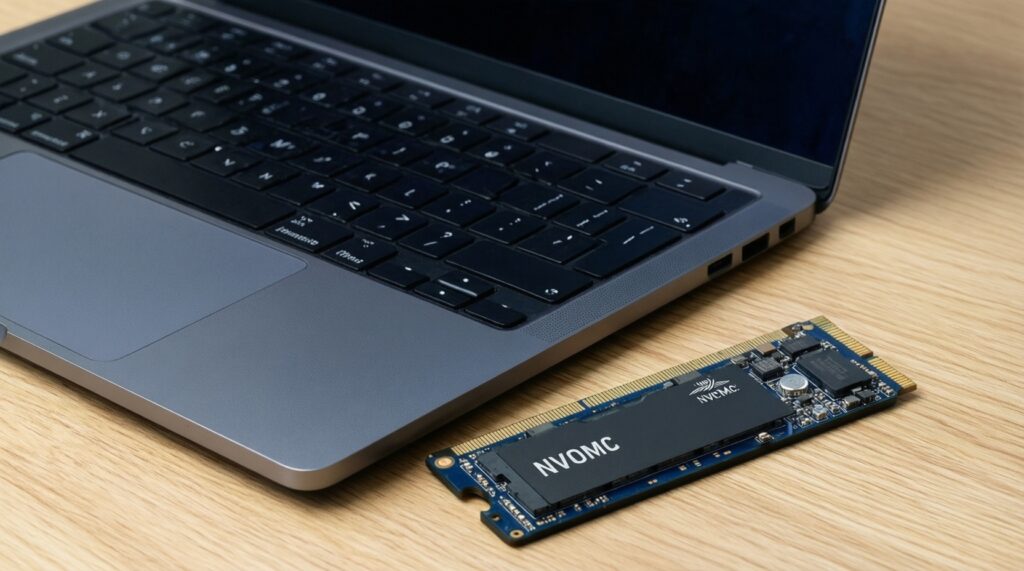
To make an older laptop feel instantly faster, upgrade its storage to an SSD and (if possible) choose NVMe over SATA for lower latency and higher throughput. The safe path is: confirm the laptop slot type, pick the right form factor, clone your existing OS, swap drives, then verify boot, TRIM, and firmware-without losing data.
Upgrade at a glance: what improves and why
- Faster boot and app launches by reducing storage latency, especially when replacing a hard drive.
- Smoother multitasking when the system stops waiting on disk I/O (paging, indexing, updates).
- Better responsiveness under load; NVMe typically helps more than SATA when the laptop supports it.
- Lower noise and heat compared to HDDs; fewer moving parts means fewer mechanical failures.
- Safer migration when you clone first, then swap, keeping the original drive untouched as a fallback.
Why a new SSD transforms older laptops
An SSD upgrade is the highest-impact upgrade for most older laptops: it eliminates the biggest bottleneck (storage access time). It is a strong fit if your laptop still uses an HDD, or if the current SSD is small/slow and constantly near full. It's less worth it when the laptop is limited by very low RAM/CPU, or when the system has severe overheating/board issues.
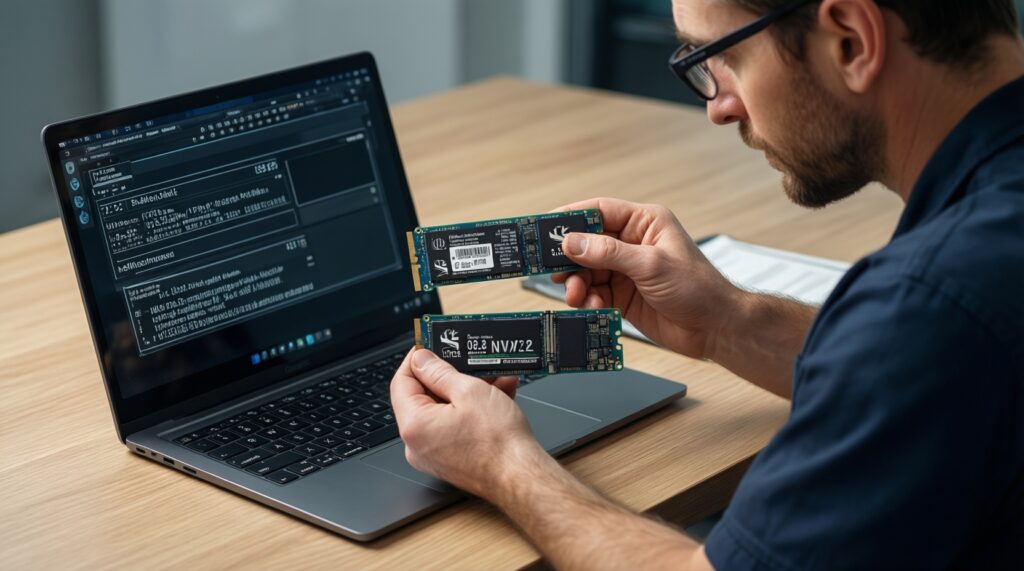
- Good candidates: HDD-based laptops, SATA SSD laptops needing more capacity, laptops with an M.2 slot that supports NVMe.
- Not worth it (or do this first): unstable power/charging, random shutdowns, severe thermal throttling, failing RAM (run a memory test before migrating).
- Thailand context: if you search "อัปเกรด SSD โน้ตบุ๊ก" you'll find many shop offers, but you can DIY safely if you confirm slot type and clone correctly.
SATA vs NVMe: measurable speed, latency and bottlenecks
SATA SSDs are limited by the SATA interface and are broadly compatible with older laptops. NVMe SSDs use PCIe lanes via an M.2 slot and can be much faster, but only if your laptop supports NVMe (some M.2 slots are SATA-only). Price searches like "SSD SATA ราคา" and "SSD NVMe ราคา" vary by capacity, warranty, and controller-prioritize compatibility first, then performance.
| What to check / tool | Needed for SATA 2.5" | Needed for M.2 NVMe | Why it matters |
|---|---|---|---|
| Drive bay / slot type | 2.5" SATA bay + SATA connector | M.2 slot with NVMe/PCIe support | Prevents buying the wrong drive (M.2 SATA vs M.2 NVMe vs 2.5" SATA). |
| Form factor | 2.5" thickness (7mm typical) | M.2 length (e.g., 2280) + keying | Ensures the SSD physically fits and can be secured. |
| Cloning connection | USB-to-SATA enclosure/cable | USB NVMe enclosure (or second M.2 slot) | You must connect the new SSD before swapping to clone safely. |
| Basic tools | Phillips screwdriver, plastic spudger | Small Phillips + M.2 screw (often tiny) | Reduces the chance of stripped screws or cracked clips. |
| Firmware/BIOS access | Recommended | Recommended (sometimes required) | Some laptops need BIOS updates or NVMe boot settings to detect the drive. |
- Requirement: admin access on the OS you plan to clone (Windows/macOS/Linux), plus enough free space to shrink partitions if needed.
- Requirement: stable power (plug in AC) during cloning; avoid sleep/hibernation interruptions.
- Tools: a reliable enclosure, and a cloning utility (see the cloning section; many users search "โปรแกรมโคลน SSD ย้ายระบบ Windows").
Compatibility checklist: slots, lanes, adapters and BIOS
Compatibility is where most SSD upgrades fail. Confirm whether the laptop supports 2.5" SATA, M.2 SATA, or M.2 NVMe, and whether NVMe is bootable in BIOS. If you plan a shop installation, your "เปลี่ยน SSD โน้ตบุ๊ก ราคา" quote should include the correct enclosure/adapter needs and a clear cloning method.
- Back up critical files (separate from cloning): documents, browser exports, BitLocker recovery key (Windows), FileVault recovery (macOS).
- Update OS and run a quick disk check to avoid cloning file-system errors.
- Measure free space on the system partition; keep headroom to shrink if the new SSD is smaller.
- Download required drivers/BIOS update and your cloning tool in advance.
- Have a recovery USB ready (Windows installer / Linux live USB) in case boot repair is needed.
-
Identify the existing drive and slot type
In Windows, check Device Manager > Disk drives, and use a system info tool to confirm whether the M.2 slot is SATA-only or NVMe-capable. On Linux, use
lsblkandlspci; on macOS (for external cloning prep), use Disk Utility to confirm external SSD detection.- Windows example: open PowerShell (Admin) and run
Get-PhysicalDisk | Format-Table FriendlyName, MediaType, Size. - Linux example:
lsblk -o NAME,SIZE,TYPE,MODELandsudo lspci | grep -i nvme.
- Windows example: open PowerShell (Admin) and run
-
Confirm NVMe boot support and BIOS settings
Enter BIOS/UEFI and check storage settings (UEFI mode, secure boot, NVMe configuration if present). If the laptop is old, update BIOS before swapping drives to improve NVMe detection and boot reliability.
- If Windows uses BitLocker, suspend protection before cloning and swapping drives.
- If you see only "M.2 SATA" support in documentation, choose a SATA SSD even if the connector looks like M.2.
-
Connect the new SSD externally (before opening the laptop)
Attach the new SSD using the correct USB enclosure (USB-to-SATA for 2.5"; USB NVMe for NVMe). Verify it appears in the OS, then initialize it only if the cloning tool requires it (avoid formatting if you're cloning disk-to-disk).
- Windows: Disk Management should show the new drive online; don't create a new volume if your cloner handles blank targets.
- Linux: check detection with
lsblkagain.
-
Clone the system disk safely
Clone the entire disk (EFI/System + OS + Recovery partitions), not just the C: partition. Use an option that preserves GPT/UEFI layout and aligns partitions for SSD performance.
- If the new SSD is smaller: shrink the OS partition first (Windows Disk Management or your cloning tool's resize feature).
- Choose "intelligent sector copy" (or equivalent) unless you specifically need a forensic sector-by-sector copy.
-
Power down, swap drives, and secure the SSD
Shut down fully (not sleep), unplug AC, and disconnect the battery if accessible. Ground yourself, remove the old drive, install the new SSD, and ensure it's properly screwed in (especially M.2, which can lift and disconnect).
- Don't overtighten M.2 screws; stripping them is common.
- Keep the old drive unchanged as a rollback option.
-
First boot and boot-order validation
Boot into BIOS first to confirm the new SSD is detected, then set it as the primary boot device. If it fails to boot, use a recovery USB to repair boot records rather than re-cloning immediately.
- Windows boot repair path: boot Windows installer > Repair your computer > Startup Repair.
- UEFI systems: ensure the Windows Boot Manager entry points to the new SSD.
Selecting capacity, endurance (TBW) and physical form factor
Choose capacity based on real usage, not just today's used space; SSDs need free space for sustained performance. TBW is a vendor endurance rating; for typical laptop workloads, focus on reputable controllers, warranty terms, and thermal behavior, and make sure the drive physically fits (2.5" 7mm vs M.2 2280, etc.).
- Confirm the exact form factor: 2.5" SATA vs M.2 (and M.2 length such as 2242/2260/2280).
- Confirm the interface: M.2 SATA is not interchangeable with M.2 NVMe.
- Leave free space after migration (avoid running at near-100% full for long periods).
- Check thermal constraints: thin laptops may throttle some NVMe drives without airflow.
- Prefer a model with good firmware support and a vendor SSD utility (for updates/health).
- Plan for future: if you store photos/videos, pick a capacity that won't force constant cleanup.
- If you see confusing listings when comparing "SSD SATA ราคา" vs "SSD NVMe ราคา", re-check that the product matches your slot type and length.
Cloning the system: tools, step-by-step workflow and verification
Cloning is safer than reinstalling when you need to keep apps and settings. The workflow is: clean up the source disk, ensure the target SSD is detected, clone all partitions, then verify boot and data integrity before wiping anything. On Windows, many people search "โปรแกรมโคลน SSD ย้ายระบบ Windows"; pick a tool that supports GPT/UEFI and partition resizing.
- Mistake: cloning only C: and missing EFI/Recovery. Fix: select "entire disk" (all partitions) in the cloner.
- Mistake: target SSD is smaller and clone fails mid-way. Fix: shrink the OS partition first, then clone with resize.
- Mistake: BitLocker/FileVault blocks boot after the swap. Fix: suspend BitLocker before cloning; keep the recovery key; for FileVault, ensure you can unlock at boot.
- Mistake: USB enclosure disconnects during cloning. Fix: use a short, reliable cable; avoid USB hubs; keep the laptop on AC; disable sleep temporarily.
- Mistake: wrong partition style (MBR vs GPT) or wrong boot mode (Legacy vs UEFI). Fix: match BIOS mode to the cloned disk layout; prefer GPT + UEFI for modern Windows installs.
- Mistake: 4K misalignment due to older tools. Fix: use a modern cloning tool that preserves alignment; don't manually create partitions first unless instructed.
- Mistake: Windows boots but feels slow due to driver/firmware issues. Fix: update chipset/storage drivers and SSD firmware after confirming stability.
Verification commands (examples):
- Windows (TRIM status): run Command Prompt (Admin) and use
fsutil behavior query DisableDeleteNotify(0 typically means TRIM is enabled). - Linux (TRIM support):
sudo fstrim -av(on supported filesystems) and checklsblk -D. - macOS: TRIM is generally enabled automatically for Apple SSDs; for third-party SATA SSDs, confirm system behavior in System Information and follow Apple guidance for your macOS version.
Tweaks after install: firmware, drivers, TRIM and performance tests
After the first successful boot, stabilize the system before chasing benchmarks: update firmware/drivers, confirm TRIM, and check SMART health. Then run a simple performance test to detect abnormal behavior (e.g., running in SATA mode by mistake, thermal throttling, or a bad cable/enclosure). Keep the old drive untouched until you've had several clean boots.
- Alternative 1: Clean install instead of cloning - best when the old OS is corrupted, bloated, or you're changing from Legacy BIOS/MBR to UEFI/GPT and want a fresh start.
- Alternative 2: Use the old drive as external storage - if the laptop has only one slot, put the old SSD/HDD into a USB enclosure for backups and file transfer after verifying the new SSD.
- Alternative 3: Keep SATA even if NVMe is possible - sensible for very thin laptops with poor cooling or limited PCIe lanes; a quality SATA SSD still delivers a big real-world jump over HDD.
- Alternative 4: Add a second drive (when available) - some laptops allow both a 2.5" bay and an M.2 slot; use NVMe for OS/apps and the other drive for bulk data.
Quick fixes and common concerns about SSD upgrades
How do I know if my M.2 slot supports NVMe or only SATA?
Check the laptop's service manual or BIOS storage info; many M.2 slots are SATA-only. In Windows/Linux, you can also look for an NVMe controller entry; if none appears, assume SATA-only unless documentation says otherwise.
Will an NVMe SSD always feel faster than a SATA SSD?
Not always. If your workload is mostly light apps and web browsing, both feel fast versus an HDD; NVMe benefits more in heavy multitasking, large file work, and sustained I/O-assuming the laptop isn't bottlenecked by thermal throttling or limited PCIe lanes.
Can I upgrade and clone without opening the laptop first?
You can prepare by connecting the new SSD via a USB enclosure and cloning before you open the chassis. You still must open the laptop to physically swap the drive unless your model has an external-access bay.
What should I ask a shop if I'm comparing เปลี่ยน SSD โน้ตบุ๊ก ราคา quotes?
Ask which exact SSD model/interface they will install (SATA vs NVMe), whether cloning includes all partitions (EFI/Recovery), and what happens if the clone fails. Also ask if they will return the original drive intact.
Which โปรแกรมโคลน SSD ย้ายระบบ Windows approach is safest?
Use a reputable cloning tool that supports GPT/UEFI and can resize partitions when needed, and always clone the entire disk. Keep the old drive unchanged until you confirm several successful boots and your data is intact.
After cloning, the laptop boots to BIOS or says no boot device-what now?
First confirm the SSD is detected and set first in boot order. If detected but not booting, run Windows Startup Repair (or rebuild boot entries) instead of re-cloning immediately.
Should I worry about SSD SATA ราคา vs SSD NVMe ราคา when choosing?
Start with compatibility; the cheapest incompatible drive is wasted money. Once you confirm the correct interface and form factor, compare warranty, firmware support, and thermal behavior rather than only price.