Installing custom firmware (a custom ROM) on a smartphone usually means unlocking the bootloader, installing a custom recovery, backing up everything, then flashing the ROM (and sometimes GApps/firmware) in the correct order. Done right, you gain control and longer device support; done wrong, you can lose data or end up with a bootloop, so preparation matters more than speed.
Quick overview: benefits, risks and must-do preparations
- Benefits: newer Android versions, fewer preinstalled apps, deeper customization, and extended device lifespan.
- Risks: unlocking and wiping can permanently erase data, and some features (banking apps, DRM, OTA updates) may break.
- Must-do: confirm exact device codename/variant and current Android/firmware base before downloading anything.
- Must-do: set up ADB/Fastboot on a PC, and verify cable/USB stability to avoid mid-flash disconnects.
- Must-do: make at least one offline backup you can restore without booting Android (recovery/PC copy).
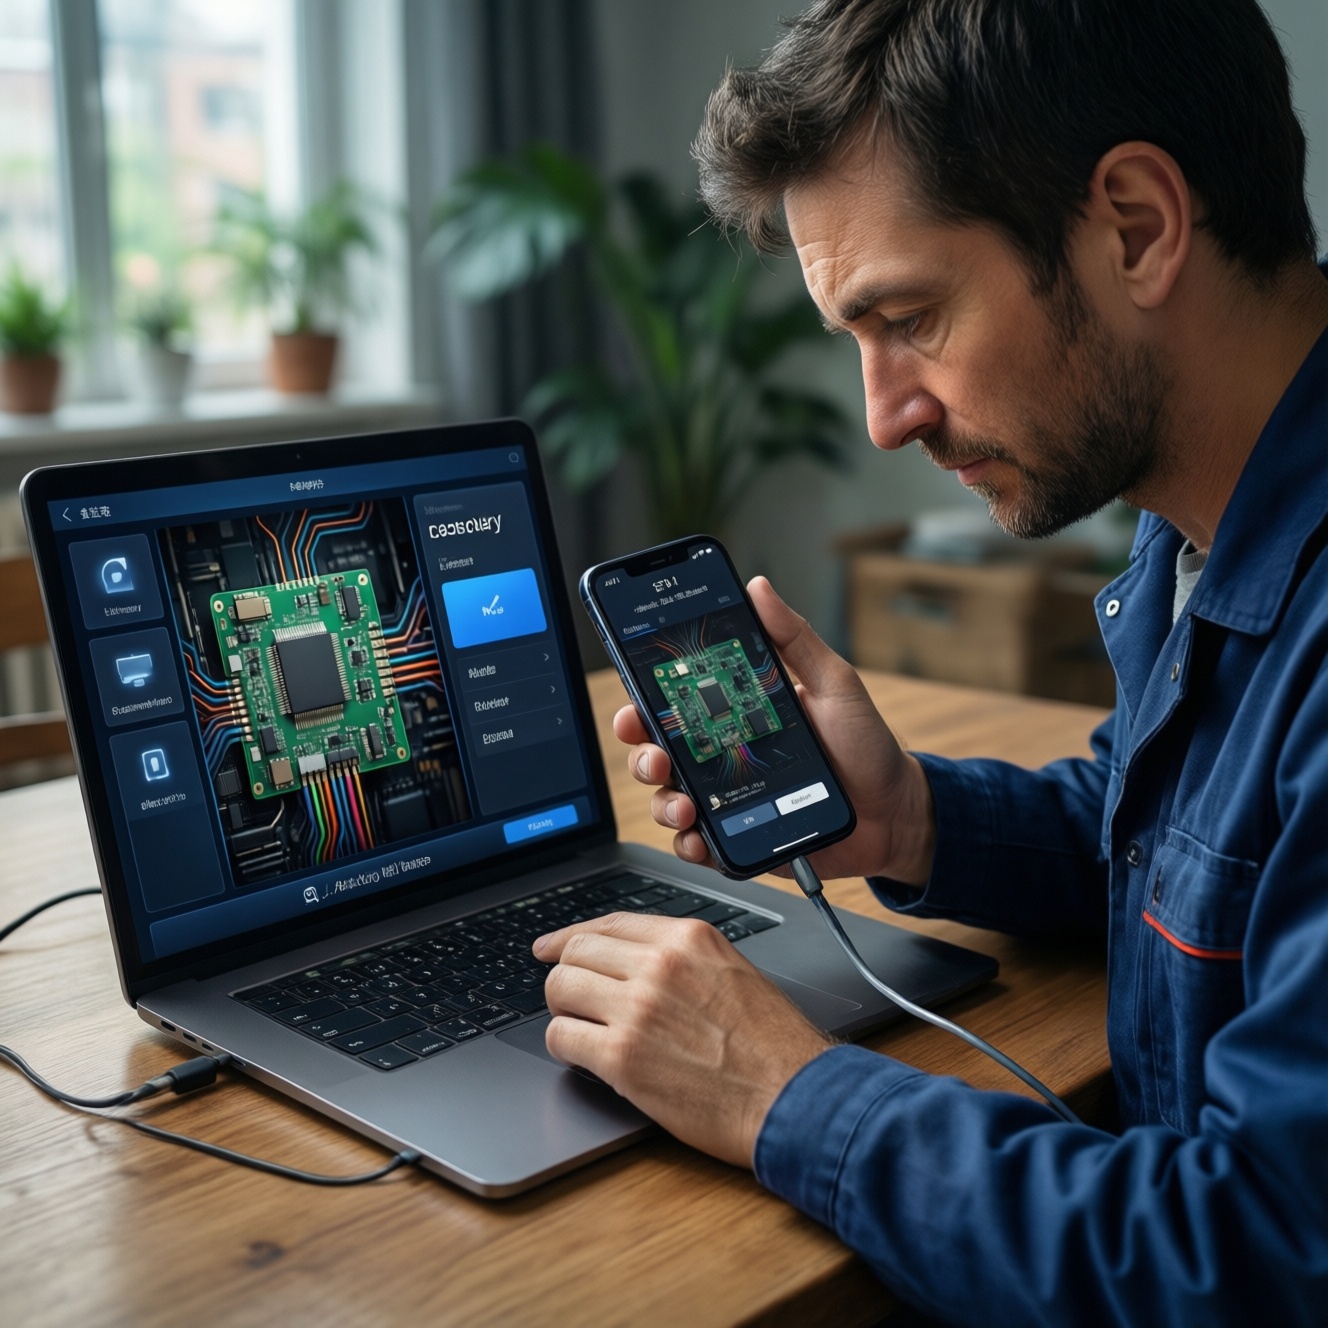
Preparing your device: OEM unlock, developer options and verifying bootloader status
This is appropriate if you can follow exact device-specific instructions, accept a full wipe, and can recover using Fastboot or manufacturer tools. Avoid it on a work/primary phone you cannot afford to lose for a day, on devices with unknown variants, or when you rely on strict banking/MDM policies.
- Confirm your exact model and codename (Settings > About phone; also verify build number and region/variant). Mixing variants is a common cause of hard-to-fix boot issues.
- Enable Developer options: Settings > About phone > tap Build number several times, then open Developer options.
- Enable OEM unlocking and USB debugging in Developer options (if OEM unlocking is missing, your device or carrier policy may block unlocking).
- Install platform-tools on your PC (ADB/Fastboot), then on the phone approve the USB debugging prompt.
- Verify connection and bootloader state:
- Run
adb devices(you should see your device listed). - Reboot to bootloader:
adb reboot bootloader - Check Fastboot visibility:
fastboot devices - If supported, check unlock status from the bootloader screen or with vendor-specific commands (varies by brand).
- Run
Irreversible warning: bootloader unlock commonly triggers a full data wipe and may trip security flags. If you are not comfortable doing this yourself, a local บริการปลดล็อกบูตโหลดเดอร์ can help, but only if they can explain the exact steps and recovery plan for your specific model.
Full backup and data preservation: Nandroid, app data and export checklist
Before you unlock or flash, prepare tools and access that still work after a wipe or boot failure.
- PC requirements: stable USB port/cable, platform-tools (ADB/Fastboot), enough disk space to store backups.
- Accounts and keys: know your Google account password; disable Factory Reset Protection surprises by ensuring you can sign in later.
- 2FA readiness: move authenticator to a second device or export tokens (app-dependent) before wiping.
- File backup: copy
DCIM, Downloads, and any app folders to PC/cloud. - App data strategy (choose what fits your device/root status):
- No-root: use built-in backup where available, export chats (e.g., messengers), and re-login after flash.
- Root/recovery capable: plan for a full recovery backup (Nandroid) once a custom recovery is installed.
- Emergency packages: download your ROM, recovery image, and vendor firmware/stock package (for rollback) to your PC.
Note for Thailand service shoppers: if you ask ติดตั้งเฟิร์มแวร์มือถือ ราคา, insist the shop tells you whether the quote includes backup, bootloader unlock, firmware matching, and post-flash fixes-those steps are often where failures happen.
Selecting the right custom ROM and recovery: compatibility, signatures and source trust
-
Match device codename and partition scheme
Download only builds explicitly for your exact codename/variant. Also confirm whether your device uses A/B partitions and whether it is "system-as-root" or has dynamic partitions; recovery and flash steps differ.
-
Prefer reputable ROM families and official device maintainers
Pick ROMs with transparent changelogs and active maintainers. If you're looking for a stable baseline in Thailand, many users search for a ร้านลงรอม LineageOS ใกล้ฉัน; verify the shop uses official builds (or clearly labeled unofficial builds) for your codename.
-
Verify file integrity before flashing
Check hashes/signatures if the maintainer provides them. Do not flash files re-uploaded by random mirrors without verification.
- Keep ROM, recovery image, and optional GApps in clearly named folders per device.
- Avoid "all-in-one" ZIP bundles unless the maintainer explicitly recommends them.
-
Choose recovery appropriate to your device
TWRP is common; some devices work better with alternatives like RedWolf or OrangeFox. Use only builds confirmed for your exact model and Android base.
-
Plan your package set: ROM, GApps, firmware, root (optional)
Some ROMs include Google apps; others require a matching GApps package. Firmware (modem/vendor) must match what your device expects-wrong firmware is a frequent cause of no-signal, camera issues, or bootloops.
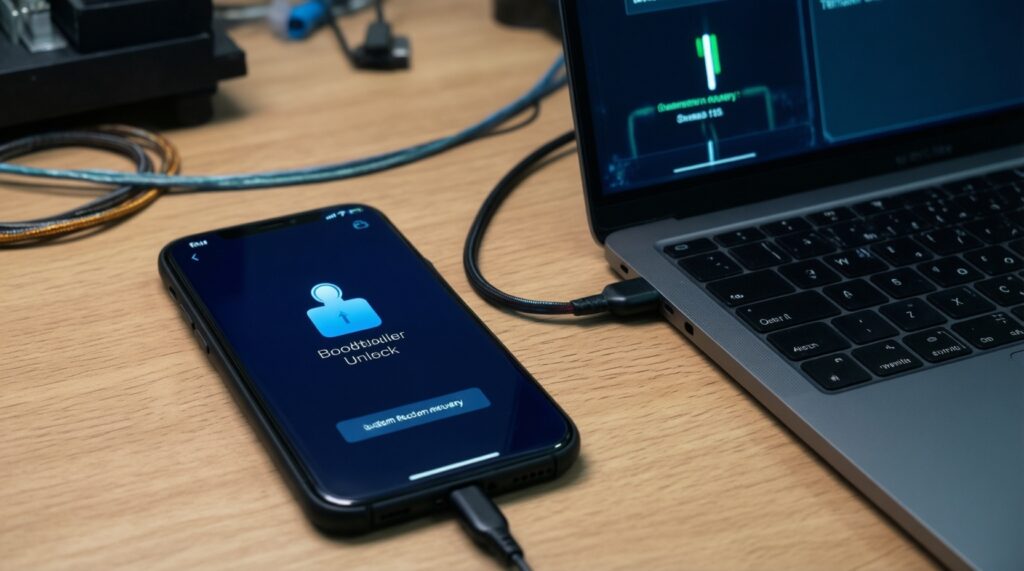
Installing a custom recovery (TWRP/RedWolf): step-by-step with fastboot and alternative methods
- Boot to bootloader:
adb reboot bootloader(or key combo when powered off). - Unlock the bootloader (device-specific): follow the manufacturer method. This usually wipes data.
- Flash or boot the recovery image (preferred safer trial first when supported):
- Temporary boot (if supported):
fastboot boot recovery.img - Permanent flash (if supported):
fastboot flash recovery recovery.img - Some A/B devices require flashing to
bootor usingfastboot flash boot boot.imgwith a recovery-in-boot approach-follow the device maintainer instructions exactly.
- Temporary boot (if supported):
- Enter recovery immediately: use the bootloader menu to reboot to Recovery (do not let Android fully boot if your device overwrites recovery on first boot).
- Allow modifications only if instructed: some ROMs require keeping system read-only; follow the ROM/recovery guidance.
Recovery installation verification checklist
- Recovery boots reliably from powered-off state (key combo works).
- Touch and display work; you can navigate menus without freezing.
- Internal storage is visible (or you understand why it isn't, e.g., encryption).
- You can mount or access partitions needed for flashing.
- ADB in recovery works:
adb devicesshows "recovery". - You can transfer files (ADB push/sideload or MTP if available).
- You can create a backup once the device is in a stable state (where supported).
- You can reboot back to bootloader from recovery (critical for rescues).
Flashing the ROM, GApps and firmware: ordered commands, common flags and integrity checks
- Move files to the phone or prepare sideload:
- Copy ZIPs to internal storage/SD if readable in recovery, or use
adb sideloadif recovery supports it.
- Copy ZIPs to internal storage/SD if readable in recovery, or use
- Wipe the right partitions: typically wipe data/cache/dalvik; sometimes system is required. Never wipe vendor/firmware unless your device instructions explicitly say so.
- Flash in the correct order: ROM first, then (if required) firmware, then GApps, then optional root. Follow the ROM maintainer order if stated.
- Reboot to system and be patient: first boot can take longer than usual. Interrupting early can cause confusion during setup.
Common flashing mistakes that cause bootloops or missing features
- Wrong build for your codename: looks "close enough" but is a different variant.
- Skipping firmware prerequisites: ROM expects a minimum vendor/modem level; you stayed on an older base.
- Dirty flash when a clean flash is required: leftover data from a different ROM causes crashes/bootloops.
- Incorrect GApps package: wrong Android version or wrong architecture (ARM/ARM64).
- Flashing from unstable USB/PC: disconnect during transfer results in corrupted ZIP.
- Not verifying downloads: corrupted files flash "successfully" but won't boot.
- Letting Android overwrite recovery: you flashed recovery, booted system, then recovery is gone.
- Forcing encryption changes blindly: changing fstab/encryption without device guidance can lock you out of storage.
- Relying on random "one-click" tools: they often use generic steps that don't match your partition layout.
If you're considering a บริการแฟลชรอม custom ROM มือถือ, ask them to describe their exact flash order and what they will do if it bootloops. A shop that cannot explain recovery steps is a risk.
Fast-track mode: minimal safe sequence
- Identify exact codename/variant, download ROM + matching recovery + any required firmware/GApps, and verify file integrity.
- Enable OEM unlock + USB debugging, install platform-tools, confirm
adb devicesandfastboot devices. - Unlock bootloader (accept wipe), boot/flash recovery, and verify recovery + ADB in recovery.
- Wipe required partitions, flash ROM then required add-ons in the maintainer's order, reboot and complete first boot calmly.
- If it bootloops, return to recovery/bootloader immediately and follow the rollback plan (backup/stock firmware).
Post-flash procedures and recovery: first boot fixes, resolving bootloops and returning to stock
- Option 1: Fix a stuck first boot (use when boot animation runs too long): return to recovery, wipe cache/dalvik, confirm you flashed the correct GApps/firmware, then reboot.
- Option 2: Clean re-flash (use when migrating between ROM families): wipe data again and flash ROM in the recommended order; do not restore incompatible app data backups.
- Option 3: Roll back to stock firmware (use when you need guaranteed stability or resale): use the manufacturer's flash tool/fastboot package to restore stock partitions, then relock bootloader only if the OEM procedure supports it safely.
- Option 4: Escalate to device-specific rescue (use when no recovery access or repeated bootloops): search for exact model EDL/download mode procedures or bring it to a technician for ซ่อมเครื่องบูตไม่ขึ้นหลังแฟลชรอม with your downloaded stock package and a clear device history.
Straight answers to frequent flashing pitfalls
Will unlocking the bootloader erase my data?
Usually yes. Treat bootloader unlock as a full wipe and back up to a PC before you start.
Why is "OEM unlocking" missing in Developer options?
It can be blocked by carrier policy, device security state, or missing internet/account verification on some brands. If it's not available, do not proceed until you confirm an official unlock path for your exact model.
Is TWRP always the right recovery?
No. Some devices require a specific recovery build or a recovery-in-boot approach; using the wrong one can prevent decryption or flashing.
What is the safest way to test a recovery image before flashing it?
If supported, use fastboot boot recovery.img to boot it temporarily. Flash permanently only after you confirm it boots and can access storage/ADB.
Why did I lose mobile signal or camera after flashing?
It's often a firmware/vendor mismatch. Flash the firmware level recommended by the ROM maintainer for your device base.
How do I quickly exit a bootloop without guessing?
Go back to recovery/bootloader, check you used the correct ROM for your codename, then re-flash cleanly (and firmware/GApps as required). If recovery is gone, restore stock with the OEM method.
Should I pay a shop, and what should I ask them?
If you can't risk downtime, a shop can help, but ask for their rollback plan and whether they back up data first. For ติดตั้งเฟิร์มแวร์มือถือ ราคา, require a written scope: unlock, backup, flash order, and bootloop recovery.