
To upgrade from HDD to SSD without reinstalling your OS, you clone the entire disk (system, apps, and data) to a correctly sized SSD, then switch the boot device. The safe path is: verify disk health, ensure the SSD can fit used data, clone with a reliable tool, confirm boot, and only then wipe or repurpose the old HDD.
Essential pre-clone checklist
- Confirm the SSD's usable capacity is larger than your HDD's used space (shrink partitions if needed).
- Back up critical files to an external drive or cloud before you start.
- Check HDD health (SMART) and fix file-system errors to avoid cloning bad sectors.
- Know your boot mode: UEFI/GPT vs Legacy/MBR (match it during migration).
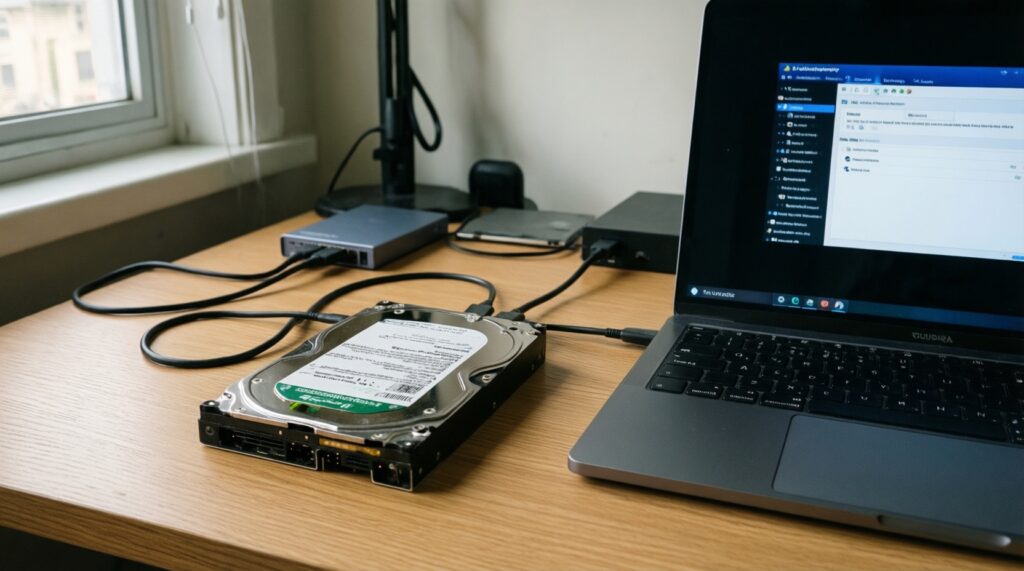
- Have the right connection: SATA cable/port, USB-to-SATA adapter, or NVMe enclosure as applicable.
- Prepare a recovery option (Windows Recovery Drive, macOS Recovery, or a Linux live USB).
Why moving from HDD to SSD pays off
Moving a system drive from HDD to SSD usually makes boot, app launches, updates, and multitasking noticeably faster while reducing noise and vibration. It's ideal when your current OS setup is stable and you want to keep programs and settings.
Skip cloning (or delay it) if:
- Your HDD shows frequent read errors, loud clicking, or SMART warnings (do file-level recovery/backup first).
- Your Windows/macOS install is heavily corrupted, infected, or unstable (a clean install can be safer).
- You can't make the HDD's used space fit the target SSD capacity without removing data.
In Thailand, people often ask about เปลี่ยน HDD เป็น SSD ราคา; pricing varies widely by interface, brand, capacity, and warranty, so focus first on compatibility and capacity-fit, then compare prices locally.
Selecting the right SSD, adapter and capacity
Choose the SSD based on your device interface and your migration goal (ย้ายวินโดวส์ไป SSD โดยไม่ลงใหม่ vs clean install). For most laptops/desktops, this is either 2.5" SATA or M.2 (SATA or NVMe).
What you need
- Correct SSD type: 2.5" SATA (7mm) or M.2 (SATA/NVMe) matching your slot.
- Connection method for cloning:
- Desktop: connect SSD internally (best).
- Laptop with one drive bay: USB-to-SATA adapter/enclosure for 2.5" SSD, or USB NVMe enclosure for M.2 NVMe.
- Cloning software (your โปรแกรมโคลนดิสก์ SSD): pick one that supports system-disk cloning and boot repair for your OS.
- Admin access: Windows admin account, macOS admin user, or Linux sudo.
Tool/approach comparison (quick decision table)
| OS | Approach | Best when | Watch-outs |
|---|---|---|---|
| Windows 10/11 | GUI cloning app | You want the simplest workflow for โคลน HDD ไป SSD with partition resize and boot handling | Some tools may require paid features; always verify UEFI/MBR compatibility |
| Windows 10/11 | Built-in imaging + boot repair | You prefer Microsoft-native recovery tools | Less straightforward; can require manual partitioning and BCD repair |
| macOS | Disk Utility Restore / APFS replication workflows | You are migrating Mac system/data while keeping structure | Boot behavior depends on Mac model and security settings; Apple Silicon differs from Intel |
| Linux | Sector/file-aware copy tools (e.g., dd/partclone/rsync-based) | You're comfortable with terminal and want full control | Easy to overwrite the wrong disk; ensure correct device nodes and bootloader steps |
Preparing your OS and data for a safe clone
Mini prep checklist before you touch cloning:
- Disconnect unnecessary external drives to avoid selecting the wrong target.
- Pause BitLocker/FileVault (or have recovery keys ready) to prevent boot surprises.
- Update storage/NVMe drivers and BIOS/UEFI if your vendor recommends it for SSD stability.
- Ensure the SSD is detected reliably (no disconnects through the adapter/enclosure).
-
Measure "used space" and make it fit
If your HDD has more used data than the SSD can hold, cloning will fail or produce an unbootable layout. Remove large files or move archives to external storage, then shrink partitions if needed.
- Windows: Disk Management → shrink C: (leave free space), or use
diskpartcautiously. - Linux: use a live USB + GParted to shrink ext4/NTFS safely (after a filesystem check).
- Windows: Disk Management → shrink C: (leave free space), or use
-
Check disk health and fix filesystem errors
Cloning a disk with filesystem corruption often transfers problems to the SSD. Fix errors first, then reboot once before cloning.
- Windows (Admin CMD):
chkdsk C: /f(may schedule on reboot). - macOS: Disk Utility → First Aid.
- Linux: unmount then
fsck -fon the relevant partition from a live environment.
- Windows (Admin CMD):
-
Record boot mode (UEFI/GPT vs Legacy/MBR)
Match the target disk's boot style to your firmware mode. Changing MBR↔GPT is possible, but it adds risk during migration.
- Windows:
msinfo32→ BIOS Mode; Disk Management → view disk partition style. - Linux: presence of
/sys/firmware/efiindicates UEFI boot.
- Windows:
-
Handle encryption and credentials
If the system drive is encrypted, make sure you have recovery keys and a plan. Some users temporarily suspend encryption, clone, boot successfully, then re-enable.
- Windows: BitLocker "Suspend protection" (keep the recovery key saved offline).
- macOS: FileVault status in System Settings; keep Apple ID/admin credentials available.
-
Pick cloning mode: intelligent vs sector-by-sector
Use "intelligent"/used-sector clone for most upgrades to a smaller SSD (as long as used space fits). Reserve sector-by-sector for special cases (forensics, exact replication) and only when the SSD is equal or larger.
-
Create a recovery path
Plan how you'll repair boot if the clone doesn't start. This turns a stressful failure into a predictable fix.
- Windows: create a Recovery Drive or have an installation USB available.
- Linux: keep a live USB to reinstall GRUB/systemd-boot.
- macOS: know how to enter Recovery (model-dependent).
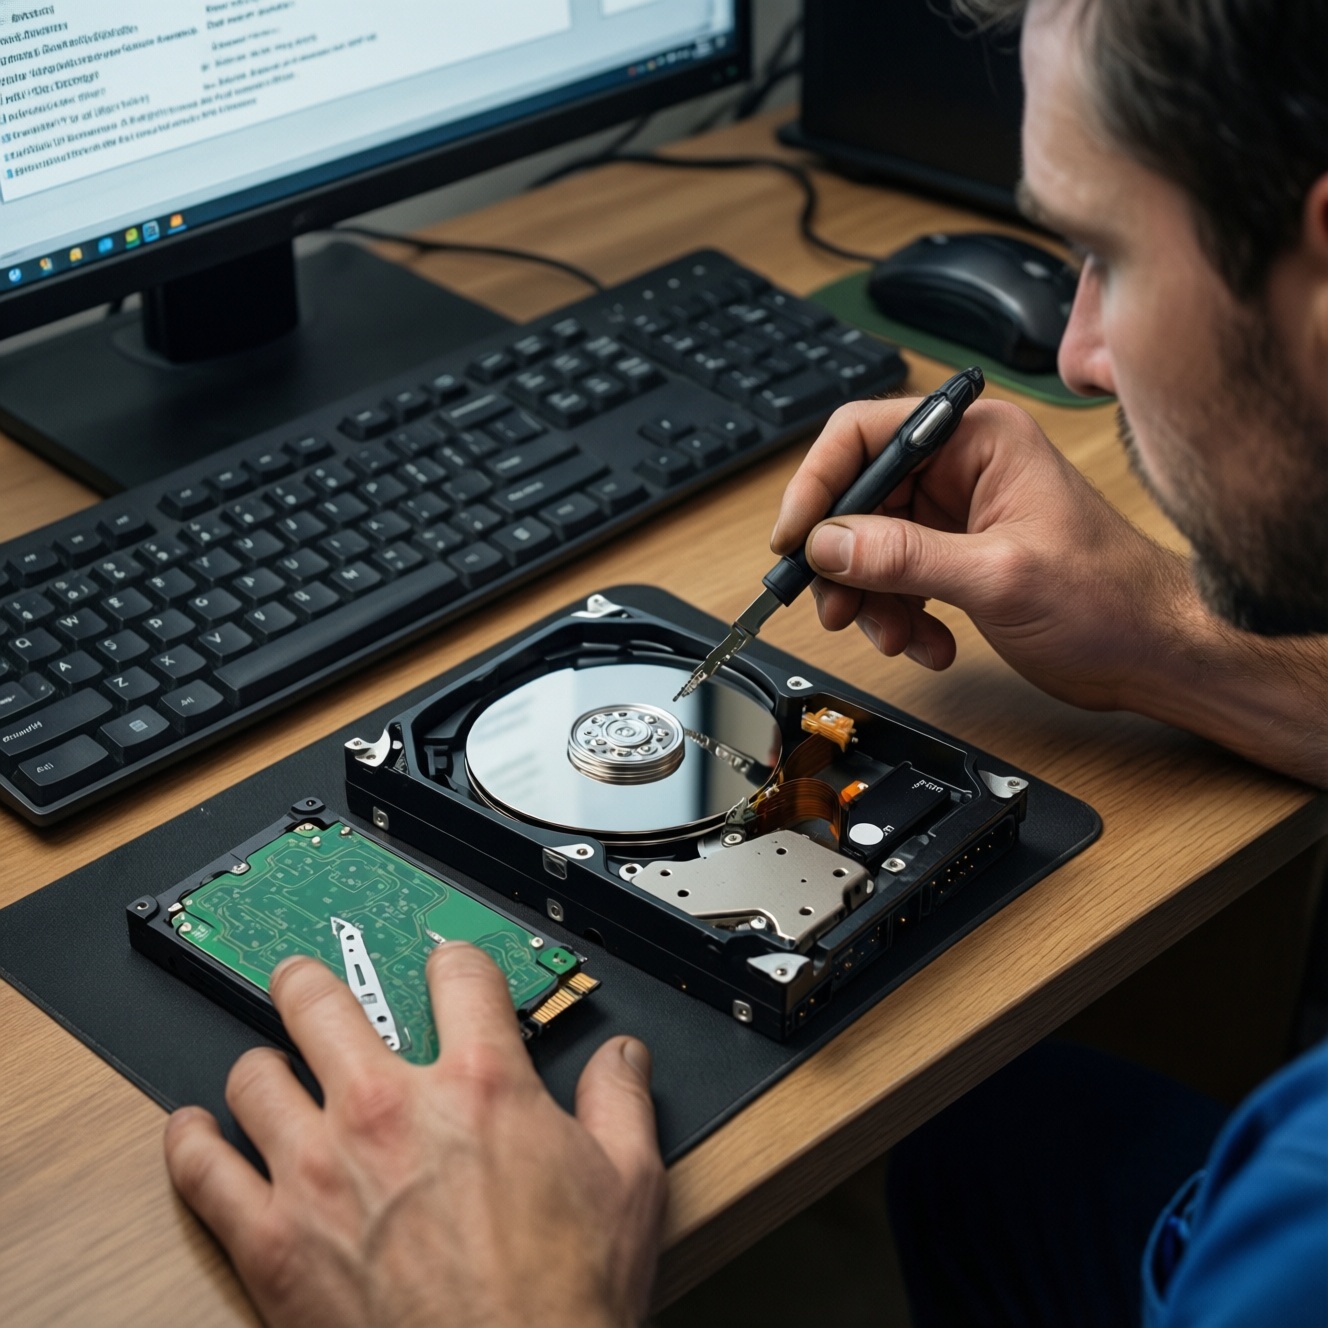
Hands-on cloning procedure: step-by-step
This checklist-style flow fits most "อัปเกรดเป็น SSD พร้อมติดตั้งและย้ายข้อมูล" scenarios where you keep the existing OS and apps and just change the system disk.
- Connect the SSD (internal is best; otherwise use a quality USB enclosure/adapter) and confirm it appears in your OS.
- Initialize the SSD only if required by your tool/OS (don't format if your cloning tool expects raw/unallocated space).
- Open your chosen cloning app and select source = old HDD, target = new SSD (double-check by model/capacity).
- Enable alignment options (often called "SSD alignment" or "optimize for SSD") if your tool offers it.
- If the SSD is smaller, use the tool's partition resize option (ensure the EFI/System partition and C: fit).
- Start the clone and do not use the machine heavily until it finishes; avoid sleep/hibernation during the process.
- When cloning completes, power off fully (shut down, not restart), then swap drives or change boot order.
Result check after the first boot (do these before wiping the HDD)
- Confirm the system boots normally and log in at least once.
- Verify you are actually running from the SSD (check disk model in Task Manager / Device Manager, or Disk Management).
- Check free space and confirm key apps and files open correctly.
- Run a reboot test (one extra reboot catches many bootloader issues early).
- Reconnect external drives only after the SSD boot is confirmed.
- Keep the old HDD untouched for a few days as a rollback option.
Validating the clone and fixing boot issues
- Boot device not found: enter BIOS/UEFI and set the SSD as the first boot device; disable "USB boot" priority if it interferes.
- UEFI vs Legacy mismatch: if the HDD was GPT/UEFI but you're booting in Legacy (or vice versa), switch firmware mode to match the cloned disk layout.
- Missing EFI/System partition: some clones fail to copy small boot partitions; re-clone ensuring all system partitions are included, not just C:.
- Windows boots but then loops into Repair: boot from Windows install/recovery media and try Startup Repair; if needed, rebuild boot files from Command Prompt:
bcdboot C:Windows(adjust drive letters in Recovery environment)- UEFI systems may require assigning a letter to the EFI partition before running
bcdboot
- BitLocker recovery prompt on every boot: resume BitLocker only after stable boot; verify TPM/boot mode didn't change unexpectedly.
- macOS doesn't show the SSD as a startup disk: use System Settings → Startup Disk (Intel Macs) or Recovery options depending on model; confirm APFS container and volumes exist.
- Linux boots to GRUB rescue or black screen: boot a live USB, mount the root filesystem, then reinstall bootloader (GRUB/systemd-boot) appropriate to UEFI/Legacy.
- Cloning is extremely slow or fails: suspect a weak USB adapter/cable or HDD read errors; try internal SATA, another enclosure, or clone by files after data backup.
Post-migration care: optimization and backup strategy
- Keep the old HDD as a rollback for a short period: don't wipe immediately; once confident, repurpose it as a secondary drive or external backup.
- Set up a predictable backup routine: use OS-native backup (Windows File History/system image, macOS Time Machine) or a third-party tool that supports versioning.
- Decide your storage layout: keep OS/apps on SSD and move large media to HDD if you have a second drive bay; it balances speed and capacity.
- Alternative to cloning: clean install + data migration: use when the old OS is unstable or you want to remove years of clutter; it's often faster to troubleshoot long-term.
Typical migration concerns answered
Can I clone from a larger HDD to a smaller SSD?
Yes, if the used space on the HDD is smaller than the SSD capacity and you shrink partitions before cloning. Use an "intelligent" clone mode rather than sector-by-sector.
Is cloning safe for "ย้ายวินโดวส์ไป SSD โดยไม่ลงใหม่"?
Usually yes if disk health is good and you copy all system partitions (EFI/System/Recovery). The main risks are boot-mode mismatch and filesystem errors that were already present on the HDD.
What's the simplest way to "โคลน HDD ไป SSD" on a laptop with one drive slot?
Connect the SSD via a stable USB enclosure/adapter, clone, then physically swap the drives and set the SSD as the boot device. Keep the HDD unchanged until you confirm stable boot.
Do I need a special "โปรแกรมโคลนดิสก์ SSD"?
You need a tool that supports system-disk cloning and can handle boot partitions and resizing. Avoid tools that only copy files; they won't produce a bootable system drive.
Will Windows activation or licenses break after swapping to SSD?
In most cases, swapping the storage drive alone does not break activation because the motherboard is the primary hardware identifier. If prompted, sign in with the same Microsoft account or use your existing product key per your license terms.
Should I wipe the HDD immediately after the SSD boots?
No-keep the HDD intact until you've confirmed several successful boots and validated your important apps and files. Then wipe it only after you have a separate backup.

