To flash BIOS/UEFI safely, you need the exact firmware for your motherboard, a verified backup plan, stable power, and a tested recovery path (USB + recovery jumper or BIOS Flashback). If a flash fails, stop repeated reboots, capture symptoms, and recover via built-in recovery, a secondary BIOS, or external programming.
Critical Steps at a Glance
- Confirm exact motherboard model/revision and current BIOS/UEFI version before you อัปเดต BIOS.
- Download the correct image, verify checksum if provided, and read vendor release notes.
- Prepare stable power (UPS if possible) and revert CPU/RAM to stock settings.
- Create a recovery USB and document recovery keys/jumpers for your board.
- Prefer vendor tools (UEFI EZ Flash / M-Flash / Q-Flash) over in-OS flashing when possible.
- If the flash fails, don't loop restarts; move to structured diagnostics and recovery.
Essential Preparations Before Flashing
This guide is for intermediate users doing routine firmware maintenance (microcode/security fixes, CPU/RAM compatibility, stability fixes) and for cases where you must อัปเดต UEFI เมนบอร์ด to support new hardware. It also applies if you plan to แฟลช BIOS after a bad setting bricks boot.
Do not flash if you are unsure about the exact motherboard revision, the system is currently unstable at stock settings, or you cannot ensure steady power. If the board is mission-critical and you have no recovery features (no Flashback/Dual BIOS) and no spare device for downloads, consider บริการแฟลช BIOS เมนบอร์ด instead of attempting it at home.
Creating and Verifying BIOS/UEFI Backups
You can't always "backup BIOS" from every consumer board in a way that guarantees a full restore, so think in layers: capture identifiers and settings, export what the vendor allows, and prepare an external recovery route.
What you need
- Hardware: 1-2 USB drives (8-32 GB is typically enough), preferably USB 2.0 for best compatibility; a second PC/phone for documentation.
- Firmware files: the exact BIOS/UEFI image for your model/revision (and one prior known-good version if available).
- Tools (Windows optional): vendor BIOS utility; optionally HWInfo for board identification; optionally flashrom (Linux) for supported systems.
- Access: ability to enter UEFI setup; admin rights if using OS tools.
Backup and verification actions (practical)
- Record identifiers. Note motherboard model, revision, current BIOS version/date, and any special features (Dual BIOS, BIOS Flashback). Take photos of key UEFI pages (Boot, Security, SATA mode, TPM, Secure Boot).
- Export UEFI profiles (if supported). Many boards allow saving a profile to USB (settings only, not firmware). Name it with date and BIOS version.
- Preserve keys and boot data. If you use BitLocker/device encryption, suspend it before flashing and save recovery keys. On Linux with Secure Boot custom keys, export and document your key state.
- Validate the firmware file. If the vendor provides a checksum/signature, verify it. If not, at least re-download once and ensure file size/name matches the vendor page.
Compact fast-check table
| Item to confirm | How to check quickly | Why it matters |
|---|---|---|
| Exact model + PCB revision | Print on board / vendor support page / HWInfo | Wrong image is a top cause of a hard brick |
| Current BIOS version | UEFI main page | Helps choose upgrade path and rollback file |
| Stable power | UPS or avoid storms; laptop on AC + battery | Power loss during write can corrupt firmware |
| Recovery method available | Manual: Flashback/Dual BIOS/recovery jumper | Determines whether you can self-recover |
| Encryption/Secure Boot readiness | Suspend BitLocker; note Secure Boot state | Prevents post-flash lockouts and boot loops |
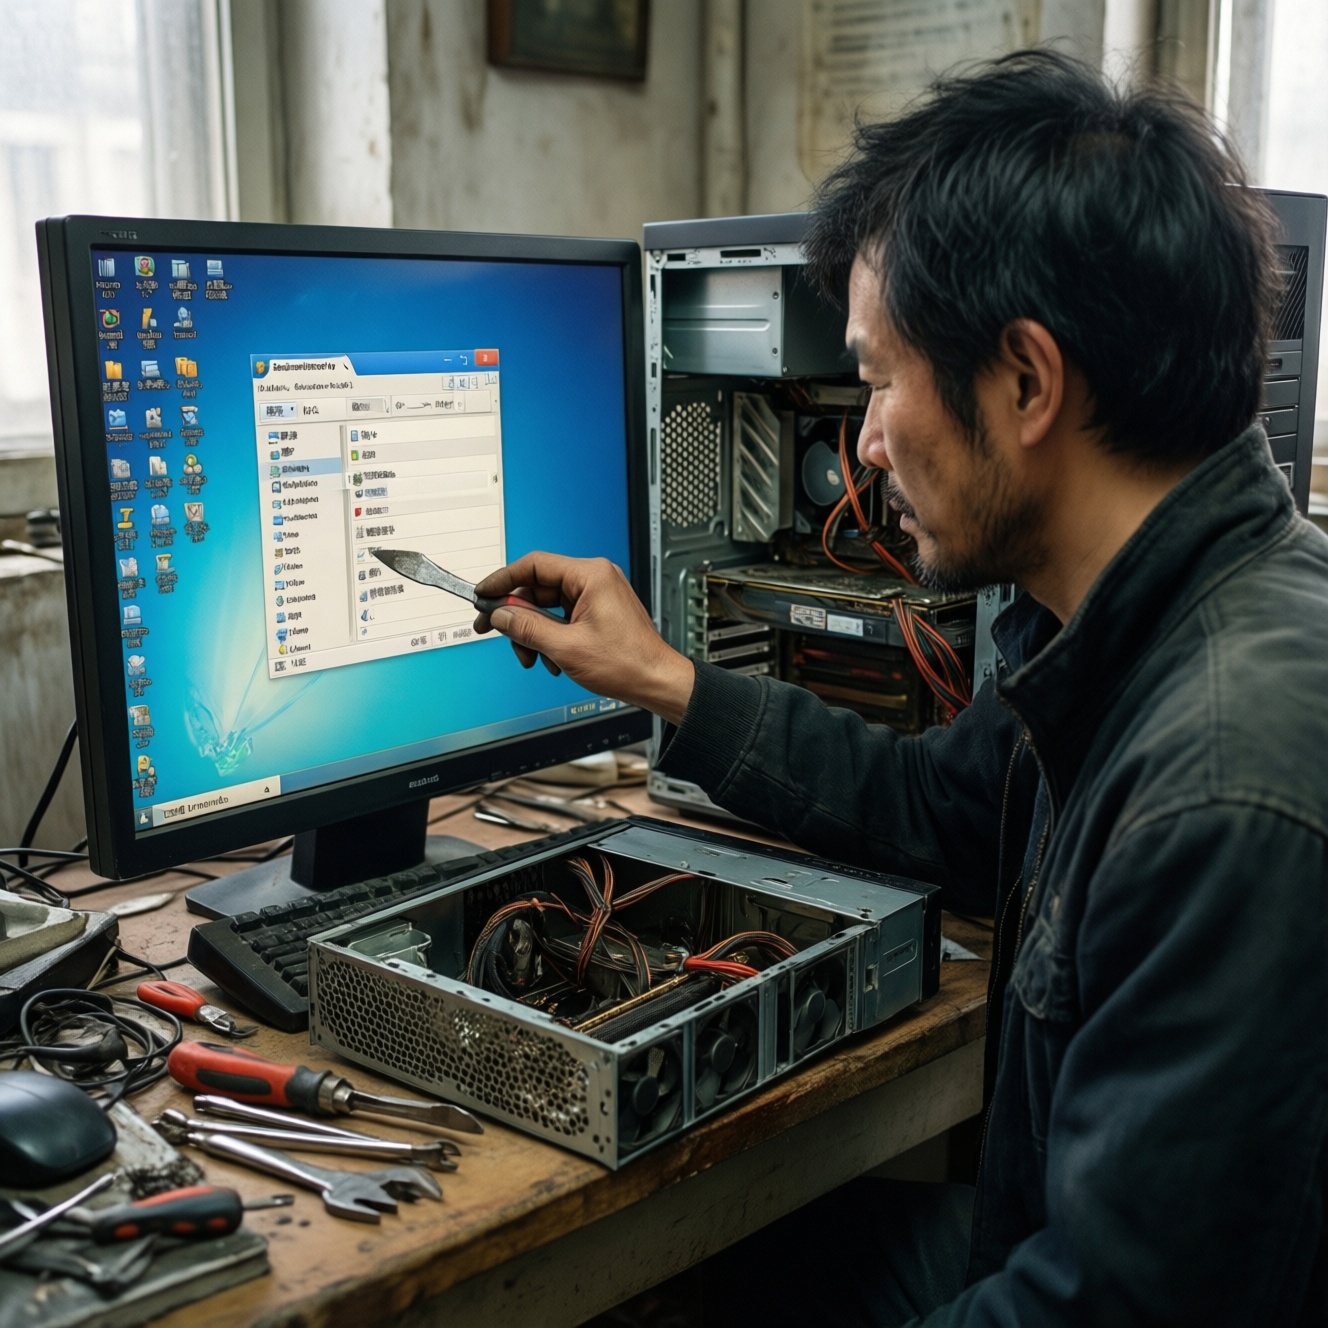
Safe Flashing Procedures and Recommended Tools
Preferred approach: flash from inside UEFI using the vendor tool (less driver interference than in-OS flashing). The exact names differ: ASUS EZ Flash, MSI M-Flash, Gigabyte Q-Flash, ASRock Instant Flash. Use OS-based tools only if your vendor explicitly recommends them for your model.
-
Set the system to "boring and stable".
Disable overclocks/undervolts and load optimized defaults (or at least set CPU/RAM to stock XMP/EXPO off) before flashing.- If your system is already unstable, fix that first; flashing on an unstable platform increases failure risk.
-
Prepare the USB correctly.
Format the USB to FAT32, place the BIOS file on the root, and rename it only if the vendor requires it (common for Flashback).- Keep filenames simple (ASCII), and avoid USB hubs during the process.
-
Use the built-in UEFI flash utility.
Reboot into UEFI, open the vendor flash tool, select the file, and confirm the target board/firmware info shown on-screen.- If the tool says the file is not compatible, stop-do not force it.
- If you're doing อัปเดต BIOS across many versions, follow any vendor "bridge BIOS" notes.
-
Do not interrupt the write and first reboot.
Let it finish completely. The screen may go black and fans may ramp during firmware training; avoid powering off unless the manual explicitly instructs it. -
First boot: reset expectations and validate.
After the flash, enter UEFI again, confirm the new version, then re-apply settings gradually (boot order, SATA mode, EXPO/XMP, fan curves).- If you use BitLocker, resume protection only after confirming stable boots.
-
If you must flash from an OS, reduce variables.
Close background tools (RGB, monitoring/OC tools), run as admin, and avoid updates/restarts mid-process. Prefer a clean boot environment.
Fast-track mode (3-5 moves)
- Verify exact board revision + download correct BIOS/UEFI; copy to FAT32 USB.
- Load UEFI defaults, disable OC, suspend BitLocker/device encryption.
- Flash via UEFI tool (EZ Flash/M-Flash/Q-Flash), then wait through the full first reboot cycle.
- Confirm version in UEFI, then restore settings step-by-step.
- If it won't boot, switch immediately to the recovery method from your manual (Flashback/Dual BIOS/recovery jumper).
Bootloader and Recovery Environment Setup
Before and after you อัปเดต UEFI เมนบอร์ด, ensure you can recover boot quickly without improvising.
- Recovery USB prepared: FAT32, correct firmware file, and (if required) vendor-specific filename.
- Know the recovery entry points: Flashback button, Dual BIOS switch, recovery jumper, and keyboard hotkeys.
- Secure Boot state documented (Enabled/Disabled/Custom keys) and any custom keys backed up if applicable.
- Disk mode noted (AHCI/RAID) and boot mode noted (UEFI/CSM) to avoid post-flash boot failure.
- BitLocker/device encryption suspended (Windows) and recovery key accessible offline.
- Boot order verified: correct NVMe/SATA device selected after flash.
- TPM/fTPM setting checked if your OS depends on it.
- Basic POST sanity: CPU/RAM detected, fan control working, temperatures normal in UEFI.
Detecting, Diagnosing and Logging Flash Failures

If the system fails after แฟลช BIOS, structured notes save time and reduce the chance of making it worse. Capture what you see (photos/videos), then act.
- No power at all: check PSU switch/cable, board standby LED, and that you didn't short the power header; disconnect nonessential peripherals.
- Powers on, no display, repeating restarts: wait longer once (memory training can take time), then stop looping; clear CMOS once, and try one RAM stick in the recommended slot.
- POST code / Q-LED indicates CPU/DRAM/VGA/BOOT: record the code/LED, reseat the indicated component, reduce to minimal hardware (CPU + one RAM + iGPU/known-good GPU).
- "Invalid BIOS image" in flash utility: wrong model/revision, wrong file extension, or USB formatting issue; re-check revision and reformat FAT32.
- Stuck after flash at vendor logo: clear CMOS, re-check SATA mode/boot mode changes, and disconnect external drives that may confuse boot order.
- Boots to OS but unstable: load UEFI defaults again, update chipset/ME (if vendor advises), and re-enable EXPO/XMP only after confirming stability.
- Recovery feature not triggering: wrong USB port (many boards require a specific Flashback port), wrong filename, or USB incompatibility; try a smaller USB 2.0 drive.
- Suspected corrupted firmware (hard brick): no POST, no recovery, consistent failure across minimal hardware; stop repeated power cycles and move to hardware-level recovery.
Advanced Recovery Techniques: From Soft Restore to Hardware Programmer
Choose the least invasive recovery that matches your board features and symptoms. If the goal is ซ่อม BIOS เสีย กู้ BIOS, start with built-in recovery first.
1) Built-in recovery (Flashback / BIOS Recovery / CrashFree)

Use this when the board powers but won't POST, and your manual states it supports USB recovery. Follow the vendor's required USB port and filename rules exactly, and keep power stable during the rewrite.
2) Dual BIOS / backup ROM switch
Use this when the board has a physical switch or automatic fallback. Switch to the backup BIOS (or trigger the fallback procedure), boot, then re-flash the primary chip from a stable environment.
3) Soft restore via CMOS clear + minimal boot + reflash
Use this when the flash likely succeeded but settings broke boot. Clear CMOS, boot with minimal hardware, enter UEFI, and re-flash the same version (or a known-good version) using the built-in tool.
4) External SPI programmer (last resort)
Use this for hard bricks with no recovery path. Typical tools include a CH341A-class programmer with an SOIC-8 clip; you read the chip, write the correct image, and verify. If you're not comfortable with chip-level work, บริการแฟลช BIOS เมนบอร์ด is safer than experimenting.
Typical Recovery Questions and Short Answers
Is it safer to update from inside UEFI than from Windows?
Usually yes, because UEFI flashing avoids driver and background-process interference. Use the vendor's in-UEFI tool whenever it's available for your board.
Can I cancel a BIOS flash if it looks stuck?
No. Treat it as a write operation: interruption can corrupt firmware. Wait longer than you think is necessary and follow the board's manual for any "no display during update" notes.
Why did my PC boot-loop after an update?
Common causes are memory training after new firmware, reset of boot order, or settings changing (Secure Boot, CSM, SATA mode). Clear CMOS once, boot minimal hardware, then re-apply settings gradually.
Do I need to back up BIOS before I update it?
You should back up what you can: settings profiles, identifiers, and recovery media. Full firmware read-back isn't reliably available on all consumer boards without external tools.
What if the flash tool says the file is not compatible?
Stop immediately and re-check the exact model and PCB revision, then download the correct file from the vendor support page. Don't rename or modify the image unless the vendor instructs it.
When should I use an external programmer?
When there is no POST, built-in recovery doesn't run, and the board has no Dual BIOS fallback. It's the typical path for true "hard brick" recovery.
Will updating BIOS affect BitLocker or device encryption?
It can trigger recovery prompts because platform measurements change. Suspend protection before flashing and keep the recovery key accessible offline until you confirm stable boots.