Safe laptop undervolting means reducing CPU/GPU voltage in small, reversible steps to cut heat and power draw while keeping the same clocks when stable. Do it by taking baselines first, changing only one control at a time, stress-testing after every change, and keeping a clean rollback path. Most "performance loss" comes from instability or hidden power limits, not undervolting itself.
Undervolt Safety Checklist
- Confirm your platform allows undervolting (many newer Intel laptops block it via firmware/security settings).
- Record a baseline: idle and sustained-load temperatures, fan behavior, clocks, and any throttling flags.
- Change only one knob at a time (CPU core first, then cache/uncore or GPU), in small steps.
- After each change, run a repeatable stress test and verify "no errors" plus stable clocks.
- Keep a rollback plan: know where the reset-to-default button is (BIOS, software profile, Safe Mode).
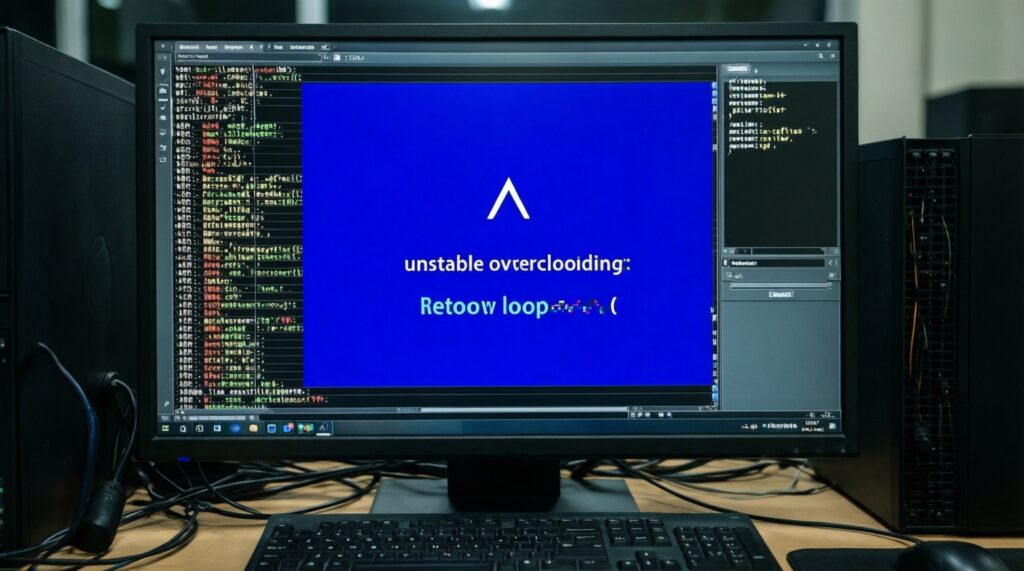
- Stop immediately if you see WHEA errors, BSODs, app crashes, or disk/driver corruption symptoms.
How Undervolting Works on Modern Laptop CPUs and GPUs
Undervolting reduces the voltage required for a given frequency. If the chip remains stable, you typically see lower temperatures and/or less power draw, which can reduce thermal throttling and fan noise. If the voltage is too low, the CPU/GPU starts producing computation errors, leading to crashes, WHEA events, or silent instability.
Good candidates: laptops that run hot under sustained load, hit thermal throttling quickly, or have aggressive fan curves. This is especially relevant when users search for ซ่อมโน้ตบุ๊ก ร้อน อุณหภูมิสูง undervolt as a non-invasive first step before repasting or hardware service.
When not to undervolt (or when to be extra cautious):
- Business-critical machines where any instability is unacceptable.
- Systems with known firmware blocks (common on many Intel 10th-14th gen laptops depending on OEM/BIOS).
- If you already have random crashes at stock settings (fix the root cause first: RAM, drivers, storage, overheating, dust).
- If you cannot monitor stability signals (temps, clocks, error logs) or cannot safely roll back.
Preparing Your Laptop: Backups, Baselines, and Thermal Profiling
- Backup & recovery:
- Create a restore point (Windows) or an image backup if the laptop is mission-critical.
- Save/record BIOS settings (photos are fine) and note how to load "Optimized Defaults."
- Monitoring tools (pick what you trust and can read consistently):
- HWiNFO (sensors, throttling flags, effective clocks, power).
- Windows Event Viewer (WHEA errors) for CPU instability detection.
- GPU monitoring via your driver panel (NVIDIA/AMD) or HWiNFO sensors.
- Undervolt tools by platform:
- Intel: "โปรแกรม Undervolt โน้ตบุ๊ก Intel" commonly refers to Intel XTU or ThrottleStop; availability depends on BIOS/OEM locks.
- AMD Ryzen: "Undervolt โน้ตบุ๊ก AMD Ryzen" is typically done via Curve Optimizer (PBO2) in BIOS/UEFI when available, or OEM utilities on some models. Traditional "negative mV offset" is often not exposed on mobile Ryzen.
- GPU: NVIDIA laptops often benefit from V/F curve tuning (e.g., setting a stable frequency at a lower voltage); AMD dGPU/iGPU depends on driver features and OEM limits.
- Baseline procedure (keep it repeatable):
- Run a 10-15 minute sustained load you can repeat (CPU-only and a mixed CPU+GPU scenario if you game or render).
- Log: peak temperature, sustained temperature, "Effective Clock," CPU package power, and any "Thermal/Power Limit Throttling" indicators.
- Note fan noise and chassis hot spots (simple hand check is enough; consistency matters more than precision).
Step-by-Step Undervolting Workflows for Intel and AMD Systems
If you are following วิธี Undervolt โน้ตบุ๊ก แบบปลอดภัย, treat undervolting as a controlled experiment: small steps, single-variable changes, validation after each step, and easy rollback.
Risks and platform limitations to acknowledge first
- Intel undervolt may be blocked by BIOS updates or OEM settings; forcing workarounds is not "safe undervolting." If controls are locked, stop and use alternatives (power limits, fan curve, repaste).
- AMD mobile Ryzen often uses Curve Optimizer, not classic voltage offsets; pushing too negative can cause rare, hard-to-diagnose errors.
- GPU undervolt changes gaming stability first; it may pass CPU stress tests but crash in specific games or ray tracing workloads.
- Silent instability is worse than a crash: it can corrupt long computations. Validate with error-checking tests, not only "it didn't crash."
-
Set a rollback anchor (before touching voltage)
Create a dedicated profile in your tuning tool and keep a "Stock/Default" profile saved. Confirm you can boot into Safe Mode and uninstall the tuning tool if needed.
- Write down where "Reset to defaults" lives (XTU/ThrottleStop/BIOS).
- Disable any automatic startup applying undervolt until you pass validation.
-
Intel CPU: start with a conservative Core undervolt
If your Intel controls are available, begin with a small negative offset and move in small steps. A practical safe starting range is around -20 mV to -50 mV on CPU Core, then test.
- Change CPU Core first; leave Cache/Uncore at 0 initially (cache instability can show up earlier on some systems).
- Increase the negative offset in small increments (for example, -10 mV steps) only after passing stability checks.
-
Intel CPU: optionally tune Cache/Uncore after Core is stable
After you find a stable Core offset, apply a smaller (or equal) negative offset to Cache/Uncore, then re-test. If instability appears, reduce Cache/Uncore first.
- Typical pattern: Cache needs less undervolt headroom than Core on many laptops.
- Keep iGPU undervolt separate; don't change multiple domains at once.
-
AMD Ryzen CPU: prefer Curve Optimizer (when BIOS exposes it)
On many Ryzen laptops, you'll undervolt by applying a negative Curve Optimizer value per-core or all-core. Start small (a mild negative curve), validate, then move further only if stable.
- If per-core is available: start all-core mild negative, then refine the worst cores later.
- If only all-core is available: keep steps small; laptop firmware can be sensitive to aggressive curves.
-
GPU undervolt (optional): use a fixed efficient point instead of chasing the lowest voltage
For gaming laptops, pick a target frequency you already sustain, then lock it at a lower stable voltage using the GPU's V/F curve tools (where supported). Validate with your heaviest game or a repeatable benchmark loop.
- If you see driver resets, black screens, or game-specific crashes, back off one step.
- Don't undervolt CPU and GPU aggressively at the same time until each is stable alone.
-
Only after stability: enable auto-apply at startup
When you've passed both synthetic and real workloads for several sessions, then enable startup application of your undervolt profile. Keep a clear naming scheme like "Stable - Daily" and "Test - Next Step."
Validating Stability: Stress Tests, Error Signs, and Metrics
- Run a CPU stress test that reports calculation errors (not only "load"); stop if any errors appear.
- Check Windows Event Viewer for WHEA-Logger entries after each test session; treat them as instability even without a crash.
- Confirm sustained "Effective Clock" is stable (no periodic dips) and compare against your baseline.
- Verify "Thermal Throttling" flags: undervolt should reduce throttling frequency, not increase it.
- Test a mixed workload (CPU+GPU) if that matches your real use (gaming, editing, streaming).
- Run at least one cold boot and one sleep/resume cycle; some undervolts fail only after power-state transitions.
- Validate on battery as well as plugged-in if you use both; power management can change stability margins.
- Watch for subtle signs: browser tab crashes, decompression errors, random app exits-these count as failures.
Real-time Monitoring: Temperature, Power Draw, and Performance Counters
- Confusing "lower temp" with "lower performance": verify effective clocks and benchmark scores, not only temperature.
- Using peak temperature only: track sustained temperature and throttling indicators; a quick peak is less meaningful.
- Ignoring power limits: if PL1/PL2 (or OEM limits) are the real bottleneck, undervolt may not change performance until limits are adjusted safely.
- Changing Core and Cache together: you lose the ability to identify which rail is unstable.
- Testing only with one benchmark: pass at least one error-checking CPU test and one real workload (game/render/export).
- Relying on "no crash in 5 minutes": many undervolt failures show up after heat soak or during idle-to-boost transitions.
- Letting the tool auto-apply too early: a bad profile at startup can create a boot loop of crashes and driver resets.
- Forgetting dGPU vs iGPU context: undervolting the wrong GPU path won't help, and may destabilize display output.
Rollback and Long-term Maintenance: When to Undo Changes and Reduce Risk
If undervolting is blocked, unstable, or too time-consuming to validate, these alternatives often deliver most of the benefit with lower risk:
- Set sensible power limits or performance mode caps: slightly reducing sustained CPU power can cut heat dramatically while keeping responsiveness.
- Improve cooling path: clean vents/fans, replace worn thermal paste/pads (best done carefully or by a qualified shop).
- Fan curve tuning (where OEM tools allow): trading a bit more fan noise for stable clocks is often safer than an aggressive undervolt.
- Get professional help when symptoms are severe: if you're already at shutdown temps or see hardware-level issues, บริการ Undervolt โน้ตบุ๊ก ลดความร้อน from a reputable technician can be paired with cleaning/repaste for a holistic fix.
Undo your undervolt immediately if you see repeated WHEA errors, BSODs, game driver resets, or any sign of data corruption. Re-test at stock; if problems remain, treat it as a hardware/driver issue, not an undervolt tuning issue.
Typical Concerns, Side Effects, and How to Mitigate Them
Will undervolting reduce performance?
Not when it's stable: clocks and boost behavior can stay the same, and throttling may reduce. Performance drops usually indicate instability, hidden power limits, or an overly aggressive GPU V/F point.
Why can't I undervolt my Intel laptop even with the right tool?
Many OEM BIOS updates disable undervolting controls for security reasons. If the voltage sliders don't apply, don't force risky workarounds-use power-limit tuning, cooling maintenance, or fan curve options instead.
Is "negative offset" the same as AMD Ryzen Curve Optimizer?
No. Curve Optimizer changes the voltage-frequency behavior indirectly; negative values can improve efficiency but may destabilize boost transitions. Start small and validate with WHEA checks and sleep/resume cycles.
What are the first signs my undervolt is too aggressive?
WHEA-Logger events, BSODs, app crashes, and rare "random" reboots are typical. Back off one increment and re-test; if issues persist, revert to stock and confirm stability.
Can undervolting damage hardware?
Undervolting itself is not an over-voltage stress, but instability can cause crashes and potential data loss. The practical risk is reliability, not physical damage-mitigate it with small steps, strong validation, and a rollback path.
Should I undervolt CPU and GPU at the same time?
Do them separately first. Lock in a stable CPU configuration, then tune GPU, because mixed changes make it hard to identify the unstable component.