To upgrade laptop Wi‑Fi/Bluetooth by replacing the internal card, you must confirm the card slot and keying (M.2 vs mini PCIe), avoid OEM BIOS whitelist traps, and verify your antenna leads match the new card's connectors. Done safely, this swap improves Wi‑Fi standards (including Wi‑Fi 6) and Bluetooth reliability without changing the whole laptop.
Essential prep before swapping the Wi‑Fi/Bluetooth card
- Confirm the physical slot (M.2 2230 or mini PCIe) and interface (PCIe vs CNVi) before ordering.
- Check for BIOS/OEM whitelist behavior so the laptop doesn't refuse to boot after the swap.
- Inspect antenna count and connector type (often MHF4/IPEX4 vs MHF1/IPEX1) to avoid mismatches.
- Download the correct Wi‑Fi and Bluetooth drivers in advance, and note your current BIOS version.
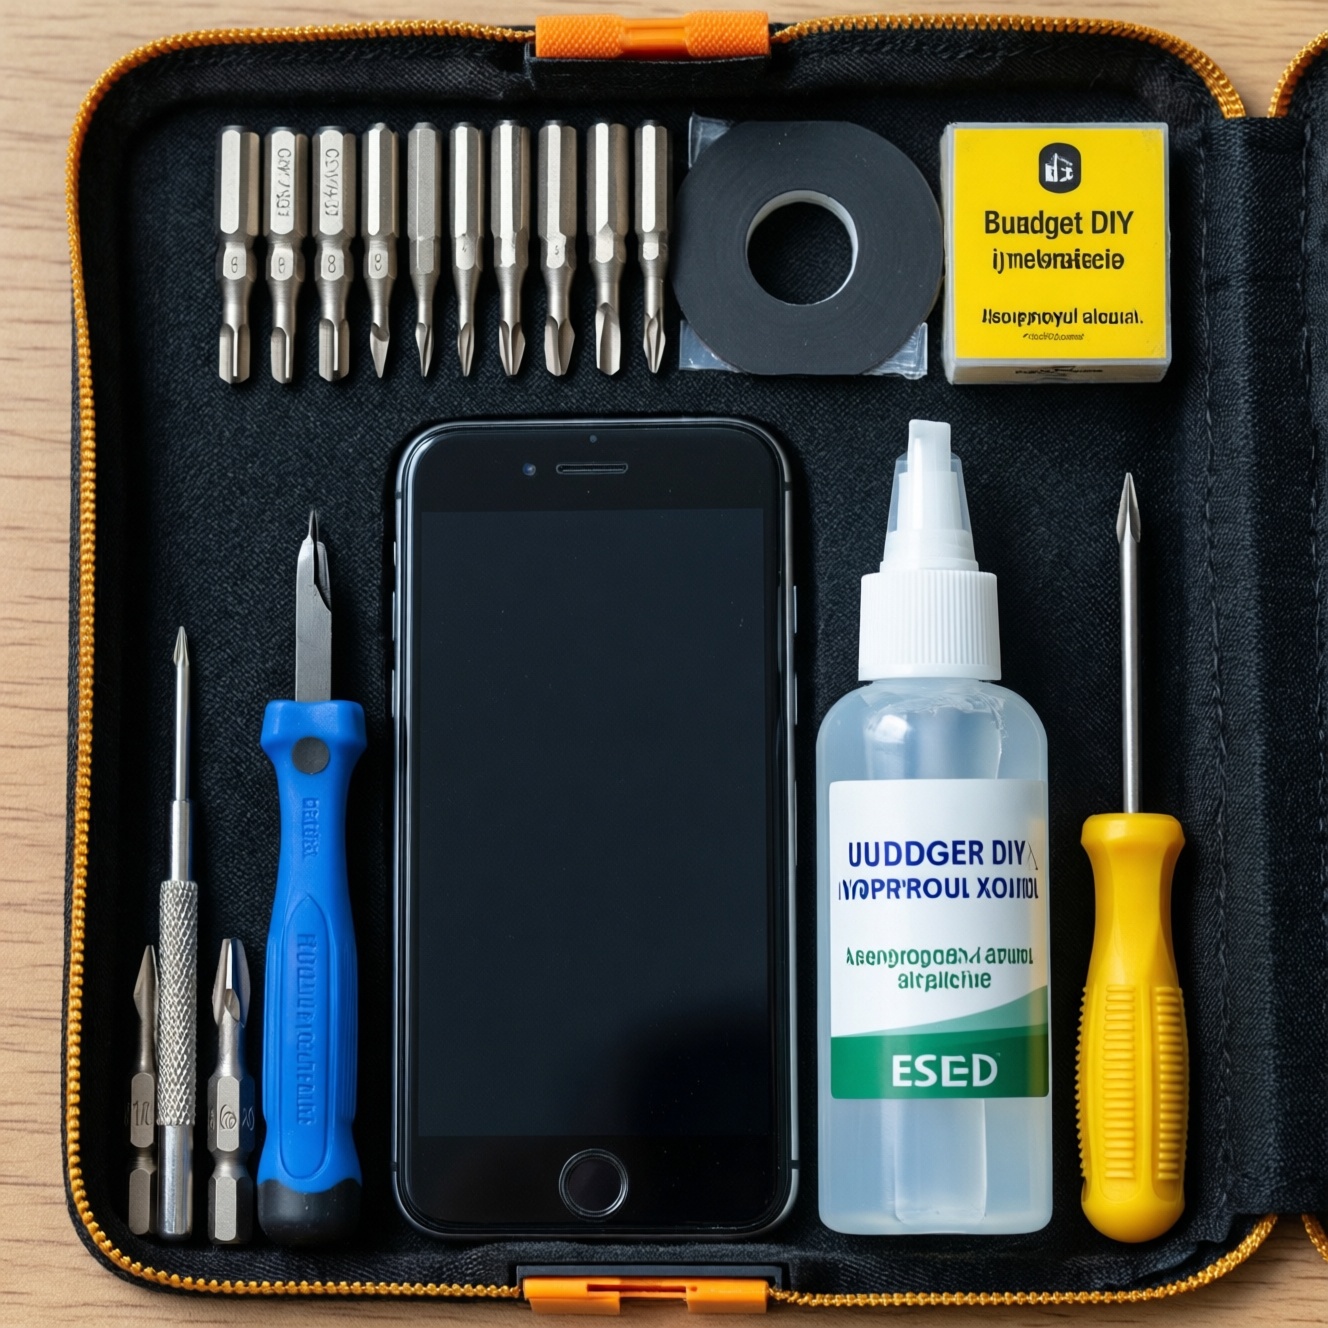
- Plan ESD-safe handling and have the right screwdrivers/spudger to prevent connector or casing damage.
Identify compatible M.2/PCIe card form factors and supported standards
This upgrade is suitable if your laptop has an accessible Wi‑Fi card slot and replaceable antennas. It's often the fastest path for อัปเกรดการ์ด Wi‑Fi โน้ตบุ๊ก, especially when you want Wi‑Fi 6/6E or better Bluetooth stability.
- Common form factors: M.2 2230 (Key E / A+E) or legacy mini PCIe.
- Common standards you may target: 802.11ac (Wi‑Fi 5), 802.11ax (Wi‑Fi 6/6E) and Bluetooth 5.x (varies by card).
When not to do it: if your laptop uses a soldered Wi‑Fi module, the WLAN slot is blocked by the chassis, or the system is known for strict whitelists and you're not willing to risk boot issues. Also avoid upgrading to a card that requires more antennas than you physically have.
Check and safely handle OEM whitelist and BIOS restrictions
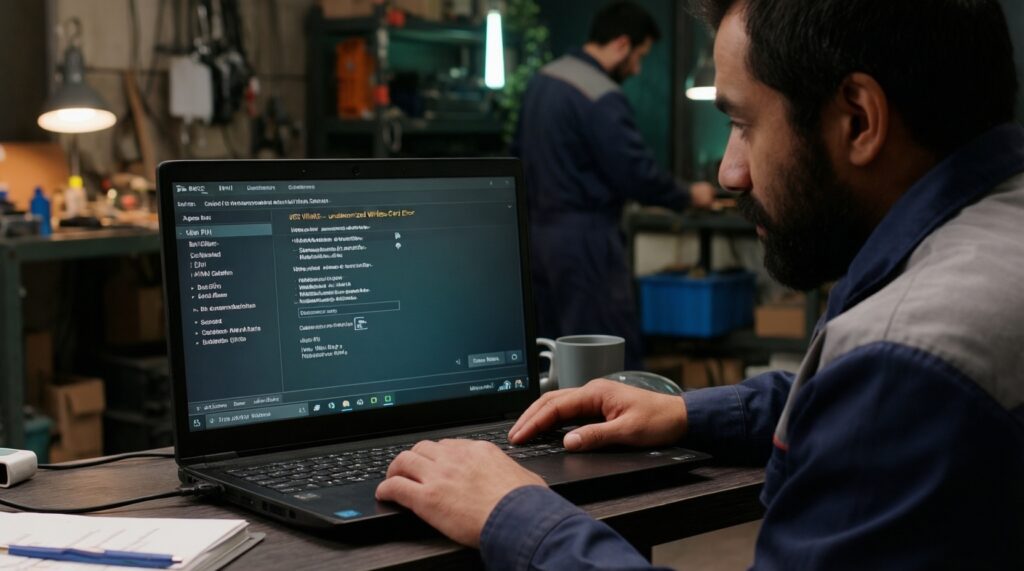
Before you เปลี่ยนการ์ด Wi‑Fi Bluetooth โน้ตบุ๊ก, confirm whether your laptop firmware enforces a "whitelist" (only approved card IDs are allowed). If whitelisted, the machine may show an unauthorized card error or fail to boot.
| Prep item | What to capture / prepare | Why it matters |
|---|---|---|
| BIOS/UEFI version | Record current version and vendor model ID | Helps decide whether an official update may add support or change whitelist behavior |
| Drivers (Wi‑Fi + Bluetooth) | Download offline installers for your OS | Prevents being stuck without connectivity after the swap |
| Tools | PH0/PH00 screwdriver, plastic spudger, ESD method | Reduces risk of stripped screws, cracked clips, and ESD damage |
| Spare parts | Correct card type + antenna pigtails/adapters if needed | Avoids connector mismatch (common with MHF4 vs MHF1) |
| Firmware/OS recovery | BitLocker recovery key (if used), restore point, bootable USB (optional) | Protects you if BIOS settings reset or a driver rollback is needed |
How to check for whitelist risk quickly
- Search your exact model + "whitelist" + WLAN in reputable forums and service notes. If many users report "unauthorized wireless card" boot errors, treat it as high risk.
- Enter BIOS/UEFI and review WLAN settings (some business models expose wireless device control). Most consumer BIOS menus won't explicitly say whitelist, so absence of a menu is not proof.
- Compare your current card family to the planned one. Large jumps (e.g., vendor change or CNVi mismatch) can trigger compatibility problems even without a strict whitelist.
Two approaches if a whitelist blocks the upgrade (risk-aware)
- Preferred: official BIOS update or vendor-approved FRU/part (lowest risk). Update BIOS only if the release notes and your model line suggest improved hardware support; always plug in AC power and avoid interruptions.
- Accepted but risky: community BIOS mod / whitelist removal (higher risk). This can brick the laptop, break Secure Boot, or violate local service terms; do it only if you can recover BIOS (hardware programmer or vendor crisis recovery) and accept the consequences.
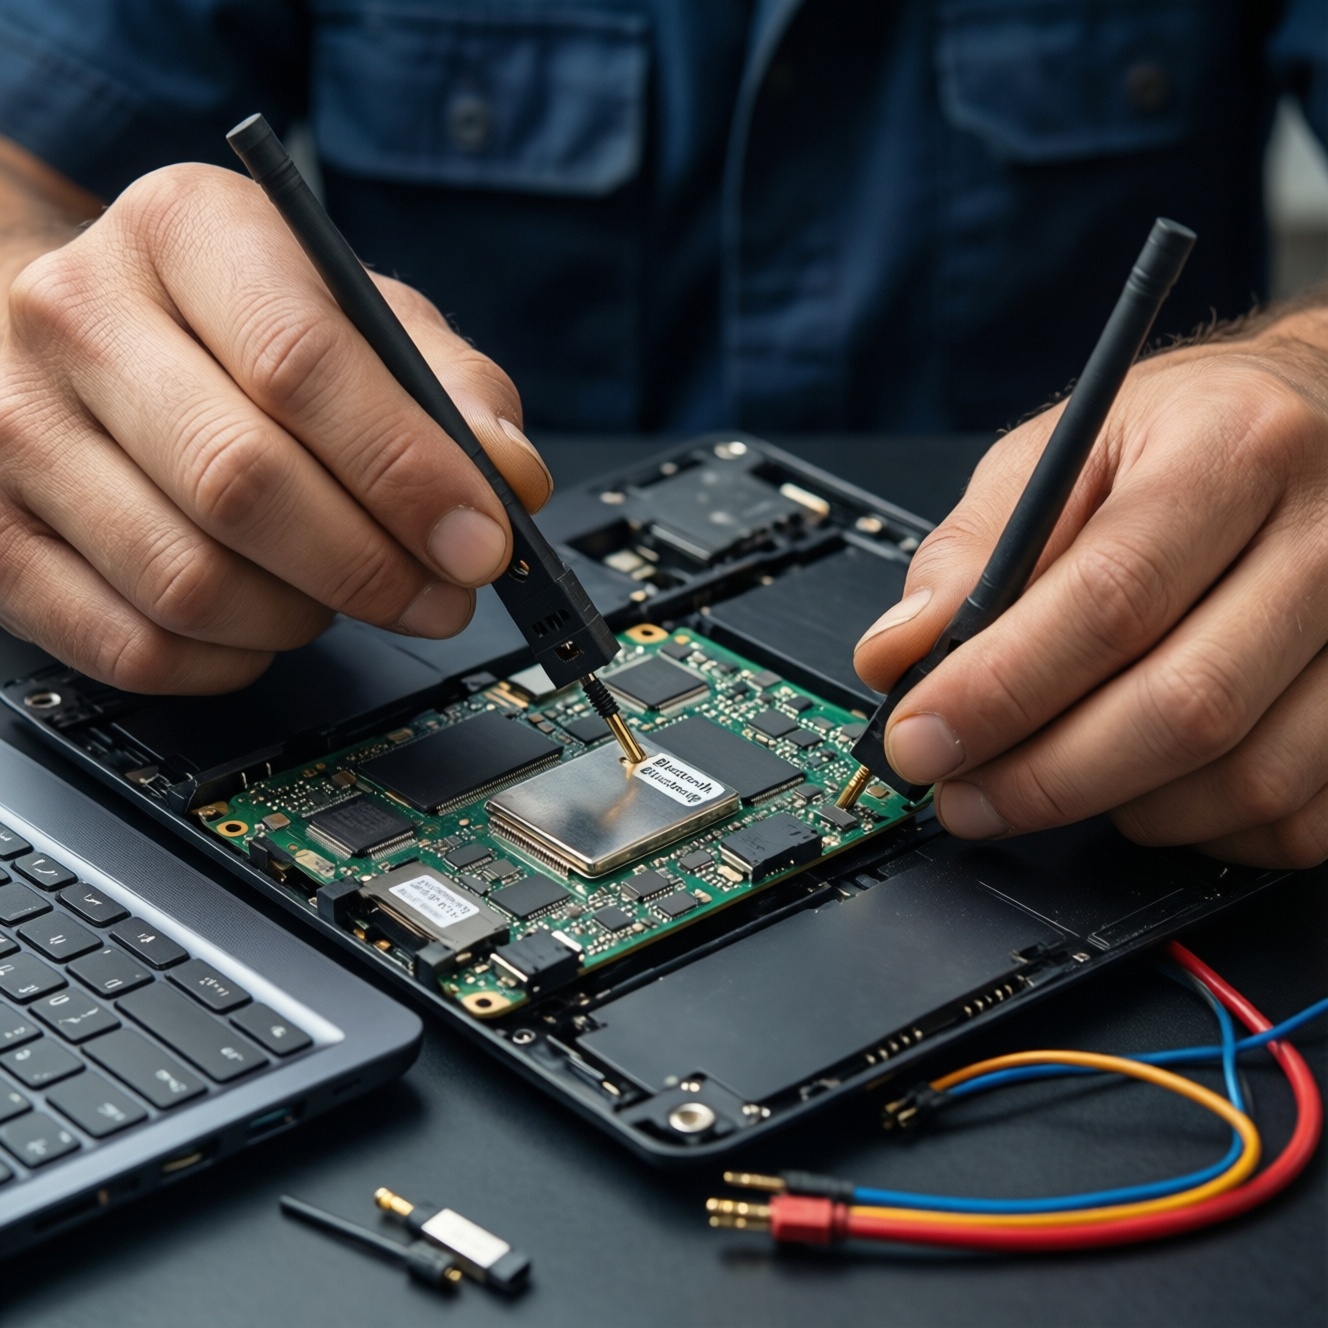
Inspect laptop antennas: types, connectors and optimal routing
- Power off, unplug AC, and if the battery is removable disconnect it; for internal batteries, disconnect after opening the cover.
- Ground yourself (ESD strap or regularly touch a grounded metal surface) before touching the WLAN card or antenna leads.
- Take clear photos of the existing antenna routing and which lead goes to MAIN/AUX.
-
Locate the WLAN card and identify antenna count
Most laptops have two leads (MAIN and AUX). Some premium models have three; many budget models have only one, which limits peak performance on newer cards.
- If you only have one antenna, prioritize stability and realistic expectations over peak speed claims.
-
Confirm connector type on the antenna leads
Common micro connectors include MHF4/IPEX4 (smaller) and MHF1/IPEX1 (larger). A mismatch means the lead won't snap on, and forcing it can destroy the socket on the new card.
- If you need parts, note that people often search เสาอากาศ Wi‑Fi โน้ตบุ๊ก ซื้อที่ไหน; look for "Wi‑Fi antenna pigtail" matching your connector (and the chassis mounting style).
-
Check the antenna path and pressure points
Antenna cables should follow the original channels without crossing hinge pinch zones. Poor routing causes intermittent drops when opening/closing the lid.
-
Plan MAIN/AUX mapping before removal
Cards are usually labeled MAIN/AUX near the sockets. Keep the same mapping as the original unless the service manual specifies otherwise; take a photo as a reference.
-
Assess whether you need an adapter or new antenna set
If the new card uses different sockets, use correct pigtails/adapters rather than "almost fits." For a Wi‑Fi 6 upgrade, prioritize correct connector fit and clean routing over theoretical specs.
- If you are planning to ซื้อการ์ด Wi‑Fi 6 โน้ตบุ๊ก, verify the card is the right interface for your platform (PCIe/USB vs CNVi) before paying.
Tools, spare parts and system backups: a concise prep checklist
- Correct replacement card form factor (M.2 2230 Key E/A+E or mini PCIe) and interface compatibility verified.
- Offline Wi‑Fi and Bluetooth drivers downloaded; you can install without internet.
- Current BIOS version noted; BIOS admin password (if set) available.
- BitLocker recovery key saved (Windows) or disk encryption key available (if used).
- PH0/PH00 screwdriver, plastic spudger, tweezers (optional), and an ESD-safe method prepared.
- Antenna connector type confirmed; any needed pigtails/adapters ready.
- Photos taken of antenna routing and MAIN/AUX positions.
- Small container for screws; a clean workspace with good lighting.
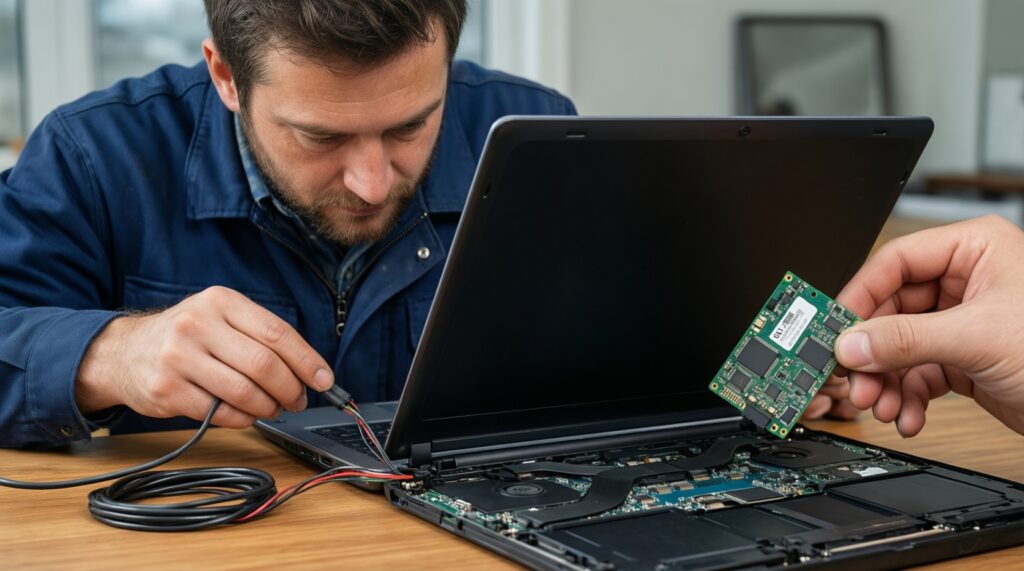
Physical replacement: disassembly, card swap and reassembly steps
These are the mistakes that most often turn a simple swap into a no-boot or no-signal problem.
- Not disconnecting power properly: leaving AC connected or an internal battery plugged in can short components when tools slip.
- Stripping the single retention screw: use the correct bit size and downward pressure; that screw is easy to damage.
- Prying antenna connectors sideways: pop them straight up with a fingernail/spudger; side force can rip the socket off the card.
- Forgetting MAIN/AUX order: reversed leads can reduce signal quality; rely on your photo and the card labels.
- Pinching antenna cables during reassembly: route through original channels, especially around hinges and screw posts.
- Installing a CNVi-only card into a non-CNVi platform (or vice versa): the card may physically fit but won't function.
- Assuming "Intel AX200/AX210" fits everything: check interface and region features; many users searching การ์ด Wi‑Fi โน้ตบุ๊ก Intel AX200 AX210 ราคา focus on price and miss compatibility details.
- Skipping driver cleanup when needed: old vendor suites can conflict; keep a rollback plan.
Validation and tuning: driver install, Bluetooth pairing and signal checks
Choose the approach that matches your OS state and what you observe after boot.
- Standard path (recommended): Boot, install the downloaded Wi‑Fi driver, then the Bluetooth driver, then reboot. Verify both radios appear normally in Device Manager/System Information and test a 5 GHz/6 GHz (if supported) network plus a Bluetooth device.
- Clean-driver path (when devices appear with errors): Remove old WLAN/Bluetooth software, reboot, then install fresh drivers. Use this if you see code errors, repeated disconnects, or missing Bluetooth after swapping.
- OS update path (when drivers are uncertain): If you can connect via Ethernet or USB tethering, let the OS update pull compatible drivers first, then replace with vendor drivers if needed for stability.
- Hardware-limits path (when performance is underwhelming): If you only have one antenna or poor antenna placement, focus on reliability: correct MAIN/AUX, clean routing, and router/channel settings rather than expecting maximum throughput.
Common troubleshooting and compatibility clarifications
The laptop powers on but shows an unauthorized wireless card message. What now?
This is typical whitelist behavior. Reinstall the original card to regain boot, then pursue an official BIOS update/vendor-approved part or accept the higher-risk BIOS mod route.
Wi‑Fi works but Bluetooth is missing after the swap. Why?
Many cards expose Bluetooth over an internal USB interface, so a missing Bluetooth driver or a disabled internal USB device can cause this. Install the correct Bluetooth driver and check BIOS wireless/USB device settings.
Can I install any Wi‑Fi 6 card if it physically fits?
No. Physical fit doesn't guarantee interface compatibility (PCIe/USB vs CNVi) or whitelist acceptance. Verify slot type, keying, and platform requirements before you ซื้อการ์ด Wi‑Fi 6 โน้ตบุ๊ก.
My antenna plugs don't snap onto the new card. What does it mean?
You likely have a connector mismatch (for example MHF4 vs MHF1). Don't force it-use the correct pigtail/adapter or replace the antenna leads with the proper connector type.
Signal got worse after installation. What should I check first?
Confirm MAIN/AUX are connected to the correct sockets and that the cables aren't pinched. Also verify the antenna connectors are fully seated; partial seating can look connected but perform poorly.
Is it normal that Wi‑Fi works only at 2.4 GHz after the upgrade?
No; it usually indicates driver issues, router settings, or antenna problems. Update drivers, verify the router's 5 GHz/6 GHz SSID settings, and recheck antenna seating and routing.
Where should I focus when doing an "อัปเกรดการ์ด Wi‑Fi โน้ตบุ๊ก" for stable everyday use?
Prioritize compatibility (slot/interface/whitelist) and antenna correctness over headline specs. A well-matched card with properly routed antennas outperforms a higher-spec card installed with mismatched leads.