To safely increase FPS with MSI Afterburner, raise power/clock limits in small steps, cap GPU temperature, and validate stability with repeatable stress tests while logging metrics. The goal is not the highest MHz, but stable performance under Thailand's warmer ambient conditions. Always keep a one-click rollback profile and stop at the first sign of artifacts or crashes.
Safety-first summary for GPU tuning with Afterburner
- Change one variable at a time (power, core, memory, then voltage only if needed).
- Use small increments and short tests; stop immediately on artifacts, driver resets, or black screens.
- Set a temperature limit early and pair it with a predictable fan curve to avoid heat soak.
- Log GPU temperature, clocks, power, and fan speed; tune based on data, not "feels faster".
- Save a stock profile and a "known-stable" profile for instant rollback.
- Don't tune on a dirty cooler, unstable PSU, or outdated drivers.
How MSI Afterburner interacts with GPU hardware limits
MSI Afterburner applies software offsets (core/memory clocks, power limit, fan curve) on top of your GPU's firmware rules: voltage/frequency curves, thermal throttling, and power protections. You can only tune within what the card's BIOS and driver allow; if a slider is locked, that limit is enforced by design.
การ์ดจอรุ่นไหนใช้ MSI Afterburner ได้บ้าง: most modern NVIDIA GeForce and AMD Radeon desktop GPUs work, including many laptop GPUs, but OEM laptops often restrict power/voltage controls and may ignore aggressive fan curves.
Skip tuning when:
- Your system already crashes at stock, or your GPU overheats during normal gaming.
- You cannot keep the case dust-free, or the room is consistently hot and airflow is poor.
- You rely on mission-critical uptime (workstation renders, live production) and cannot tolerate instability.
- You are within a strict warranty policy where any OC is considered misuse (vendor-dependent).
Pre-tuning checklist: drivers, power, cooling, and baseline metrics
Before you try วิธีโอเวอร์คล็อกการ์ดจอด้วย MSI Afterburner, lock down a clean baseline so you can prove gains and quickly revert.
- Get the correct installer: use the official site for ดาวน์โหลด MSI Afterburner and avoid re-packed downloads.
- Update GPU drivers: do a standard update; if you have driver issues, use a clean-install option from your vendor.
- Power stability: confirm the PSU is reputable and correctly cabled (separate PCIe power leads when applicable), and avoid unstable power strips/overloaded outlets.
- Cooling readiness: clean dust filters/heatsinks, ensure all GPU fans spin freely, and verify case intake/exhaust airflow.
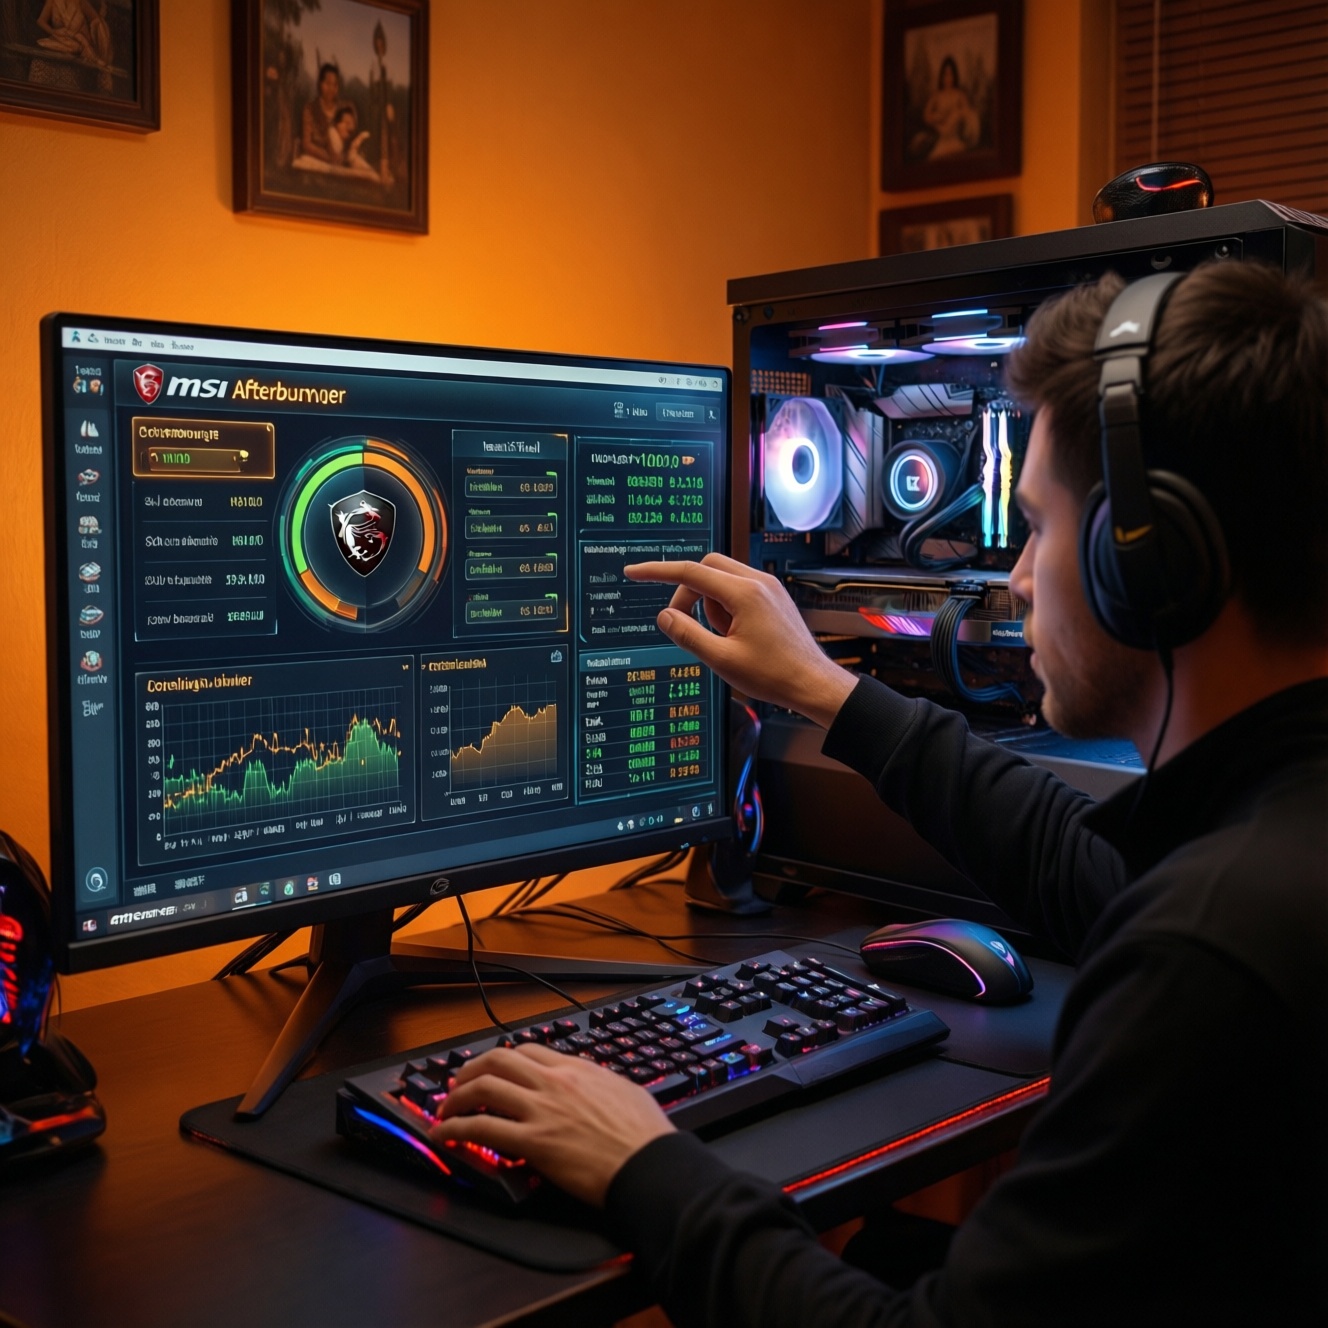
- Monitoring tools: enable Afterburner OSD/monitoring (GPU temp, hotspot if available, core clock, memory clock, power, fan, GPU usage).
- Baseline run: record a stock benchmark/game run (same map/scene, same settings) to later confirm you actually เพิ่ม FPS ด้วย MSI Afterburner.
Practical step-by-step overclocking procedure (core, memory, voltage)
Risks and constraints (read first):
- Higher power and clocks raise heat; heat can reduce performance via throttling even if the offset looks "stable".
- Memory instability often shows as texture corruption or flickering before a full crash.
- Voltage tuning can amplify heat and long-term stress; use it only after exhausting power/thermal tuning.
- Every GPU sample differs; copying someone else's MHz numbers is unreliable.
-
Create rollback profiles (non-negotiable)
Save Profile 1 as "Stock" (no offsets) and Profile 2 as "Baseline stable". If anything goes wrong, you must be able to revert in one click without guessing prior values.
- In Settings, enable "Start with Windows" only after you have a proven stable profile.
- Keep "Apply overclocking at system startup" disabled until the end.
-
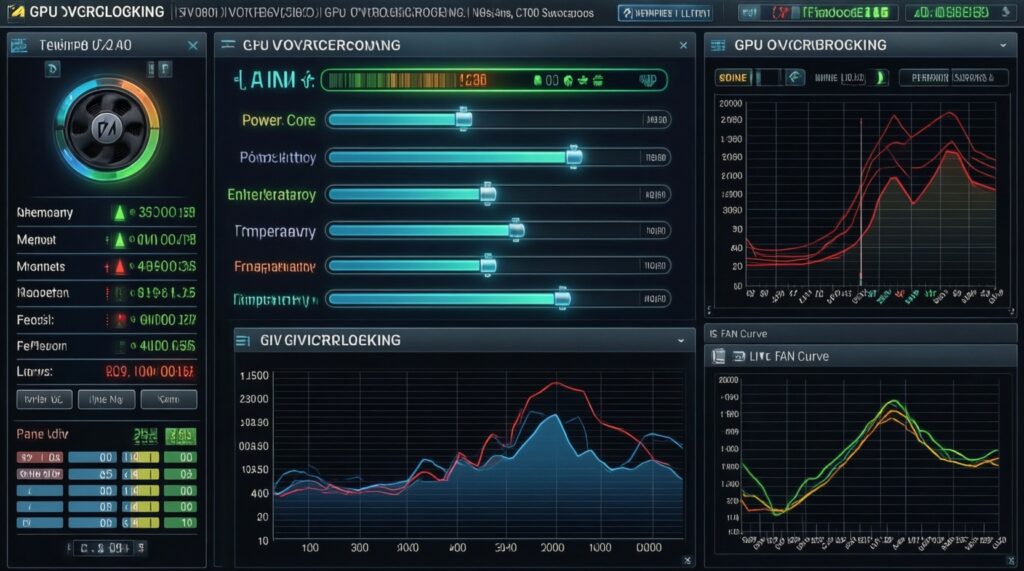
Set a conservative power limit first
Increase Power Limit modestly if available, then keep Temp Limit conservative (you will refine it later). This reduces premature power throttling while you test small clock steps.
- If your card links Power/Temp limits, adjust them together and prioritize temperature safety.
-
Core clock: small steps, short tests
Add a small Core Clock (MHz) offset (e.g., +15 to +25 MHz), click Apply, then run a short stress test or a repeatable in-game scene for several minutes. If stable, repeat; if not, step back to the last stable value.
- Rollback signs: driver crash, black screen, app exit, or sudden "sparkles"/geometry glitches.
- Mitigation: reduce core offset by one or two steps and retest.
-
Memory clock: tune separately from core
Return core to your stable value, then add a small Memory Clock (MHz) offset (e.g., +25 to +50 MHz). Memory errors can be subtle; use artifact checks and texture-heavy scenes.
- Rollback signs: texture flicker, checkerboarding, shimmering edges, UI corruption.
- Mitigation: reduce memory offset and retest longer; memory "almost stable" is not stable.
-
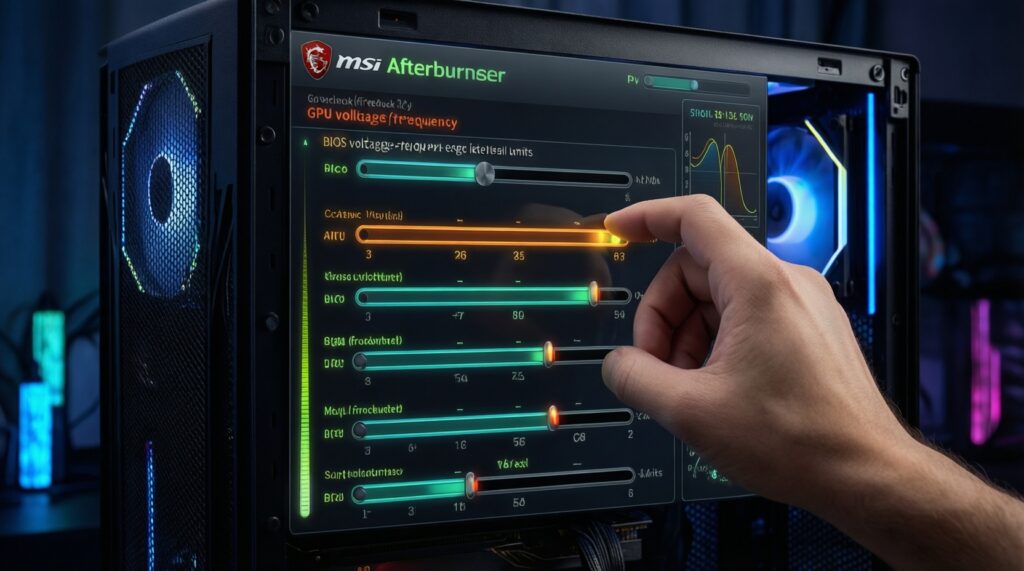
Only then consider voltage (often optional)
If you hit a core stability wall but temperatures are well-controlled, a small voltage increase (if your GPU allows it) can help stabilize the same clock. If voltage controls are locked, do not force unofficial mods.
- Mitigation-first approach: prefer slightly lower clocks over higher voltage in hot rooms.
- If voltage raises temps quickly, revert voltage and reduce core offset.
-
Validate the combined settings
Apply your best stable core + memory + power/thermal settings together and run longer tests. This is the moment where interactions (power spikes, heat soak) often reveal instability.
- Save as "Daily stable" only after it survives a longer gaming session without any artifacts.
Implementing temperature caps and automated fan curves
To ตั้งค่า MSI Afterburner จำกัดอุณหภูมิ GPU, use both a temperature limit and a fan curve. The goal is a steady temperature under sustained load, not a brief peak that later climbs due to heat soak.
- Enable a Temp Limit you're comfortable sustaining for long sessions; avoid pushing the highest allowed limit "because it's there".
- In Fan settings, enable User defined software automatic fan control.
- Set a gradual curve that ramps earlier (mid-load) rather than waiting for high temperatures.
- Confirm fan response: run a load and verify fan RPM changes match the curve (no stuck fan behavior).
- Watch for throttling flags (power/thermal) in monitoring; adjust power and fan curve to reduce sustained throttling.
- Re-check case airflow: intake/exhaust balance matters more once the GPU is drawing more power.
- After changes, re-run the same baseline scene to ensure performance is consistent, not oscillating.
Stress testing, artifact detection, and benchmarking for stability
- Testing too short: a 2-3 minute run can pass while a 30-60 minute session fails after heat soak. Fix by extending tests after each "final" change.
- Changing multiple sliders at once: you lose the cause of instability. Fix by isolating power, then core, then memory, then voltage.
- Ignoring silent artifacts: micro-flicker or rare sparkles still count as instability. Fix by backing down memory/core and retesting in the same scene.
- Chasing peak FPS only: inconsistent frametimes can worsen even if average FPS rises. Fix by comparing a repeatable run and watching for stutter.
- Letting temperature drift: open-case vs closed-case results differ. Fix by testing in your real daily configuration.
- Auto-starting unstable settings: boot loops and black screens happen when Afterburner applies bad offsets on startup. Fix by keeping startup apply disabled until proven stable.
- Misreading "power limit" as "safe limit": higher power can be safe only if cooling and PSU are adequate. Fix by prioritizing temperature caps and stability.
Profile management, rollback strategy, and safe long-term practices
If you want safer alternatives or your environment is hot/noisy, use one of these approaches:
- Undervolt (efficiency tuning) instead of overclock: often reduces temperatures and noise while keeping performance close to stock; ideal for warm rooms and small cases.
- Power-limit tuning only: set a slightly lower power limit for quieter operation; useful when the GPU already boosts well but runs too hot.
- Fan-curve-only optimization: when performance is fine but thermals are not; lowers throttling risk without touching clocks.
- Per-game profiles: apply aggressive settings only to specific games; keep a conservative daily profile for everything else.
- Rollback procedure: if instability appears, switch to Stock profile, click Apply, close the game, and retest. If Windows becomes unstable, disable Afterburner startup and revert to stock settings.
- Long-term habit: revalidate stability after major driver updates, seasonal temperature changes, or case airflow changes.
Common risks, misconceptions, and concise remedies
Will MSI Afterburner work on my GPU?
Generally yes for modern NVIDIA/AMD GPUs, but some laptops and OEM cards lock power/voltage controls. If sliders are missing or changes don't apply, your firmware/driver is restricting tuning.
Is raising the Power Limit the same as overvolting?
No. Power limit allows the GPU to draw more power before throttling; it doesn't guarantee a voltage increase. Temperatures can still rise, so pair it with a temperature cap and fan curve.
Why did my FPS not improve after an overclock?
You may be CPU-limited, thermally throttling, or hitting a different bottleneck (VRAM, game engine). Confirm by monitoring GPU usage and comparing the same repeatable benchmark scene.
What's the first sign that my memory overclock is too high?
Texture corruption, flickering, or shimmering can appear before a crash. Reduce the memory offset and retest longer; "rare artifacts" still mean unstable.
Can I set "Apply at startup" once I find a stable setting?
Yes, but only after it survives longer testing and real gaming sessions. Keep a Stock profile saved so you can instantly revert if a future driver update changes behavior.
Does a higher temperature limit automatically give better performance?
Not reliably. Higher temperatures can increase throttling or worsen sustained boost behavior; a lower, stable temperature often produces more consistent performance.
What should I do after a black screen or driver reset during tuning?
Revert to the last stable profile (or Stock), then reduce the most recent change (usually core or memory). Retest with temperature logging and avoid enabling startup apply until stability is proven.