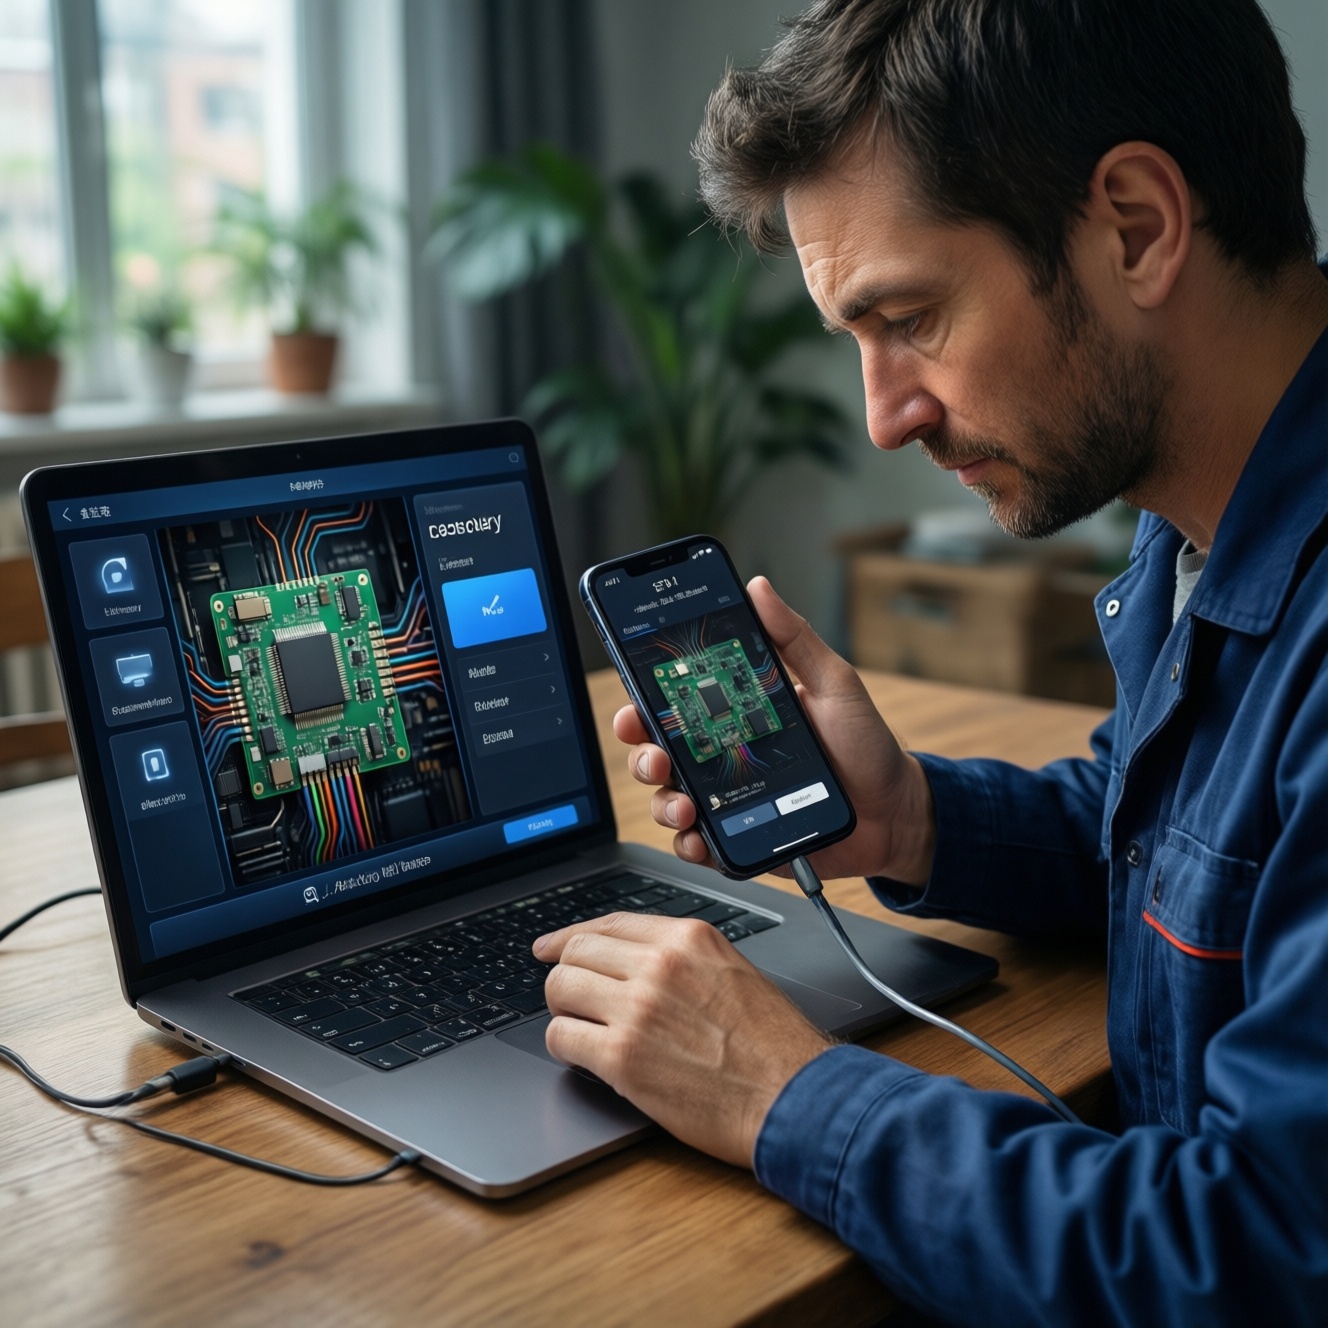
To revive an old laptop quickly, replacing a slow HDD with an SSD is the highest-impact upgrade: boot, app launches, and multitasking responsiveness improve immediately because random read/write latency drops dramatically. This guide covers compatibility (SATA vs M.2 NVMe), safe preparation, cloning or clean install, a risk-aware hardware swap, and post-install checks to avoid data loss and boot failures.
Why an SSD Swap Revives an Old Laptop
- Much faster system responsiveness because SSDs handle small random IO far better than HDDs.
- Lower noise and heat than a spinning drive, improving daily comfort and often battery efficiency.
- Fewer moving parts reduces failure from shock and vibration (important for older laptops).
- Upgrading storage is usually cheaper and more noticeable than CPU/RAM changes on aging systems.
- Enables modern OS features (faster updates, smoother swap/pagefile use) that feel sluggish on HDD.
Assessing Compatibility: SATA, m.2 NVMe and Drive Sizes
Before you เปลี่ยน HDD เป็น SSD โน้ตบุ๊ก, confirm what your laptop can accept. Many older models support only 2.5-inch SATA; some have an M.2 slot (SATA or NVMe), and a few support both. If your laptop has severe overheating, unstable power, or a failing motherboard, storage upgrades won't fix crashes.
What to check (quick)
- Current drive type: 2.5-inch SATA HDD is most common in older laptops.
- M.2 slot presence: If present, confirm whether it supports NVMe (PCIe) or M.2 SATA only.
- Physical size: 2.5-inch thickness (7mm vs 9.5mm); M.2 length (commonly 2280).
- BIOS/UEFI support: Some older BIOS versions have limited NVMe boot support.
- Spare bay/caddy: If you keep the HDD as a secondary drive (e.g., replacing DVD bay), confirm caddy size.
When you should pause or reconsider
- Disk encryption you can't unlock: BitLocker/device encryption without recovery key risks permanent data loss.
- Unknown warranty seals or corporate devices: Opening may void warranty or violate IT policy.
- Only one storage slot and no external adapter: Cloning becomes harder without a USB-to-SATA/M.2 enclosure.
- Severe thermal throttling: NVMe may run hot; SATA SSD can be safer for older cramped chassis.
Choosing between SATA SSD and NVMe SSD (cost/benefit)
| Option | Fits where | Pros | Cons / risks | Best for |
|---|---|---|---|---|
| 2.5-inch SATA SSD | 2.5-inch drive bay (replaces HDD) | Very compatible; runs cooler; easy migration; great real-world upgrade from HDD | Lower peak throughput than NVMe; limited by SATA interface | Most old laptops; safest อัปเกรด SSD โน้ตบุ๊ก path |
| M.2 SATA SSD | M.2 slot that supports SATA | Compact; often easy install; similar real-world feel to SATA 2.5-inch | Confusing compatibility (M.2 shape doesn't guarantee NVMe); still SATA-limited | Laptops with M.2 slot but no NVMe boot support |
| M.2 NVMe SSD | M.2 slot with PCIe/NVMe support | Highest throughput; best for large file work and heavy multitasking | Potential heat/throttling; may need BIOS update; requires correct M.2 keying/length | Newer "old" laptops with confirmed NVMe support |
If you're evaluating SSD สำหรับโน้ตบุ๊ก ราคา, prioritize compatibility and reliability first; the wrong interface (or wrong M.2 type) is the most expensive mistake.
Preparing the System: Backups, Tools and BIOS/Firmware Checks
Risk-aware limits (read before you start)
- Data loss risk: Cloning mistakes or wrong disk selection can wipe the source drive.
- Warranty/physical damage risk: Hidden clips and delicate ribbon cables are easy to tear.
- Thermal risk: Some NVMe drives overheat in tight chassis without airflow.
- Endurance/health risk: A failing HDD can error during cloning; a cheap SSD without DRAM can feel slower under heavy use.
- Downtime risk: If cloning fails, you need a clean install plan and installer media ready.
What you'll need
- Backup target: External HDD/SSD or cloud storage with enough space for your important files.
- Tools: Small Phillips screwdriver, plastic pry tool, tweezers (optional), small tray for screws.
- Adapter/enclosure:
- For 2.5-inch SATA SSD: USB-to-SATA cable or 2.5-inch USB enclosure.
- For M.2 SSD: USB enclosure matching your type (M.2 NVMe vs M.2 SATA).
- Software access: Admin account on Windows; internet for drivers/updates.
- Power: Laptop charger; avoid low battery during cloning/updates.
Pre-flight checks
- Update BIOS/UEFI (if needed): If your model's release notes mention storage/boot fixes, update before the swap to reduce boot issues.
- Check drive health: If HDD shows frequent errors, plan for a clean install; cloning may fail mid-way.
- Free space and cleanup: Ensure used space on the HDD is smaller than the new SSD capacity.
- Record critical settings: Note current boot mode (UEFI vs Legacy) and storage mode (AHCI vs RAID) in BIOS.
Cloning vs Clean Install: Criteria and Practical Workflow
Cloning keeps apps and settings; a clean install gives the cleanest system state and avoids carrying old corruption. If you plan to ซื้อ SSD โน้ตบุ๊ก 1TB, you usually have enough room to clone even messy partitions, but you should still tidy and verify disk health first.
Decide using these criteria
- Choose cloning if the current OS boots well, you need all apps intact, and the HDD isn't error-prone.
- Choose clean install if Windows is unstable, malware history exists, partitions are messy, or the HDD has read errors.
-
Back up irreplaceable data first
Copy documents, photos, and project files to an external drive/cloud. Assume the migration can fail and plan for recovery.
- Export browser passwords/bookmarks if you don't sync.
- Save BitLocker recovery key (if enabled) to a safe place.
-
Connect the new SSD externally
Attach the SSD using a correct USB enclosure/adapter. Confirm it appears in Disk Management (Windows) and is detected without disconnects.
-
Pick a migration path (clone or clean install)
For cloning, use a reputable disk cloning tool that supports resizing partitions. For clean install, create a bootable USB installer and verify it boots to the installer screen.
- If the SSD is smaller than the HDD, reduce used space and shrink partitions before cloning.
- If your disk uses UEFI/GPT, keep the same scheme to avoid boot repair later.
-
Run the clone with the safest settings
Clone the entire disk (all system partitions), not only the C: partition, to preserve boot files. Enable alignment/SSD optimization options if offered.
- Double-check source vs target disks before starting.
- Do not use the laptop heavily during cloning; keep it on AC power.
-
Power down and plan the first boot
After cloning completes, fully shut down (not sleep). Prepare to enter BIOS/UEFI on first boot to select the new drive if needed.
-
If clean install: install, then restore
Install Windows to the SSD, then install chipset/storage drivers if required, run updates, and restore your files. Reinstall apps from official sources.
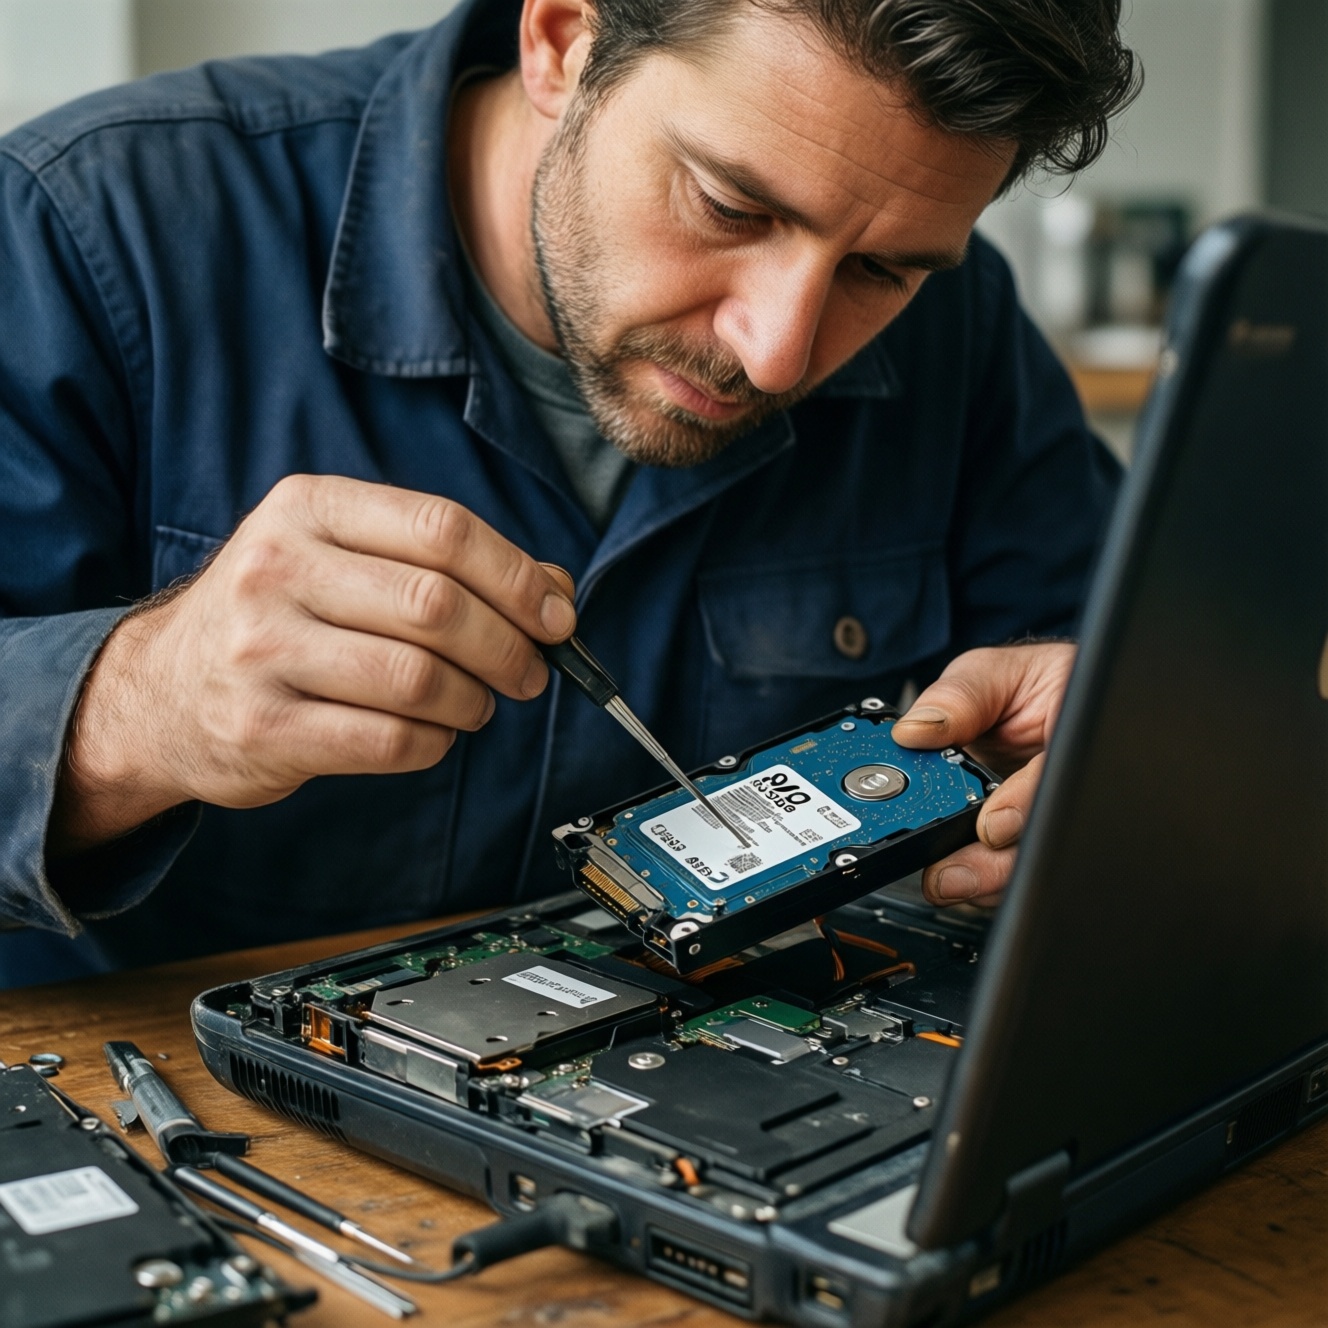
Safe Hardware Swap: Disassembly, Grounding and Drive Mounting
If you're not comfortable opening the laptop, a ร้านเปลี่ยน SSD โน้ตบุ๊ก ใกล้ฉัน can handle fragile clips and cable routing; you still should do your backup first. If you proceed yourself, work slowly and document screw locations.
Swap procedure (high-level)
- Shut down, unplug, and discharge: Power off completely, unplug AC, then hold the power button for several seconds to discharge residual power.
- Open the bottom cover safely: Remove screws, then use a plastic pry tool; avoid metal tools near the battery and board.
- Disconnect the battery (if accessible): This reduces short risk during handling.
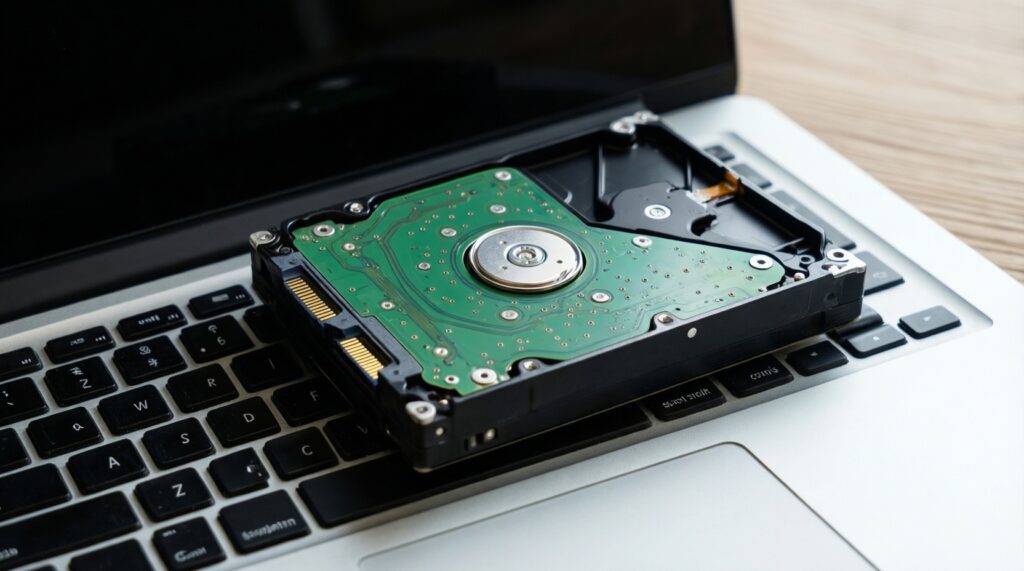
- Remove the HDD and mount the SSD: Transfer any brackets/caddy exactly as they were; do not overtighten screws.
- For M.2 drives: Insert at a slight angle, push down gently, and secure with the correct screw.
- Reassemble: Reconnect battery, close cover, and reinstall screws in original positions.
Result verification checklist (before and after first boot)
- All screws removed were reinstalled in the same locations (no "leftover" screws).
- No cables are pinched; ribbon connectors are fully seated and locked.
- SSD is firmly mounted (no wobble) and connector is fully inserted.
- Battery connector is reattached (if you unplugged it).
- On first power-on, BIOS/UEFI detects the SSD in storage information.
- Boot order points to the SSD (or Windows Boot Manager on the SSD).
- Windows boots without repeated repair loops or new disk errors.
- After login, File Explorer shows expected partitions and free space.
Post-Install Tuning: Drivers, TRIM, Partitions and Power Profiles
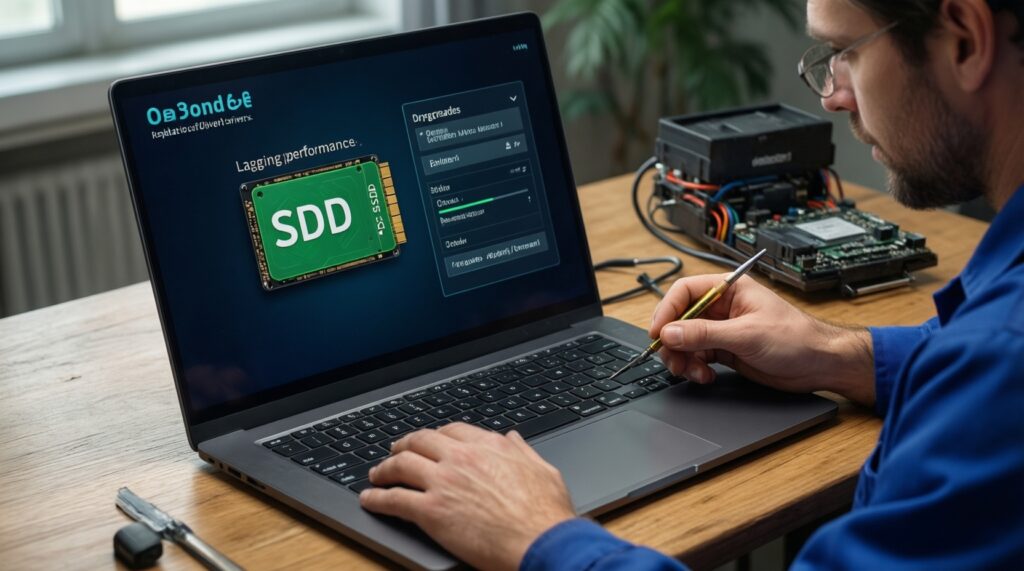
Most performance issues after an อัปเกรด SSD โน้ตบุ๊ก come from wrong BIOS mode, incomplete cloning, or old drivers. Use these corrections to avoid slow speeds, stutter, and unnecessary SSD wear.
Common mistakes and fixes
- Booting in the wrong mode (UEFI vs Legacy): Match the mode used during installation/cloning; switching can break boot.
- Storage mode changed (AHCI/RAID): Changing this after installation can cause boot failure; keep it consistent unless you know the proper migration steps.
- TRIM not working: Ensure the OS recognizes the drive as SSD; TRIM should be enabled on modern Windows by default.
- Partition not expanded after cloning: If the SSD is larger, extend the main partition so you can use the extra space.
- Old chipset/storage drivers: Install laptop vendor chipset and storage controller drivers when applicable; then run OS updates.
- Heavy background writes after migration: Let indexing and updates finish while on AC power; initial days can feel busy.
- NVMe thermal throttling: If performance drops under load, improve airflow, consider a thermal pad if the chassis supports it, or use a cooler SSD model.
- Over-aggressive "optimizer" tools: Avoid registry cleaners and questionable SSD tweakers; they can reduce stability.
Diagnosing Issues: Boot Failures, Speed Gaps and Endurance Risks
If results aren't as expected after you เปลี่ยน HDD เป็น SSD โน้ตบุ๊ก, treat it as a controlled troubleshooting process: confirm detection in BIOS, confirm boot configuration, then validate the OS and hardware health.
When problems persist, consider these alternatives
- Switch from cloning to a clean install: If the clone boots inconsistently or performance is odd, reinstalling often resolves driver/bootloader baggage.
- Choose SATA SSD instead of hot NVMe (older chassis): If NVMe throttles or your BIOS is picky, a 2.5-inch SATA SSD is usually the most stable upgrade.
- Keep the SSD and add RAM (if you page heavily): If the laptop constantly swaps memory, more RAM may be the next best step after SSD.
- Use a professional service for fragile hardware: If you suspect a torn connector, damaged socket, or intermittent power, use a qualified repair shop rather than repeated disassembly.
Rapid Answers to Common Upgrade Risks and Decisions
Will replacing an HDD with an SSD erase my data?
Not if you clone correctly, but the risk is real: selecting the wrong target disk can wipe the HDD. Always back up important files before starting.
How do I know if my M.2 slot supports NVMe or only M.2 SATA?
Check the laptop's service manual/spec sheet or the BIOS storage info; M.2 physical shape alone isn't enough. If you're unsure, a 2.5-inch SATA SSD is the safer compatibility bet.
Is it worth paying a shop for the swap?
Yes if your model has hidden clips, glued feet, or you're worried about ribbon cables. If you search ร้านเปลี่ยน SSD โน้ตบุ๊ก ใกล้ฉัน, still do the backup yourself first to control data risk.
Should I clone or do a clean install?
Clone if the current system is stable and you need apps/settings intact. Clean install if the OS is slow, corrupted, or the HDD has read errors.
Does a 1TB SSD make my laptop faster than a 512GB SSD?
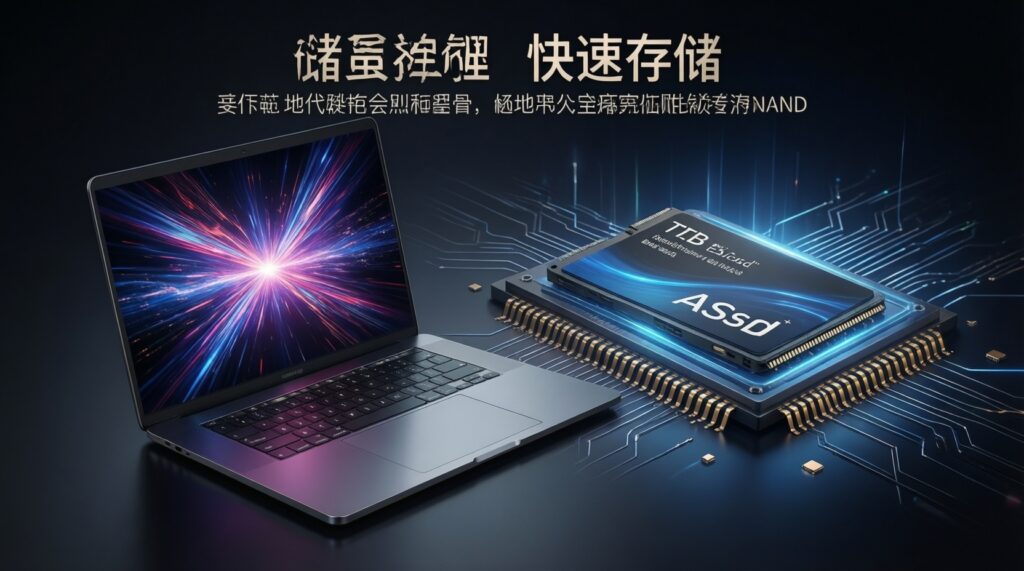
Capacity alone doesn't guarantee speed; controller and NAND quality matter more. Choose capacity based on your storage needs, such as when you ซื้อ SSD โน้ตบุ๊ก 1TB for large media or games.
Why is my SSD slower than expected?
Common causes are SATA-interface limits, thermal throttling on NVMe, outdated chipset/storage drivers, or running in an unexpected BIOS mode. Confirm interface type first, then drivers and thermals.
What should I consider when comparing SSD prices?
When judging SSD สำหรับโน้ตบุ๊ก ราคา, prioritize correct interface (SATA vs NVMe), warranty support, and reliability over peak speed claims. The wrong SSD type for your laptop won't work regardless of price.