To update BIOS/UEFI safely and avoid a PC that won't boot, you must confirm the exact motherboard model, download the correct vendor firmware, prepare a recovery path, and flash only in a stable power/software environment. Most "dead after update" cases come from wrong files, interrupted power, or changed settings like Secure Boot/TPM.
Preflight summary for BIOS/UEFI updates
- Update only for a clear reason (CPU/RAM compatibility, security fix, stability bug) and only with the exact board revision.
- Record current BIOS version, settings, and BitLocker/device encryption status before changing anything.
- Prefer in-UEFI flashing tools; avoid Windows-based flashers unless the vendor explicitly recommends them for your case.
- Ensure stable power (UPS if possible) and do not flash during storms, on low battery, or with unstable overclocks.
- Prepare recovery options: BIOS Flashback/Q-Flash Plus/CrashFree, a FAT32 USB stick, and CMOS reset access.
- If you need บริการอัปเดต BIOS/UEFI, ask the shop to confirm board revision, provide the exact firmware filename/version, and describe their recovery method if it fails.
When and why to update BIOS/UEFI
Update BIOS/UEFI when you need a fix or feature that the release notes explicitly list for your motherboard model: new CPU support, memory compatibility, security patches, microcode updates, or stability improvements. It's also relevant when you plan an upgrade and the vendor requires a minimum BIOS version.
Skip (or postpone) the update when:
- Your system is stable and you don't need any change mentioned in the vendor changelog.
- You can't guarantee stable power or you're troubleshooting random shutdowns (fix hardware stability first).
- You rely on a production machine with no downtime window and no recovery plan (use a maintenance window).
- You don't have the exact motherboard model/revision confirmed.
If you're comparing อัปเดต BIOS เมนบอร์ด ราคา at local shops, weigh it against your risk tolerance: paying for a controlled procedure (UPS, known-good USB media, recovery know-how) is often cheaper than a failed flash and data loss.
Identify motherboard, firmware version and model-specific notes
Collect the exact identifiers first; this prevents the most common "wrong BIOS file" failure.
- Motherboard model and manufacturer: check the board silkscreen (printed on PCB) and the box/invoice. Many boards have similar names with different revisions.
- Board revision: often printed as "REV x.x". Some vendors publish different BIOS branches per revision.
- Current BIOS/UEFI version:
- Windows:
Win + R→msinfo32→ "BIOS Version/Date". - Windows (PowerShell):
Get-CimInstance Win32_BIOS | Select-Object SMBIOSBIOSVersion - In UEFI setup: Main/Info screen usually shows version and build date.
- Windows:
- Vendor-specific flashing method: confirm if the board supports "BIOS Flashback / Q-Flash Plus / Flash BIOS Button" (USB + button without CPU/RAM) and the exact required USB port and filename.
- Release notes and special instructions: some updates require intermediate versions or settings changes (e.g., disable specific features before flashing).
- Disk encryption status: BitLocker/device encryption may prompt for a recovery key after firmware changes.
If you're searching อัปเดต BIOS ASUS MSI Gigabyte ASRock, treat each brand's utility and file naming rules as different. Don't reuse a USB prepared for one vendor without re-checking the required filename and folder layout.
Create backups and recovery points before flashing
Quick preparation checklist (do this before the steps below):
- Remove CPU/RAM/GPU overclocks; load UEFI "Optimized Defaults" if you can do it safely.
- Plug the PC into stable power (preferably UPS) and disable sleep/hibernation during the process.
- Prepare a small USB flash drive (8-32 GB is typical), format it to FAT32.
- Locate the CMOS reset method (jumper/button) and make sure you can physically access it.
- Ensure you can access your BitLocker recovery key (Microsoft account/printout) if applicable.
-
Document current BIOS settings
Take photos of key pages (Boot, Storage/SATA mode, Secure Boot, TPM, fan curves). After an update, defaults may change and can affect boot.- If you use RAID, note the exact RAID mode and controller settings.
- If you dual-boot, note the boot order and UEFI/CSM settings.
-
Back up important data at the OS level
Firmware updates target the motherboard, but a failed boot can force troubleshooting that risks data. Make a file backup to an external drive or cloud. -
Create an OS recovery path
Make sure you can repair boot if settings reset. Prepare a Windows installer/recovery USB (or your OS equivalent) and confirm you can boot from it. -
Secure encryption keys and credentials
If BitLocker/device encryption is enabled, store the recovery key somewhere you can access without the PC. Firmware changes can trigger recovery mode. -
Prepare a BIOS recovery USB
Copy the vendor BIOS file to a FAT32 USB and follow the vendor's required naming convention if using Flashback/Q-Flash Plus-style recovery.- Keep this USB dedicated to BIOS recovery (no extra files).
- Prefer a simple USB 2.0 stick if you have one; some boards are pickier with certain USB 3.x drives.
Obtain and authenticate the correct firmware file
- Download BIOS/UEFI only from the official motherboard support page for your exact model and revision.
- Match the file to the exact board name (watch for "WiFi", "AX", "V2", "Plus", "Pro", "Max" variants).
- Read the release notes and any "must update to version X first" instructions before downloading anything else.
- Check whether the update changes default security settings (Secure Boot/TPM) that may affect boot and encryption.
- Verify the file integrity if the vendor provides hashes/signatures; otherwise, re-download if the archive extraction errors.
- Extract the archive properly; use the vendor's renaming tool if provided for Flashback-style methods.
- Confirm the USB format is FAT32 and the BIOS file is placed exactly as the vendor requires (root folder vs specific directory).
- Keep only one BIOS file on the USB to avoid selecting the wrong image in the flash utility.
Safe flashing methods: tools, power and environment checklist
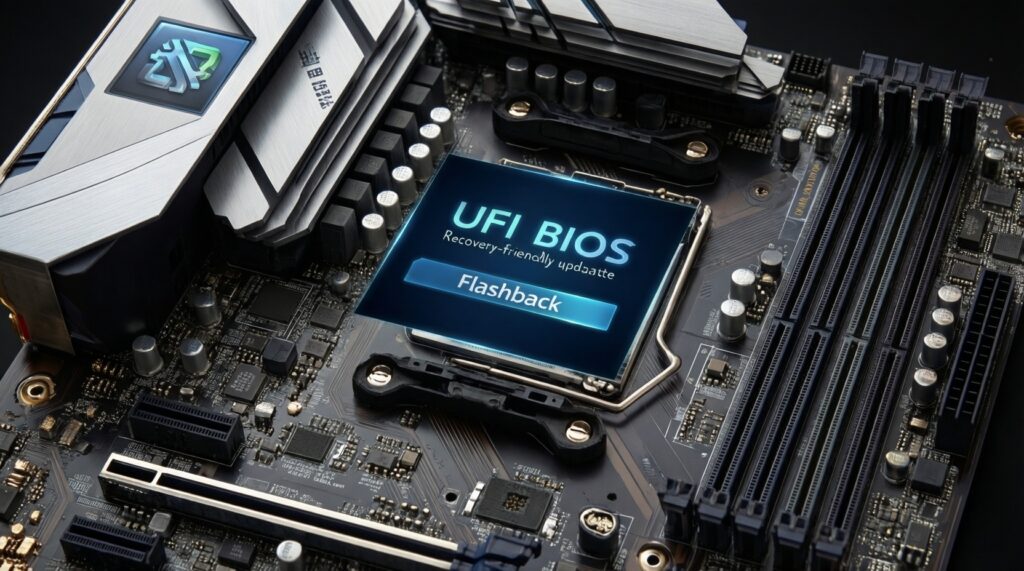
Prefer flashing from inside UEFI (built-in utility) or via the dedicated Flashback/Q-Flash Plus button method if you need recovery-friendly flashing.
Common mistakes to avoid (and what to do instead):
- Flashing from an unstable Windows session: avoid background updates, drivers, or crashes; use the UEFI flash tool where possible.
- Power interruption: don't flash on an unreliable outlet; use UPS if available; never flash during thunderstorms.
- Wrong file for a similar-looking model: re-check board revision and full model string before selecting the image.
- USB issues: don't use NTFS/exFAT; use FAT32 and a simple USB stick; plug into the vendor-recommended port.
- Interrupting the process: don't reboot, don't press power/reset, don't "force shutdown" even if the screen looks stuck; wait.
- Leaving overclocks enabled: revert to stock; instability during flash is a real risk.
- Changing multiple things at once: update firmware first, then tune RAM/CPU settings afterward.
- Ignoring post-update defaults: expect boot order, SATA mode, Secure Boot, and TPM to reset-apply your documented settings methodically.
If your priority is convenience, people often search แฟลช BIOS เมนบอร์ด ใกล้ฉัน. If you go to a shop, bring the exact board model/revision info and ask them to use stable power and a vendor-approved method (UEFI utility or Flashback), not a random third-party flasher.
Validate results and perform rollback or remediation
After the first successful boot, enter UEFI once to confirm the new version, then apply settings carefully.
- Normal validation: UEFI Setup → confirm BIOS version/date → load Optimized Defaults once → re-apply only the settings you documented (boot order, SATA/RAID, fan curves, Secure Boot/TPM as needed).
- If it boots but behaves oddly: clear CMOS, then reconfigure; avoid restoring old saved profiles if they were made on a different BIOS version.
- If it won't boot but you have Flashback/Q-Flash Plus: use the dedicated USB port + button procedure with the correct renamed file; wait for the indicator LED pattern to finish.
- If it won't boot and there is no Flashback: try CMOS reset + minimal hardware (one RAM stick, onboard graphics if available); if still dead, professional diagnostic is appropriate-this is the typical ซ่อมคอมเปิดไม่ติด หลังอัปเดต BIOS scenario.
Addressing common risks and doubts about firmware updates
Will updating BIOS/UEFI make my PC faster?
Usually no; it mainly improves compatibility, stability, and security. Performance changes are workload-specific and depend on what the vendor changed.
Is it safer to flash BIOS from Windows or from UEFI?
In general, built-in UEFI flash tools reduce OS-related crash risk. Use Windows flash utilities only if the motherboard vendor explicitly recommends it for your model and scenario.
What should I do if the PC restarts repeatedly after the update?
Wait a few minutes first-memory training can cause multiple reboots. If it doesn't settle, clear CMOS and boot with minimal hardware, then re-apply settings.
Do I need to disable BitLocker/device encryption before updating?
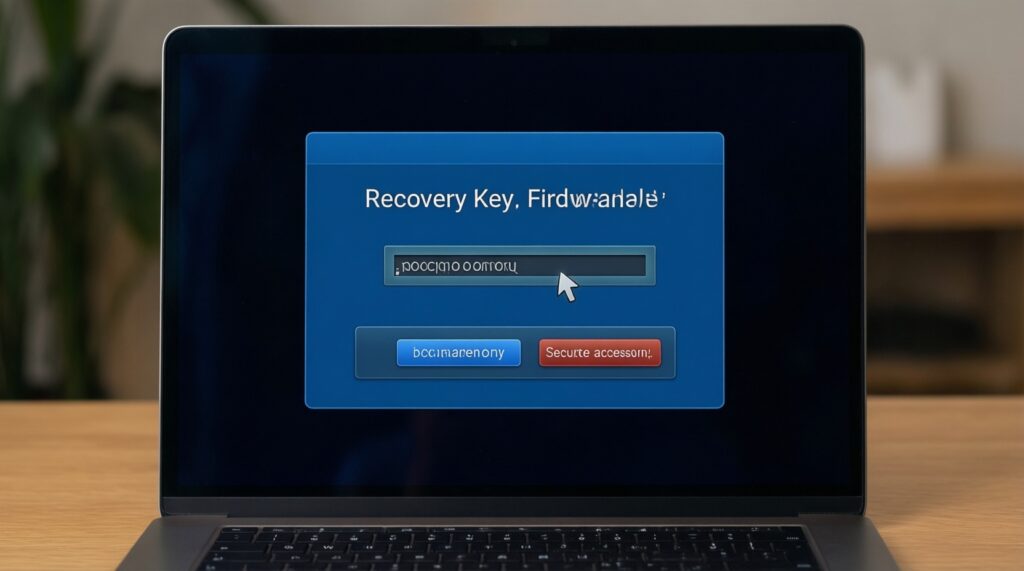
Not always, but you must have the recovery key available. Firmware changes can trigger recovery prompts even if the update succeeds.
Can I downgrade (roll back) to an older BIOS?
Some boards allow it, some block it for security reasons. Check the vendor notes; if downgrade is supported, use the same official flashing tool and the exact matching file.
What's the biggest cause of "bricked" boards during BIOS updates?
Using the wrong firmware image or losing power mid-flash are the most common causes. Stable power and strict model/revision matching prevent most failures.
When should I stop and use a local service instead?
If you can't confirm the exact motherboard revision, lack stable power, or the system is mission-critical, a controlled บริการอัปเดต BIOS/UEFI can be the safer option-ask about their recovery process before they start.