To replace an old HDD with an SSD and make it last longer, do three things safely: migrate your data (clone or clean install), confirm TRIM is enabled in your OS, and leave intentional free space (over‑provisioning) so the controller can manage wear. The steps below fit common PC/laptop upgrades in Thailand and avoid risky tweaks.
Why upgrading to SSD and proactive maintenance pays off
- Faster boot and app load times after you อัปเกรดคอมจาก HDD เป็น SSD, even on older CPUs.
- Lower shock sensitivity than HDDs, which matters for everyday laptop movement.
- TRIM reduces write amplification by letting the SSD reclaim deleted blocks efficiently.
- Over‑provisioning extends endurance and keeps performance steadier as the drive fills up.
- Health monitoring catches cable/firmware issues early before they look like "random freezes".
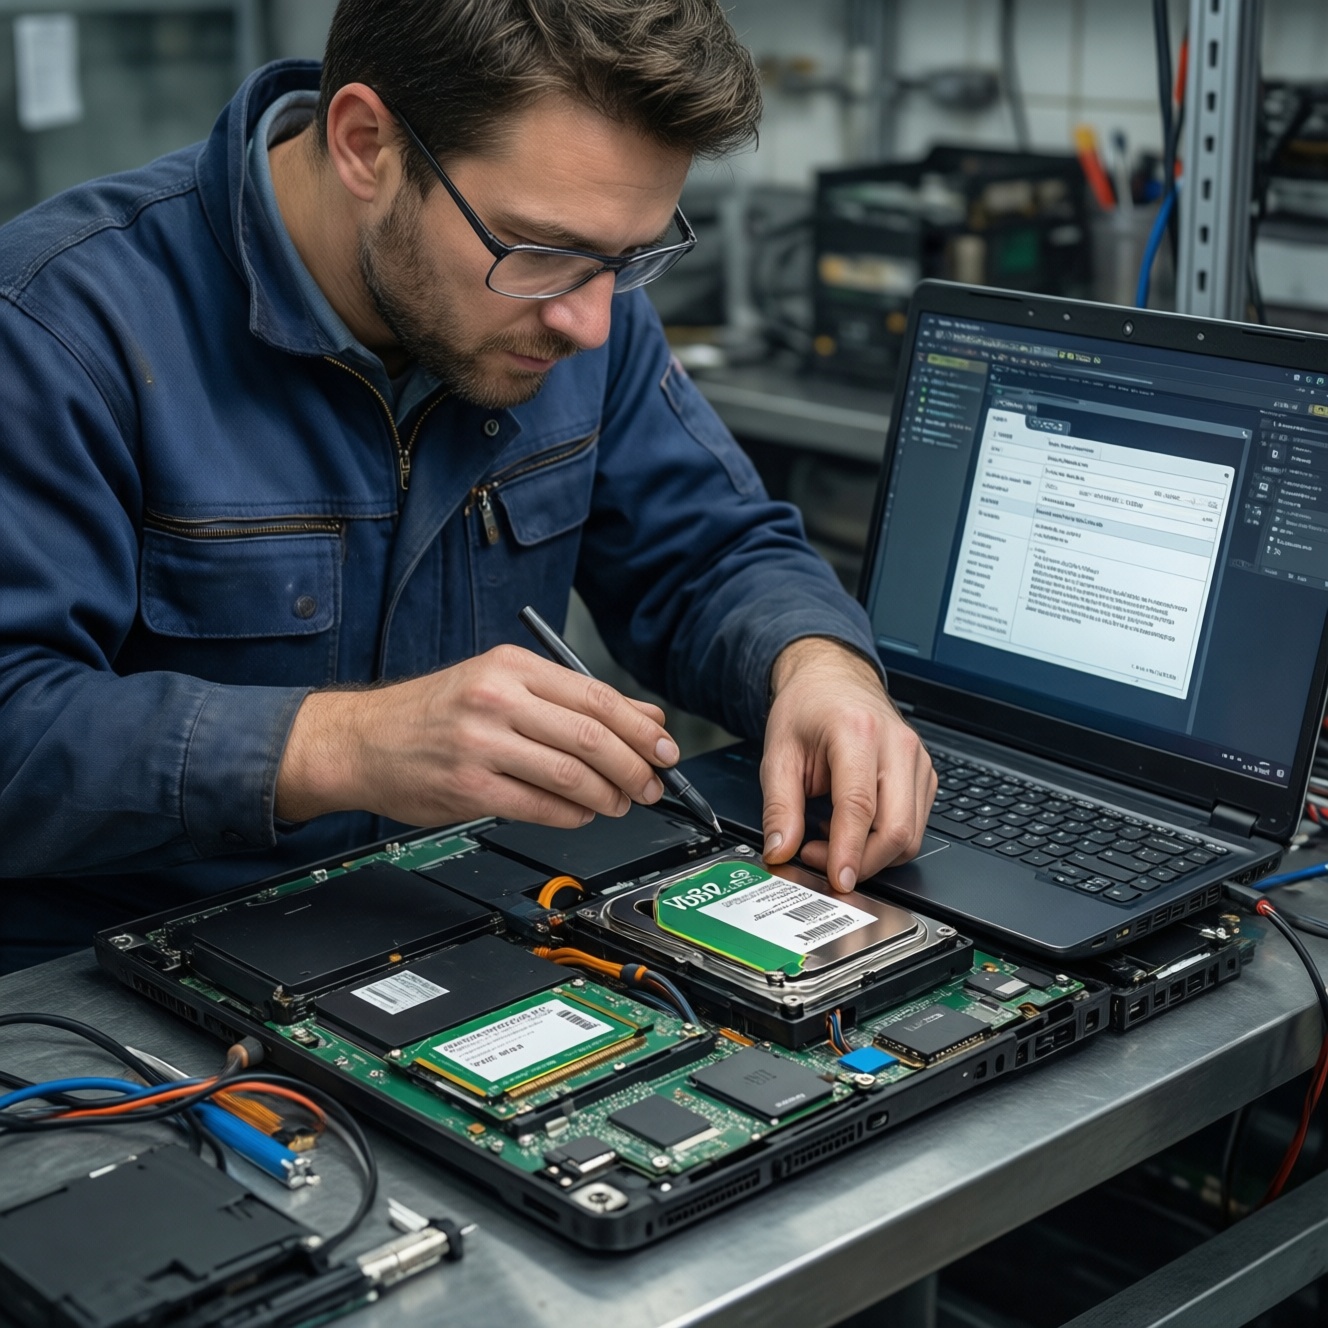
Preparing your PC: backups, compatibility check, and tools
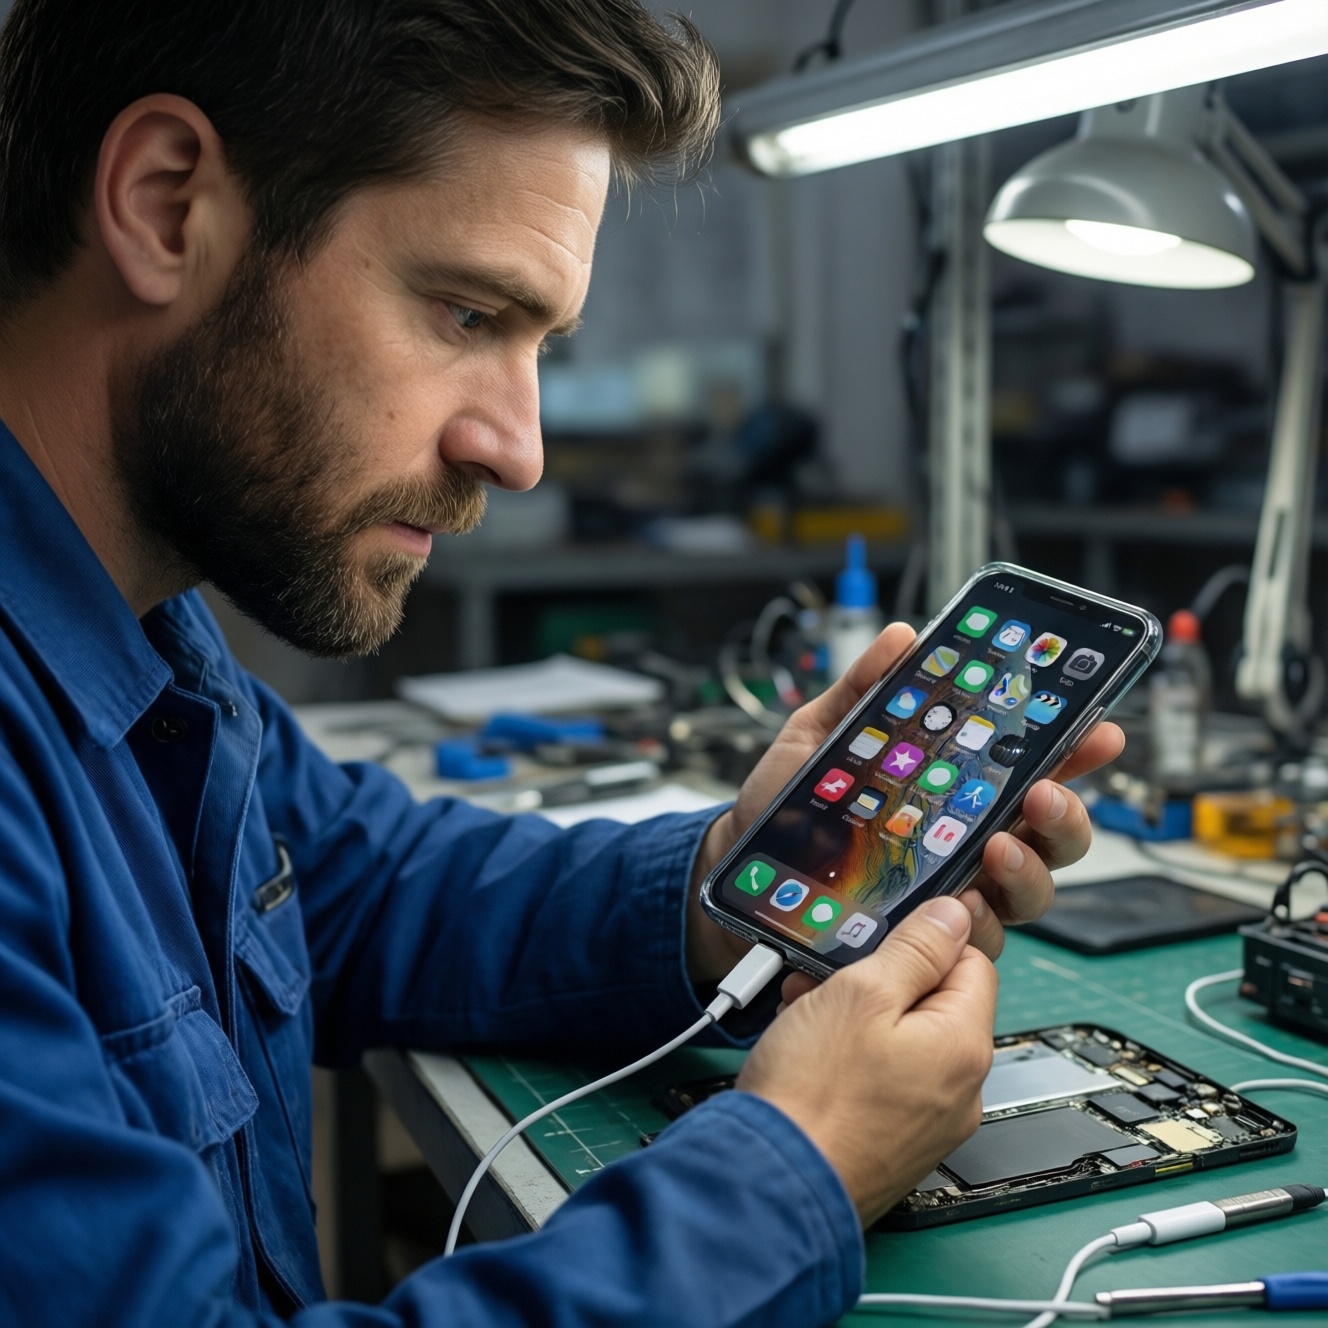
Who this is for: intermediate users comfortable opening a PC/laptop, entering BIOS/UEFI, and running basic command-line checks. When not to proceed: you cannot verify backups, the HDD is making unusual clicking sounds (risk of imminent failure), or the laptop is under warranty that forbids self-service.
Backup and safety baseline
- Create at least one offline backup (external drive) of irreplaceable files.
- If cloning, also export browser passwords/2FA recovery codes where applicable.
- On BitLocker/FileVault/LUKS systems, confirm you have recovery keys.
Compatibility checks
- Form factor: 2.5" SATA (most HDD replacements) vs M.2 (SATA or NVMe). Don't assume all M.2 are NVMe.
- Interface mode: ensure SATA is set to AHCI (not legacy IDE); RAID mode may require extra driver care.
- Capacity: if cloning to a smaller SSD, used space on HDD must be less than SSD capacity (shrink partitions first).
Tools you'll likely need
- Small screwdriver set; plastic pry tool for laptops.
- SATA-to-USB adapter/enclosure (for 2.5" SATA SSD) or an external NVMe enclosure (for M.2 NVMe).
- Cloning tool (vendor tool or a general utility) or a bootable installer USB.
- Admin access on the OS; BIOS/UEFI access.
Troubleshooting note: If the SSD isn't detected, re-seat connectors, try another SATA cable/port, and confirm the slot supports your SSD type (M.2 SATA vs NVMe).
Selecting an SSD and deciding the right over‑provisioning ratio
Choose an SSD that matches your slot and workload, then plan free space you will deliberately not use. People often ask เปลี่ยน HDD เป็น SSD ราคา or ติดตั้ง SSD โน้ตบุ๊ก ราคา; pricing varies by brand, controller, NAND type, and warranty, but the setup steps below are the same regardless of cost.
SSD selection checklist (practical requirements)
- Correct interface: SATA SSD for 2.5" SATA bays; NVMe SSD only if the laptop/board supports NVMe in that M.2 slot.
- DRAM vs DRAM-less: DRAM models often behave better for sustained writes; DRAM-less can still be fine for light use (look for HMB support on NVMe).
- Capacity headroom: more capacity generally means more spare blocks and better sustained performance.
- Vendor utility/firmware: prefer brands with a clear firmware update path.
Over‑provisioning ratio: a safe starting point
- General use: reserve about 10% of the SSD unpartitioned (simple and effective).
- Heavy writes (video editing, scratch disks, VMs): reserve more (commonly 15-25%) if you can afford the capacity.
- Already over‑provisioned models: some drives have factory spare area; extra free space still helps but you may not need aggressive ratios.
Troubleshooting note: If you're tight on space, prioritize keeping 15-20% free inside the filesystem even if you can't leave much unpartitioned space; both help, but unpartitioned space is the cleanest form of OP.
Data migration: cloning workflows versus fresh OS install
Cloning is faster and preserves apps/settings; a clean install is cleaner and often resolves legacy driver bloat. For many users doing อัปเกรดคอมจาก HDD เป็น SSD, cloning is the quickest win if the old OS is healthy.
Cloning vs clean install comparison (speed, risk, best use)
| Approach | Typical time | Main risks | Best when |
|---|---|---|---|
| Clone (live OS tool) | Fast | Copies existing OS issues; may fail if partitions are messy | Current system is stable and you want minimal downtime |
| Clone (bootable/"offline") | Medium | More steps; wrong disk selection can overwrite data | You want fewer locked-file issues and cleaner cloning |
| Fresh OS install | Medium to slow | App reinstall time; license/driver retrieval | You want maximum stability or the old OS is bloated/unstable |
Step-by-step migration (safe workflow)
-
Prepare the old HDD for migration
Delete obvious junk and empty recycle/trash to reduce used space. If the SSD is smaller, shrink the main partition so used space fits.
- Windows: use Disk Management to shrink C: if needed.
- Linux: use GParted from a live USB to resize safely.
-
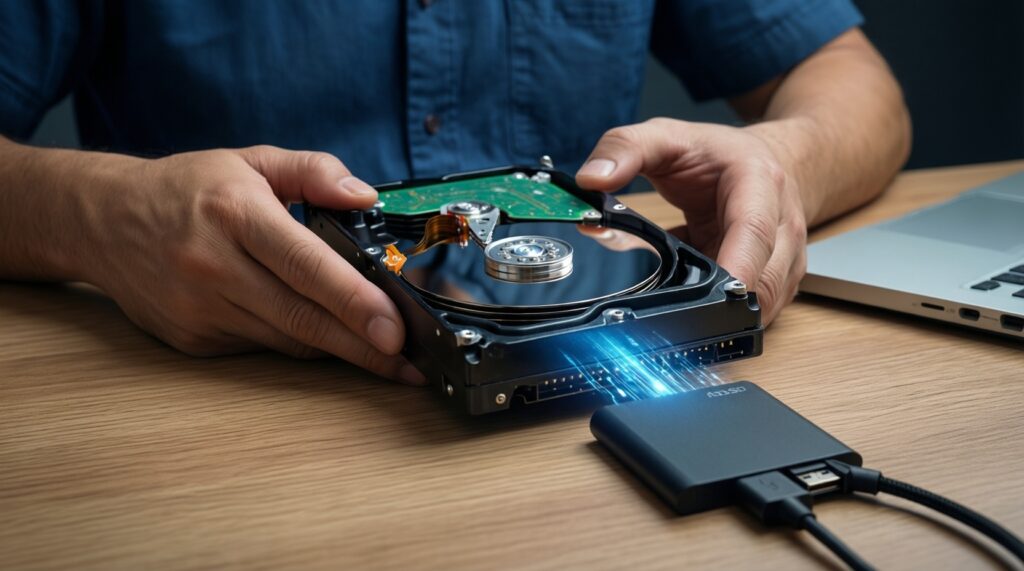
Connect the SSD externally and confirm it's visible
Use a SATA-to-USB adapter/enclosure (2.5" SATA) or NVMe enclosure (M.2 NVMe). Verify the OS sees the SSD and its capacity correctly.
- Windows: Disk Management should show the new disk (do not initialize if your cloning tool expects raw).
- macOS: Disk Utility should list it under External.
- Linux:
lsblkshould show the new device (e.g.,/dev/sdb).
-
Choose cloning or clean install, then commit to one plan
Cloning keeps everything; clean install gives the cleanest base. If your Windows install uses BitLocker, suspend/disable it before cloning to avoid boot surprises.
- Windows BitLocker: suspend protection (Control Panel or Settings) and save the recovery key.
- Encrypted Linux (LUKS): prefer a clean install unless you are experienced with encrypted volume cloning.
-
Run the clone (disk-to-disk) with partition alignment in mind
Select source = HDD, destination = SSD, and enable any option like "optimize for SSD" or "4K alignment". After cloning, do not boot yet; shut down fully.
- If offered, copy all partitions required for boot (EFI System Partition on UEFI systems).
- Avoid "proportional resize" if you plan explicit over‑provisioning; keep room unallocated.
-
Physically swap drives and set boot order
Install the SSD internally where the HDD was. Enter BIOS/UEFI and ensure the SSD (or its Windows Boot Manager entry) is first in the boot order.
- On some laptops, you must remove the HDD to prevent the system booting from the old disk.
-
First boot checks and cleanup
Boot into the OS, confirm everything works, then repurpose the HDD only after you're fully satisfied. If you keep the HDD as secondary storage, format it to avoid confusion and accidental boots.
- Windows: verify the system drive is the SSD (Task Manager > Performance > Disk).
- Linux: confirm root filesystem is on the SSD with
findmnt /.
Fast-track mode (3-5 steps)
- Back up critical files and save encryption recovery keys.
- Connect SSD by USB, clone HDD→SSD with 4K alignment, leaving some unallocated space.
- Swap drives internally, set SSD as first boot device.
- Verify TRIM is active and schedule/enable periodic trimming.
- Leave intentional free space (over‑provisioning) and set up basic health monitoring.
Troubleshooting note: If Windows boots to recovery after cloning, check BIOS boot mode (UEFI vs Legacy) matches the cloned layout, and confirm the EFI partition was cloned.
Enable and verify TRIM across Windows, macOS and Linux
This section covers ตั้งค่า TRIM SSD Windows 10/11 and equivalent checks on macOS/Linux. Your goal: TRIM supported by the drive, enabled by the OS, and actually running periodically.
TRIM verification checklist (expected output included)
-
Windows: confirm TRIM is enabled
Run Command Prompt as Administrator:fsutil behavior query DisableDeleteNotify
Expected:DisableDeleteNotify = 0(TRIM enabled). -
Windows: ensure Optimize Drives is scheduled
Open "Defragment and Optimize Drives" and confirm the SSD shows "Solid state drive" and Optimization is on schedule.
Expected: "Optimize" runs "Retrim" (not classic defrag) for SSDs. -
Windows: controller mode sanity check
In Device Manager, confirm storage controller uses AHCI/NVMe as appropriate.
Expected: no unknown storage devices; NVMe SSD appears under "Disk drives". -
macOS: confirm TRIM status (Apple SSD vs third-party)
Check: Apple menu → About This Mac → System Report → SATA/SATA Express or NVMExpress → TRIM Support.
Expected: "TRIM Support: Yes". -
macOS: enable TRIM for third-party SSD (if appropriate)
Terminal (admin):sudo trimforce enable
Expected: system reboots; TRIM Support becomes Yes. Only do this on reputable SSDs; read the warning text carefully. -
Linux: verify TRIM capability
Check discard support:lsblk -D
Expected: the SSD line shows non-zeroDISC-GRANandDISC-MAX. -
Linux: confirm periodic TRIM (recommended)
Systemd:systemctl status fstrim.timer
Expected: "Active: active (waiting)". If disabled:sudo systemctl enable --now fstrim.timer. -
Linux: avoid risky mount options unless you know why
Prefer periodicfstrimoverdiscardmount option for general use.
Expected: stable performance without continuous discard overhead.
Troubleshooting note: If TRIM shows enabled but performance degrades badly, confirm you have free space (not near 100% full) and that you're not writing heavily to a nearly full SSD.
Set up over‑provisioning and partition layout for endurance
Over Provisioning SSD คืออะไร ตั้งค่ายังไง in practice: you leave part of the SSD unallocated (or keep consistent free space) so the controller has more spare blocks for wear leveling and garbage collection.
Two safe ways to implement over‑provisioning
- Leave unallocated space (preferred): in your partition tool, shrink the last partition so the end of the disk remains unallocated. Don't format it.
- Keep filesystem free space: if you must use all partitions, keep a "do not fill" buffer (e.g., stop around 80-90% usage).
Common mistakes that reduce SSD lifespan or cause headaches
- Filling the SSD to near 100% for long periods; garbage collection has little room to work.
- Creating many tiny partitions without a reason; it complicates resizing and preserving OP.
- Putting OS and heavy scratch workloads on the same small SSD (e.g., video cache, torrents, VM images) without extra OP.
- Cloning to occupy the entire SSD and then wondering why sustained write speed drops; leave unallocated space during the clone/resize stage.
- Misunderstanding vendor OP tools: they typically just reserve space by shrinking partitions; you can do the same manually if you're careful.
- Forcing "secure erase" as routine maintenance; it's for special cases (re-provisioning, sanitization), not regular performance tuning.
- Using old defrag habits on SSDs; rely on OS optimization/TRIM, not repeated manual defragmentation.
- Enabling continuous discard everywhere on Linux without testing; periodic
fstrimis usually safer.
Troubleshooting note: If you accidentally used all space, you can still shrink the main partition later and leave the tail end unallocated; then run a TRIM/Optimize pass.
Ongoing care: firmware, health monitoring and performance tuning
After migration, longevity is mostly about avoiding extreme fullness, keeping firmware sane, and watching health indicators for early warnings.
Minimal maintenance routine (monthly or when issues appear)
- Check for SSD firmware updates using the vendor utility; apply only when on stable power (laptops plugged in).
- Review SMART/health using OS tools or vendor tool; look for rapidly increasing reallocated/bad blocks or critical warnings.
- Confirm TRIM/Optimize is still scheduled after major OS updates.
- Keep meaningful free space (your OP plan) and move write-heavy caches off the SSD if space is tight.
Alternatives when your best option isn't "just swap to one SSD"
- SSD for OS + keep HDD for bulk storage: best for desktops or laptops with two drive bays; reduces SSD writes and keeps costs down if เปลี่ยน HDD เป็น SSD ราคา is a concern.
- Fresh install instead of cloning: best when the old OS is unstable, infected, or heavily modified.
- External SSD for specific workloads: useful when you can't open the laptop (some ultrabooks) but need faster project storage.
- Bigger SSD rather than aggressive OP on a small drive: best when you constantly run out of space; stable free space is easier with more capacity.
Troubleshooting note: If you see random disconnects on SATA SSDs, suspect the cable/port first (especially on desktops) before blaming the SSD.
Quick answers to common migration and longevity issues
Will cloning from HDD to SSD make Windows boot faster immediately?
Usually yes, as long as the SSD is the actual boot drive and the system is running in AHCI/NVMe mode. If it doesn't feel faster, check you didn't accidentally boot from the old HDD.
Do I need to manually defragment an SSD after I อัปเกรดคอมจาก HDD เป็น SSD?
No. Use the OS "Optimize" function (which triggers TRIM/retrim for SSDs) and avoid repeated manual defrags.
How do I confirm ตั้งค่า TRIM SSD Windows 10/11 is correct?
Run fsutil behavior query DisableDeleteNotify and ensure it returns 0. Also confirm Optimize Drives is scheduled for the SSD.
Is Over Provisioning SSD คืออะไร ตั้งค่ายังไง something I must do with a special app?
No. The safest method is leaving unallocated space at the end of the SSD by shrinking the last partition; no special software is required.
Can I migrate to a smaller SSD if my HDD is larger?
Yes, only if the used space on the HDD is smaller than the SSD capacity and you shrink partitions before cloning. Otherwise cloning will fail or create an unbootable layout.
What's the safest way to handle encryption during migration?
Keep recovery keys, then suspend/disable encryption before cloning and re-enable afterward. For complex encrypted setups, a clean install is often safer than cloning.
Why do people ask ติดตั้ง SSD โน้ตบุ๊ก ราคา and still get inconsistent results?
Because results depend more on the laptop's interface (SATA vs NVMe), firmware, and migration quality than on price alone. A correct TRIM/OP setup and healthy OS matter.