To upgrade a laptop safely, first confirm RAM type/slots (SO-DIMM, DDR generation) and storage interface (2.5-inch SATA vs M.2 SATA/NVMe). Then back up, disconnect power, prevent static, swap RAM, install the SSD, and finally verify BIOS detection, run a quick memory test, and check SSD SMART and performance.
Upgrade Snapshot: What to Expect from RAM and SSD Improvements
- RAM upgrades mainly improve multitasking, browser-heavy workflows, and VM/light creative apps; they rarely boost pure CPU-bound tasks.
- SSD upgrades reduce boot/app load times and make the system feel more responsive, especially when moving from HDD to any SSD.
- Compatibility checks (DDR generation, M.2 keying/length, SATA vs NVMe support) prevent "fits physically but won't work" mistakes.
- Cloning is fastest when you want everything unchanged; a clean install is cleaner when the old system is unstable or bloated.
- If you're comparing อัปเกรด RAM โน้ตบุ๊ก ราคา vs storage spend, prioritize SSD first if you're still on an HDD.
| Component choice | What to match | Typical laptop form | Practical expectation (no hard numbers) | Common pitfall |
|---|---|---|---|---|
| DDR3 / DDR4 / DDR5 RAM | DDR generation, SO-DIMM, max capacity, slot count | SO-DIMM module | More headroom for apps/tabs; fewer slowdowns from swapping | Buying the wrong DDR generation (not interchangeable) |
| 2.5-inch SATA SSD | 2.5" bay, SATA connection, thickness clearance | 7mm 2.5" drive | Big responsiveness jump from HDD; widely compatible | Assuming every laptop has a 2.5" bay (some don't) |
| M.2 SATA SSD | M.2 slot supports SATA mode, length (e.g., 2280) | M.2 card | Similar feel to SATA 2.5" SSD; compact | Plugging M.2 SATA into NVMe-only slot (or vice versa) |
| M.2 NVMe SSD | NVMe support, M-key, PCIe lanes, length (e.g., 2280) | M.2 card | Best for heavy file work, dev builds, content creation | Buying NVMe when BIOS/platform only supports SATA M.2 |
Choosing Compatible RAM: form factors, generations, and timings
For laptops, you almost always need SO-DIMM RAM, and the DDR generation must match your motherboard (DDR3/DDR4/DDR5 are not cross-compatible). Upgrading makes sense if you frequently hit high memory usage (many tabs, Teams/Zoom + Office, IDEs, VMs) or if your system uses shared graphics memory.
- Check first: number of slots, whether any RAM is soldered, and the maximum supported capacity.
- Timings and speed: prioritize correct DDR generation and capacity; matching sticks is ideal for dual-channel stability.
- When not to upgrade: if RAM is fully soldered with no free slot, or if the laptop is unstable from overheating/failed storage (fix those first).
- Thailand shopping intent: if you're searching RAM โน้ตบุ๊ก DDR4 16GB ซื้อที่ไหน, confirm your laptop is DDR4 SO-DIMM and not DDR3L/DDR5 before buying.
Selecting the Right SSD: SATA vs NVMe, capacities and endurance
Pick the SSD based on the slot/interface your laptop actually supports, then decide between cloning and a clean install. If you specifically want ซื้อ SSD โน้ตบุ๊ก 1TB ราคาถูก, verify physical size (2.5" vs M.2 2280) before focusing on capacity and price.
What you need before you buy or install
- Compatibility info: laptop service manual or model spec page; confirm 2.5" bay and/or M.2 slot type (SATA, NVMe, or both).
- Tools: small Phillips screwdriver, plastic pry tool (optional), tweezers (optional), a clean container for screws.
- For migration:
- External enclosure/adapter for the new drive (USB-to-SATA for 2.5", USB-to-NVMe for M.2 NVMe) if you plan to clone.
- A bootable OS installer USB if doing a clean install.
- Brand choice question: for SSD NVMe M.2 สำหรับโน้ตบุ๊ก ยี่ห้อไหนดี, prioritize fit (2280/2242), warranty/support, and a controller/firmware with a good track record over chasing peak benchmarks.
Preparing the Laptop: backups, required tools and electrostatic precautions
-
Confirm upgrade path (RAM + storage)
Check your laptop's exact model and read its memory/storage section. Confirm RAM type (SO-DIMM, DDR generation) and storage interface (2.5" SATA, M.2 SATA, M.2 NVMe) to avoid buying incompatible parts.
- On Windows: open Task Manager → Performance to see Memory type hints; for deeper detail, use BIOS/UEFI info or vendor tools.
- On Linux: use
sudo dmidecode -t memory(may require admin access) for module details.
-
Back up data (and plan rollback)
Make a full backup of irreplaceable files to an external drive or cloud. If you plan to clone, keep the old drive untouched until the new setup is confirmed stable.
- Write down BitLocker recovery key (Windows) if enabled, and ensure you can log in after hardware changes.
-
Prepare a clean workspace and ESD safety
Work on a dry table, avoid carpets, and discharge static by touching grounded metal before handling components. Hold RAM/SSD by the edges and avoid touching gold contacts.
-
Shut down properly and remove all power
Power off (do not sleep/hibernate), unplug the charger, and disconnect peripherals. If your laptop has an internal battery connector accessible after opening, unplug it before touching RAM/SSD.
-
Open the bottom cover without damaging clips
Remove screws in a consistent order and note different lengths. Use a plastic pry tool to release clips gently; don't force-hidden screws are common.
- If resistance is strong, re-check around rubber feet/stickers for missed screws.
-
Locate RAM slots and storage bays, then take a photo
Before removing anything, take a clear photo of the internal layout and screw locations. This speeds reassembly and reduces cable/connector mistakes.
Fast mode (experienced users)
- Verify DDR generation + slot count; verify SSD interface (2.5" SATA vs M.2 SATA/NVMe) and length.
- Back up + note BitLocker key; fully shut down; unplug; disconnect battery if accessible.
- Install RAM (firm seat, both clips locked) and SSD (single retaining screw, no flex).
- Boot to BIOS/UEFI to confirm RAM size and SSD detection; then boot OS.
- Run a quick memory test and check SSD SMART; only then wipe/repurpose the old drive.
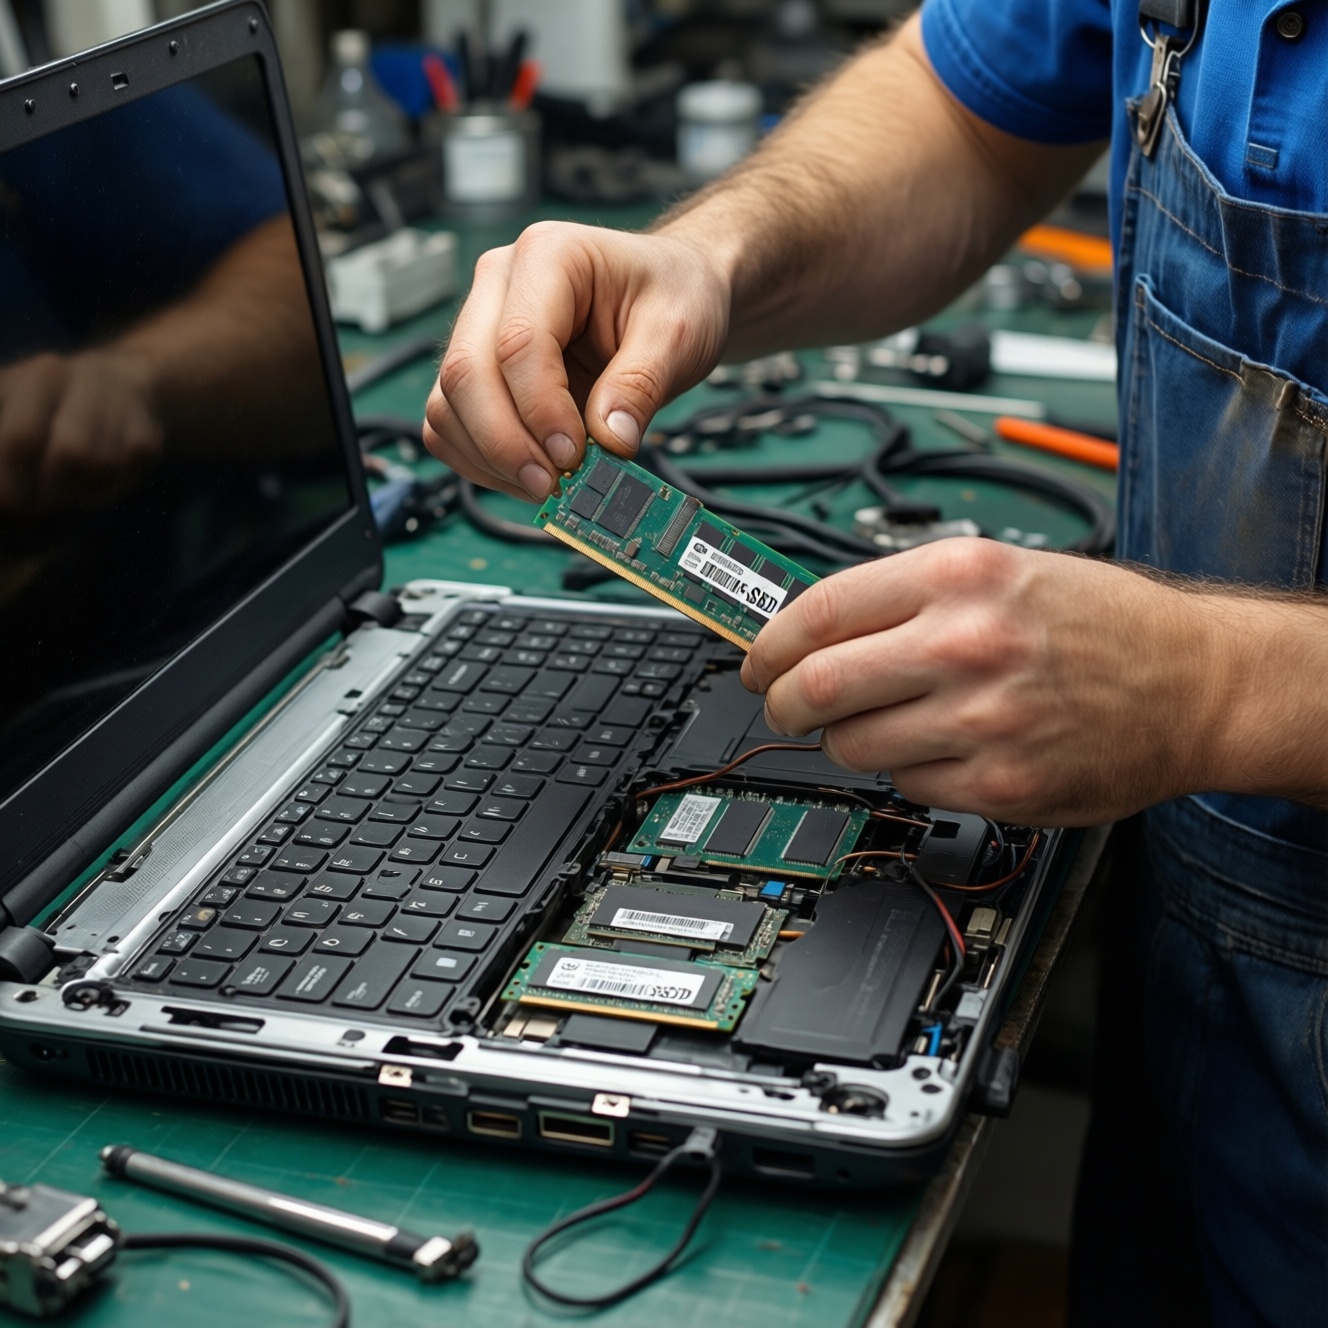
RAM Replacement Procedure: safe removal, seating modules and verification
Install RAM with minimal force: insert at an angle, then press down until both side clips lock. If the laptop doesn't boot afterward, reseating is the first fix-RAM is sensitive to partial insertion.
Post-install verification checklist
- Battery reconnected (if you unplugged it) and no cables pinched under the cover.
- RAM is fully seated: both retention clips are symmetrically locked.
- BIOS/UEFI shows the expected total RAM capacity.
- Operating system shows the expected memory and is stable under normal load.
- Run a basic memory test:
- Windows:
mdsched.exe(Windows Memory Diagnostic) for a quick check. - Linux: boot a Memtest option if available in your boot menu/firmware tools.
- Windows:
- No new boot loop or random restarts during a short stress scenario (multiple apps/tabs).
- If dual-channel is expected, confirm in a hardware info tool (optional) after stability is proven.
Quick troubleshooting tips: If you get a black screen or beeps, power off, unplug, hold the power button briefly to discharge, then reseat the RAM. If it still fails, test with one stick at a time to isolate a faulty module or slot.
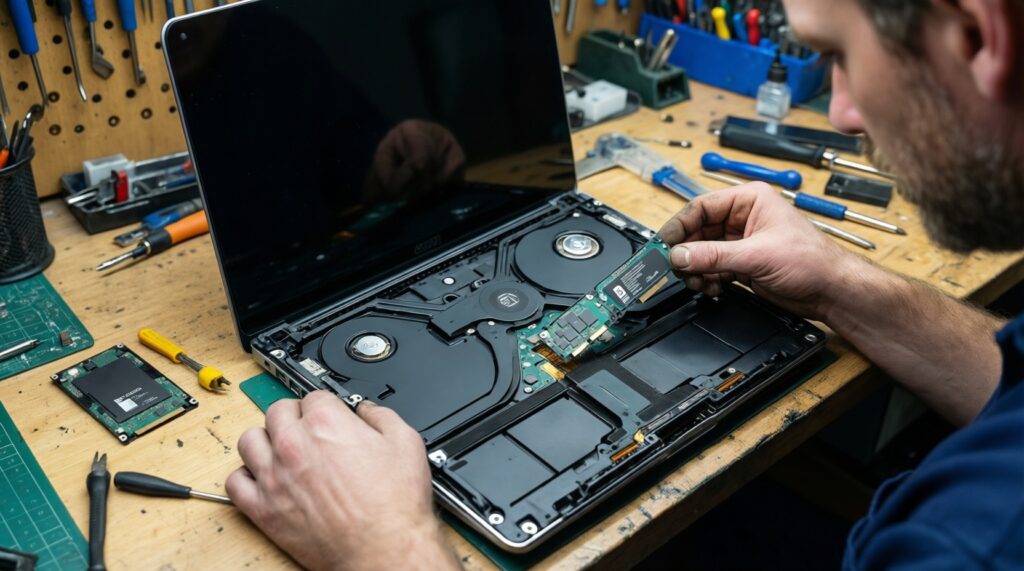
SSD Installation and Data Migration: cloning, fresh install and partitioning
SSD installation is simple mechanically, but migration choices cause most "it boots but feels wrong" outcomes. Decide cloning vs clean install first, then ensure the firmware boot mode and drive partition style remain consistent.
Common mistakes that cause slow boots, missing drives, or failed clones
- Buying the wrong M.2 type: M.2 is a shape; your slot may be SATA-only or NVMe-only.
- Wrong length: the laptop may require 2242/2260/2280; a mismatch won't screw down safely.
- Not securing the M.2 screw: a loose M.2 can disconnect intermittently and corrupt data.
- Cloning with the target smaller than the used space: shrink partitions before cloning or choose a larger SSD.
- Boot mode mismatch: switching between Legacy/CSM and UEFI after cloning can lead to "no boot device".
- BitLocker/device encryption surprises: hardware changes can trigger recovery key prompts; have the key ready.
- Leaving old and new drives with identical boot entries: the system may boot the wrong drive; temporarily remove the old drive or change boot order.
- Skipping SMART/health checks: verify the new SSD health early, before migrating critical workloads.
Practical migration routes
- Clone (keep everything the same)
Use a reputable cloning tool that supports your partition style (GPT/UEFI in most modern laptops). After cloning, shut down and swap drives, then verify the laptop boots from the new SSD before formatting the old one.
- Clean install (fresh system)
Create an installer USB, install the OS to the new SSD, then restore your data from backup. This is often best if the old system has driver issues, malware history, or years of clutter.
Thailand service option: if you prefer a shop to handle disassembly and cloning, compare บริการอัปเกรด RAM SSD โน้ตบุ๊ก ราคา based on whether they provide compatibility confirmation, data-backup responsibility, and post-upgrade tests (boot, SMART, stability).
Performance Tuning and Troubleshooting after the Upgrade
If performance still feels off after a successful upgrade, focus on configuration and health checks rather than immediately replacing parts again.
Alternatives and next best actions (when they make sense)
- Keep the existing RAM, upgrade only the SSD
Appropriate when the laptop currently has an HDD or a small/aging SSD and your memory usage rarely maxes out.
- Upgrade RAM only, keep the existing SSD
Appropriate when storage is already an SSD and you routinely hit high memory usage (heavy multitasking, VMs).
- External SSD for project files (no internal swap)
Appropriate when your laptop is hard to open, has soldered storage, or you need more space for media/projects without OS migration.
- Professional diagnostic before spending more
Appropriate when you see crashes, overheating, or random shutdowns-symptoms often unrelated to RAM/SSD upgrades.
Targeted checks if something isn't right
- SSD feels slow: confirm the drive is running in the expected mode (NVMe vs SATA) and that TRIM is enabled (Windows:
fsutil behavior query DisableDeleteNotify). - System stutters: check free disk space and background tasks (indexing, updates), and verify the page file is enabled.
- Random blue screens/freezes: re-run a memory test, reseat RAM, and check SSD SMART/health in a disk utility.
Concise Answers to Typical Upgrade Questions
Can I mix different RAM brands or speeds in the same laptop?
Usually yes if the DDR generation and voltage match, but the system will run at the slowest common speed and stability can vary. For best results, use a matched kit or identical module specs.
How do I know whether my M.2 slot supports NVMe or only SATA?
Check the laptop's model specifications/service manual or the BIOS storage information. Physical fit alone is not proof-M.2 SATA and M.2 NVMe can look similar.
Will adding an NVMe SSD always be faster than a SATA SSD?
Not always in everyday tasks; both feel fast compared to HDD. NVMe shows clearer benefits in heavy file transfers, large projects, and sustained workloads.
Do I need to disconnect the battery before replacing RAM or SSD?
Yes when possible: it reduces the risk of shorting components. If the battery connector is not accessible, follow the vendor manual and avoid touching exposed circuitry.
Is cloning safe, and what's the safest approach?
Cloning is safe when you have a verified backup and you keep the old drive untouched until the new one boots reliably. If the system is already unstable, a clean install is often safer than cloning problems forward.
What should I test right after the upgrade?
Confirm BIOS detection, then boot the OS, run a quick memory test, and check SSD SMART/health. If any issue appears, stop and troubleshoot before migrating or deleting data.
When should I use a shop instead of doing it myself?
Use a shop if the laptop has fragile clips, soldered components, or you cannot risk downtime/data loss. Also consider it if you need guaranteed cloning and post-upgrade verification.