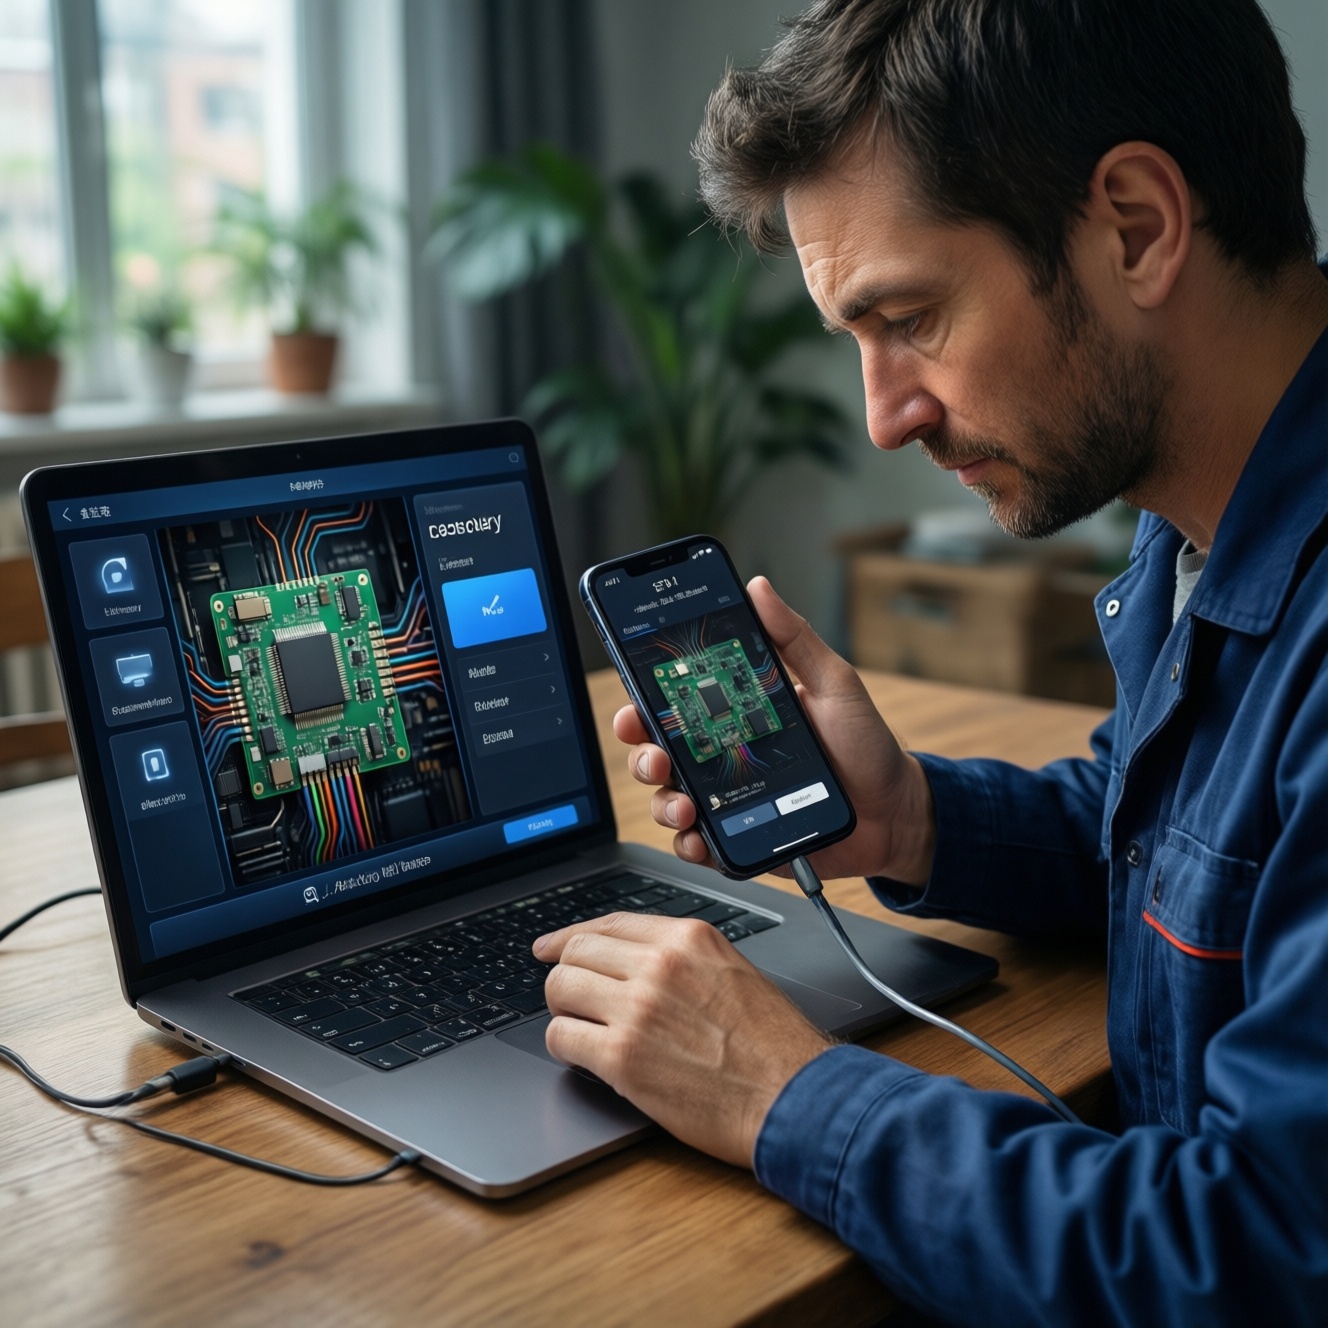
To flash a custom ROM on Android safely, you need the exact ROM for your device, a verified bootloader unlock method, a reliable recovery (often TWRP), and complete backups. The lowest-risk workflow is: prepare drivers and files, unlock bootloader, install recovery, verify partitions/backups, then flash ROM in the correct order and validate boot.
Pre-installation Checklist for Safe Custom ROM Flashing
- Confirm exact device model/variant (codename), region, and chipset before downloading any ROM.
- Backup user data and create a full partition backup (or plan a rollback path to stock firmware).
- Install platform tools (ADB/Fastboot), correct USB drivers, and use a stable cable/USB port.
- Verify file integrity (hash/signature when available) and keep ROM, recovery, and firmware components organized.
- Understand that ปลดล็อก bootloader Android typically wipes data and can break banking/DRM features.
| What you need | Examples | Why it matters | Verification step |
|---|---|---|---|
| PC tools | ADB/Fastboot (platform-tools) | Required for unlocking and recovery flashing on many OEMs | Run adb version and fastboot --version |
| USB driver / connection | OEM driver (Windows), good cable | Prevents disconnects during critical flashes | adb devices shows your device as authorized |
| Recovery approach | TWRP / vendor recovery / fastbootd | Controls wipes, backups, and flashing flow | Boot recovery once before doing any wipe/flash |
| ROM package | LineageOS-based, OEM-based, AOSP-based | Wrong build is a common cause of bootloops/bricks | Match codename + Android version + partition scheme |
| Device firmware components | Vendor/firmware, boot.img, vbmeta | Modern devices often need compatible firmware | Read ROM install notes for required firmware baseline |
| Rollback plan | Stock ROM package + flash tool | Fastest recovery if something goes wrong | Download and keep locally before you start |
Understanding Bootloaders, Recovery, and ROM Types
A custom ROM flash replaces core system partitions (and sometimes vendor/boot). This is suitable if you can follow device-specific instructions, accept data wipe risk, and can recover using fastboot/recovery tools. Avoid this if you rely on strict security features (banking/MDM), cannot tolerate downtime, or you cannot obtain the correct firmware/rollback package for your exact variant.
- Bootloader: controls what images can boot; unlocking usually enables flashing but reduces verified boot guarantees.
- Recovery: a separate boot mode used for wipes, backups, sideload, and flashing packages.
- ROM types: AOSP-based (clean), OEM-based (closest to stock), or device-maintainer builds with different stability tradeoffs.
Device-Specific Preparation: Backups, Batteries, and Drivers
Before you attempt to ลง Custom ROM Android, collect everything for your exact device and build a "no-surprises" recovery path.
Access and settings to enable
- Enable Developer options, then USB debugging.
- Enable OEM unlocking if your device exposes the toggle (some carriers/OEMs restrict it).
- Charge battery to a safe level and disable aggressive power saving on the PC (sleep/USB power saving).
Backups that actually help during recovery
- User data backup: photos, chats, downloads; export authenticator/banking recovery options.
- App list and settings: keep notes/screenshots of critical settings and 2FA methods.
- Full partition backup (if recovery supports it): useful for quick rollback; store off-device.
- Stock firmware package: fastest path if you need to reverse changes or fix a boot failure.
Drivers and connectivity (common hidden failure)
- Use a direct motherboard USB port; avoid hubs during flashing.
- On Windows, install OEM drivers if the device shows as unknown in fastboot mode.
- Confirm both modes: Android (ADB) and bootloader/fastboot (Fastboot).
Unlocking the Bootloader: Step-by-Step with Risk Mitigation
Mini prep check (do this right before unlocking)
- Reconfirm device codename/variant and the unlocking method for your exact OEM and region.
- Move backups off the phone (PC/cloud) and verify you can read them.
- Download stock firmware/flash tool for rollback and keep it offline-ready.
- Test both connections:
adb devices(authorized) andfastboot devices(detected).
-
Enable OEM unlock + USB debugging. Turn on the toggles in Developer options, then connect to your PC and authorize the ADB prompt. If the OEM unlock toggle is missing/greyed out, stop and research your model-specific restrictions.
- Risk note: without OEM unlock, fastboot unlock attempts can fail or soft-brick some devices.
-
Verify ADB communication. On PC, run
adb devicesand ensure the device is listed asdevice(notunauthorized). If unauthorized, revoke USB debugging authorizations on the phone and reconnect. -
Reboot to bootloader/fastboot. Run
adb reboot bootloader. Confirm the screen shows fastboot/bootloader mode and then runfastboot devices.- Fallback: if
fastboot devicesis blank, fix drivers/cable/USB port before proceeding.
- Fallback: if
-
Start the unlock procedure (OEM-specific). Use the exact command/workflow required by your OEM (some require a web token; some use
fastboot flashing unlock). Read the on-screen warning carefully and confirm using hardware keys.- Risk note: unlocking typically triggers a factory reset; assume all on-device data will be erased.
- Fallback: if the device refuses unlock, do not try random commands-relock/reboot and re-check OEM policy for your variant/carrier.
- Boot once into Android and re-enable debugging. After the data wipe, complete minimal setup, re-enable Developer options and USB debugging, and verify ADB works again. This reduces confusion later when installing recovery and flashing images.
Installing Custom Recovery and Verifying Integrity
Custom recovery is often used for backups, wipes, and flashing zip packages. Many users specifically aim to ติดตั้ง TWRP Recovery Android, but some devices require fastbootd or vendor recovery methods-follow device instructions.
- Confirm the recovery image/package matches your exact device codename and partition scheme (A/B vs non-A/B).
- Verify download integrity (hash/signature if provided) before flashing or sideloading.
- Boot recovery once immediately after installation (do not assume it worked).
- In recovery, confirm you can access internal storage (or know you must use ADB sideload/OTG).
- Create at least one recovery backup if supported (store it off-device).
- Confirm the ROM install instructions for required wipes (data/system/cache) and required firmware baseline.
- Check that the phone is recognized in recovery mode (ADB works if you plan to sideload).
Flashing the ROM: Commands, Order of Operations, and Common Options
Flashing order matters. The safest approach is to follow the ROM maintainer's exact sequence and only add extras (GApps, root, kernels) after the base ROM boots at least once.
Copy-ready command snippets (use only when your device instructions match)
- Reboot to recovery:
adb reboot recovery - ADB sideload (from recovery):
adb sideload ROM.zip - Reboot to bootloader:
adb reboot bootloader
Common mistakes that lead to bootloops or brick-like symptoms
- Wrong ROM for the variant: same model name can have multiple codenames; mismatch often causes non-boot.
- Skipping required firmware/vendor baseline: ROM boots only when firmware matches expected radio/vendor versions.
- Dirty flashing across major Android versions: upgrading without the required wipes commonly loops at boot animation.
- Flashing add-ons before first boot: kernels/modules/root can break first boot; validate base ROM first.
- Incorrect wipe selection: wiping internal storage when the ROM is stored there can leave you without a flashable package.
- Forgetting verified boot requirements: some devices need vbmeta/AVB handling per ROM instructions; ignoring it can prevent boot.
- USB disconnect during critical operations: avoid loose cables/hubs; do not move the device during flashing.
- Assuming "stuck at logo" is always a brick: first boot can take time; follow the ROM's guidance before force actions.
Post-flash Hardening: Restores, Fixes for Bootloops, and Reverting Safely
After the first successful boot, stabilize the system before experimenting. If it fails to boot, choose the least destructive recovery path first.
Option 1: First-boot stabilization (recommended baseline)
- Boot once without extra mods; complete setup; confirm calls, Wi‑Fi, camera, and sensors.
- Only then install optional packages (GApps/root) one at a time with reboots between changes.
Option 2: Bootloop recovery without full rollback
- Return to recovery, review what you flashed last, and remove/undo the last add-on first.
- If crossing major versions or changing ROM families, perform the required wipes and flash again cleanly.
Option 3: Safe revert to stock firmware
- Use the OEM-approved stock firmware package and official flashing tool/mode for your device.
- After restoring stock, confirm it boots fully before attempting custom modifications again.
Option 4: When to stop and use professional help
- If the device cannot enter recovery/bootloader, repeatedly drops connection, or shows no signs of boot modes, treat it as high risk.
- At that point, a local บริการแฟลชรอม Android or specialist who can handle diagnostics and board-level issues may be safer than repeated attempts.
- If you suspect hard brick, choose a shop experienced in ซ่อมมือถือ Android brick and bring your exact model/variant details.
Troubleshooting Guide and Common Concerns
My phone is stuck on the boot animation after flashing-what should I do first?
Wait until you've exceeded the ROM's stated first-boot time guidance, then reboot to recovery and verify you flashed the correct build and performed the required wipes. If you flashed add-ons, remove them and try booting the base ROM alone.
Fastboot doesn't detect my device (fastboot devices is empty). How do I fix it?
Switch USB port/cable, avoid hubs, and fix drivers (especially on Windows). Confirm you are truly in bootloader/fastboot mode and not a different OEM download mode.
Is unlocking the bootloader reversible?
Some devices can be relocked after returning fully to stock firmware, but relocking on modified partitions can prevent boot. Only relock when you are back on verified stock images and your OEM supports it.
I installed recovery but it keeps booting the stock recovery. Why?
Many devices restore stock recovery on first boot or use A/B partitions where recovery is integrated differently. Follow your device's method (booting recovery temporarily, disabling restore scripts, or using fastbootd) rather than repeating the same flash.
What's the safest order to flash ROM, GApps, and root?
Flash the ROM first and boot once. Add GApps (if needed) next, then root last-each step separately with a reboot and quick validation.
How can I tell a "soft brick" from a "hard brick"?
If you can still enter bootloader/recovery and the PC detects the device, it's usually recoverable (soft brick). If no boot modes appear and the PC never detects anything, treat it as potential hard brick and stop repeated flashing attempts.
Should I use TWRP on every device?
No-some devices work better with other recovery methods or fastbootd flows. Use the recovery approach recommended for your exact device and ROM instructions, even if it's not TWRP.