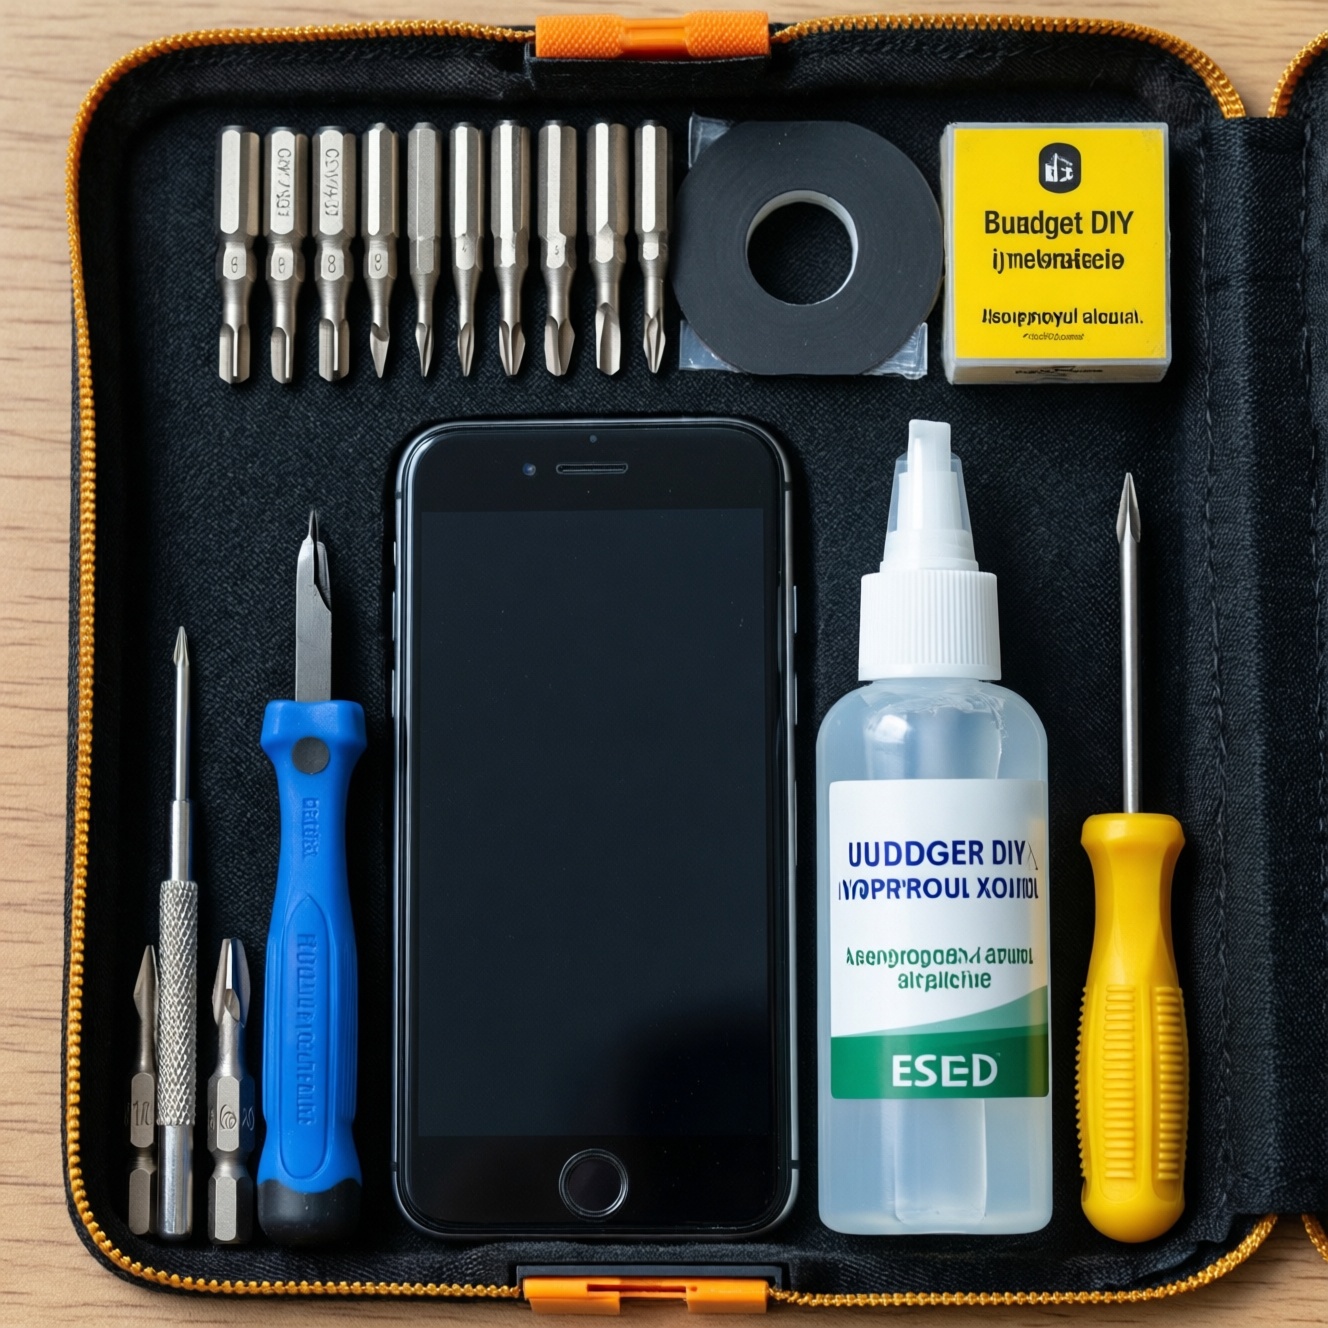
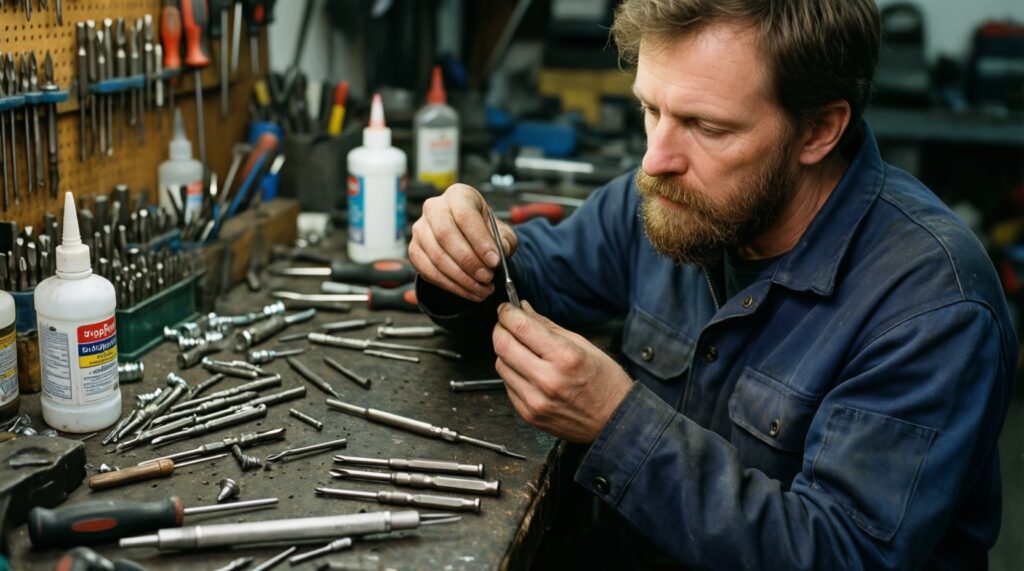
A budget DIY electronics kit for phones and small devices should prioritize the right screwdriver bits, safe pry tools, controlled use of adhesive and isopropyl alcohol, and basic ESD protection-then keep everything labeled and ready. Build it in layers: start with low-cost essentials that cover most jobs, then upgrade high-wear items (bits, spudgers, mat/strap) as they fail.
Essential components and safety priorities for a budget DIY electronics kit
- Cover the most common fasteners first (precision bits + stable handle) before buying niche tools.
- Use non-marring pry tools (nylon) as the default; reserve metal only for specific, controlled leverage.
- Choose adhesives that stay flexible and solvents that evaporate cleanly; avoid flooding connectors.
- Reduce ESD risk with a wrist strap and a grounded point; add an ESD mat when you can.
- Store tools in a modular case with labels so you can return items fast and avoid mixing bits.
- Replace consumables (IPA, wipes, glue nozzles, worn bits) on a simple inspection schedule.
Selecting versatile screwdrivers: bits, handles and torque for electronics
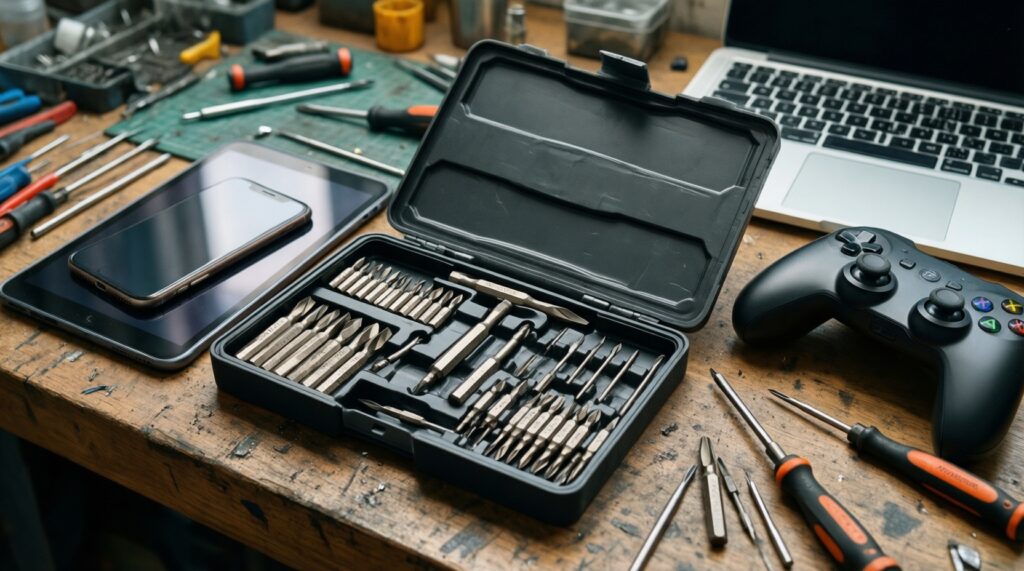
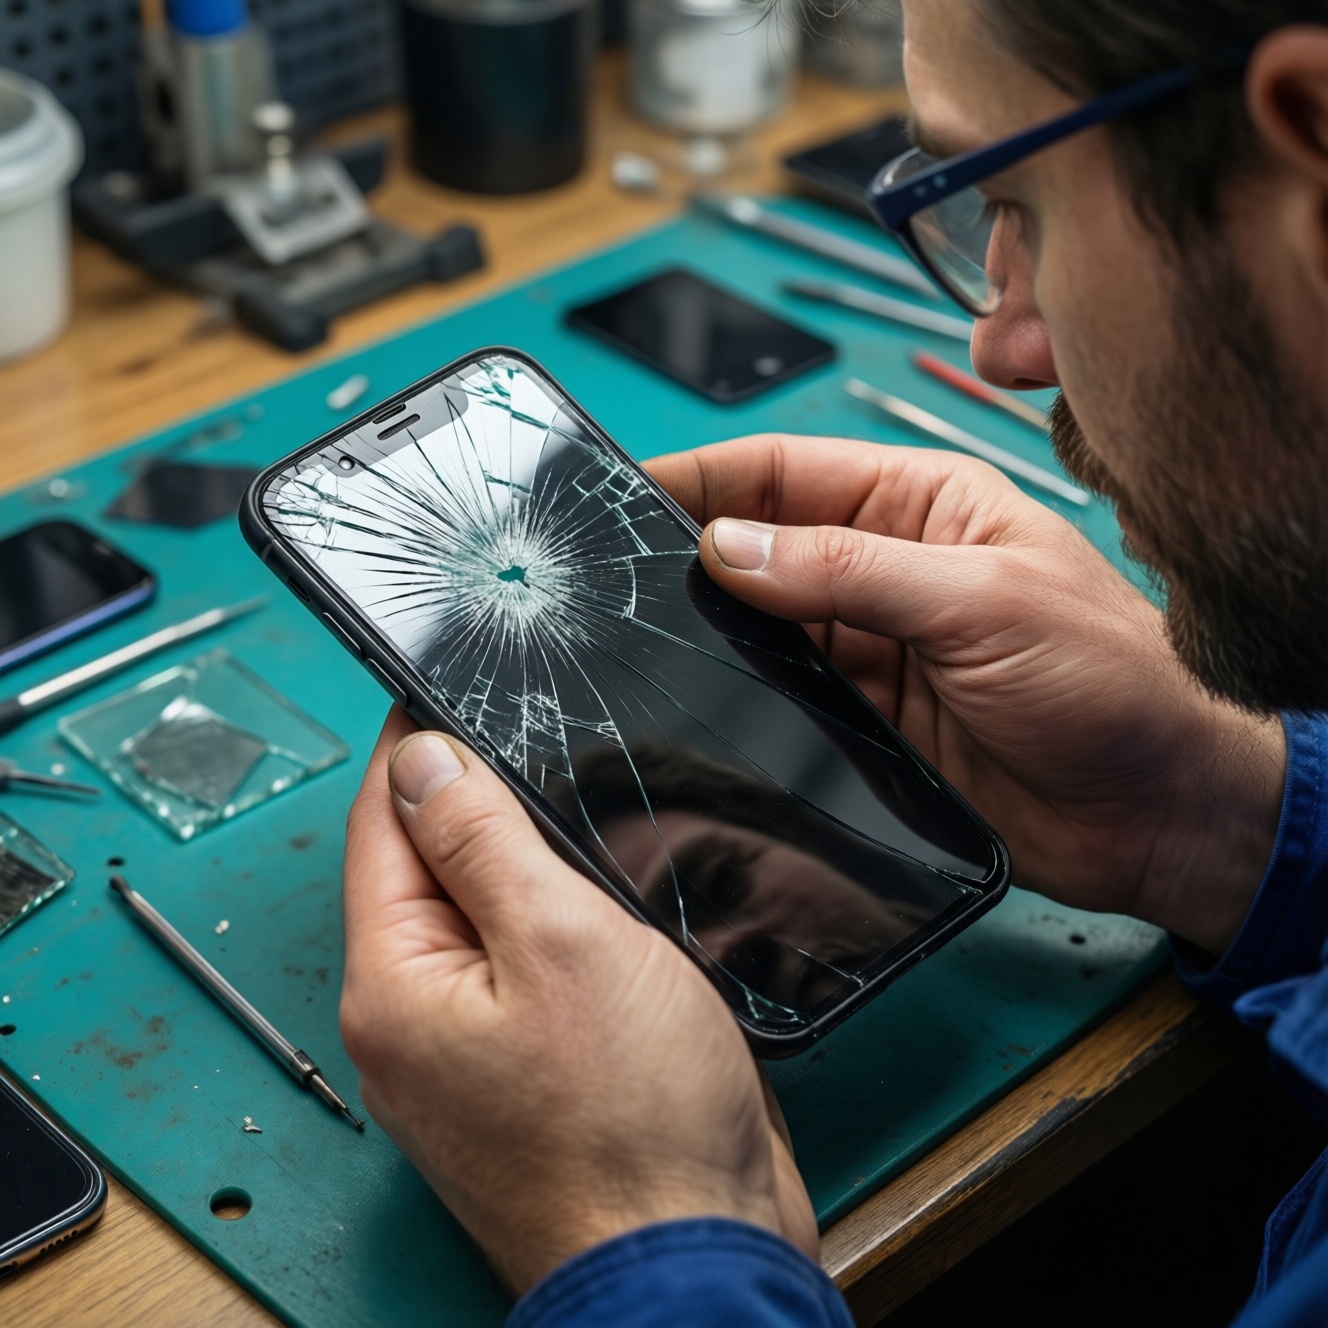
Suitable if you open phones, tablets, controllers, laptops, and small gadgets and want one kit that handles most screws without stripping. Skip DIY disassembly if the device is water-resistant and you cannot reseal properly, if screws are already stripped, or if the battery is swollen (stop and use professional service).
| Prep checklist (1 minute) | Do this before you start |
|---|---|
| Driver readiness | Pick the bit set, clean bit tips, and set a small parts tray for screws. |
| Budget-first choice | What to look for (practical specs) | Recommended upgrade (when it's worth it) |
|---|---|---|
| Precision bit set + handle | Common phone bits (e.g., Phillips, Torx, Pentalobe), a free-spinning cap, firm bit retention, and a slim shaft to reach recessed screws. | Better steel bits and a handle with smoother bearing cap when you notice cam-out or rounded bit edges. |
| Simple magnetic mat or screw organizer | Enough zones to separate "screen screws" vs "frame screws"; non-slip base. | Compartment organizer with lid if you travel or repair outside your desk. |
| Tweezers (basic) | Fine tip, straight; avoid overly sharp tips near flex cables. | ESD-safe tweezers once you handle bare boards more often. |
If you're searching in Thailand for ชุดไขควงซ่อมอุปกรณ์อิเล็กทรอนิกส์ ราคาถูก, prioritize bit fit over "number of bits." A smaller, higher-quality core set prevents stripped screws and saves time.
Spudgers and pry tools: materials, shapes and when to use each
Plan for at least two materials and a few tip shapes so you can separate adhesive seams without chipping glass or denting frames. You'll also need a safe way to warm adhesive (gentle heat) and a thin pick to start the gap.
| Prep checklist (1 minute) | Do this before you start |
|---|---|
| Pry setup | Power off device, remove SIM tray, and set a soft cloth under the device to prevent scratches. |
| Tool | Best use | Avoid / caution |
|---|---|---|
| Nylon spudger (flat + pointed) | Disconnecting battery/flex connectors, lifting shields gently, separating clips. | Don't use to "saw" through strong adhesive; it will bend and slip. |
| Plastic opening picks (thin) | Holding a gap open while you work around a screen/back cover perimeter. | Don't push deep near battery or flex cables; keep depth shallow. |
| Metal pry tool (thin, rigid) | Starting a gap on sturdy metal frames where plastic can't bite. | High risk of shorting and scratching; keep away from exposed boards and battery edges. |
| Suction cup | Creating initial lift on screens/back covers with minimal prying. | Won't help if glass is cracked or heavily textured; use tape reinforcement on cracked surfaces. |
For buyers typing spudger แกะมือถือ ซื้อที่ไหน, focus on getting a nylon spudger + picks bundle; it's the safest baseline for phones and reduces accidental gouges.
Adhesives and solvents: choosing glue types and safe use of isopropyl alcohol
| Prep checklist (1 minute) | Do this before you start |
|---|---|
| Chemicals & ventilation | Work in a ventilated area, keep liquids away from powered devices, and prepare lint-free wipes and a small IPA dispenser (not an open cup). |
- Use IPA 90%+ for cleaning adhesive residue and degreasing surfaces before re-gluing.
- Use flexible electronics adhesive (commonly B-7000-type) for light-duty reattachment like bezels and small plastic parts; avoid flooding.
- Keep all solvents away from displays' polarizer edges and speaker/mesh areas to avoid staining or wicking.
If your shopping list is "กาวซ่อมมือถือ B-7000 และแอลกอฮอล์ IPA ซื้อออนไลน์", buy small containers first to reduce evaporation and nozzle clogging, and add spare precision tips/nozzles.
- Mini prep checklist before steps
- Device powered off; battery disconnected if already open.
- IPA in a small bottle with a controlled spout; lint-free wipes ready.
- Glue nozzle cleared; toothpick or micro-applicator prepared.
- Masking tape available to protect ports, speaker grills, and buttons.
- Timer/clock ready so you don't move parts during curing.
-
Protect sensitive areas before any liquid
Cover speakers, mics, side buttons, and ports with masking tape so IPA or glue cannot wick inside. Keep the device tilted so gravity pulls liquid away from openings.
-
Soften residue with controlled IPA, not a "soak"
Dampen a wipe or swab with 90%+ IPA and work the edge of residue; avoid dripping. Wait briefly for softening, then wipe-repeat rather than increasing volume.
- Use short strokes away from connectors.
- Let IPA fully evaporate before applying any adhesive.
-
Remove old adhesive until surfaces are matte-clean
Scrape gently with a plastic tool and finish with an IPA wipe so new glue bonds consistently. Any glossy "oil" patches usually indicate contamination-clean again.
-
Apply a thin, continuous bead of flexible glue
Dispense a narrow line (as thin as you can control) around the frame, staying clear of cameras and sensors. More glue increases squeeze-out and can migrate into buttons and grills.
- Use a toothpick to spread and thin the bead at corners.
- Wipe immediate squeeze-out with a barely damp IPA swab.
-
Clamp evenly and respect cure time
Use rubber bands or light clamps with soft pads so pressure is even and doesn't dent the frame. Do not flex the device during curing; check alignment early, then leave it undisturbed.
ESD protection on a budget: wrist straps, mats and low-cost alternatives
| Prep checklist (1 minute) | Do this before you start |
|---|---|
| ESD baseline | Remove static-prone clothing, clear plastic bags, and set a single grounded point for your strap clip. |
If you're comparing แผ่นรองกันไฟฟ้าสถิต ESD พร้อมสายรัดข้อมือ ราคา, a wrist strap plus a reliable ground point is the minimum; an ESD mat improves consistency and organization but must be connected correctly.
- Wrist strap fits snugly on bare skin (not over sleeves).
- Strap clip is attached to a known ground point (not painted metal or floating objects).
- Work surface is clear of loose screws that can short boards.
- PCB is placed on an ESD-safe surface (mat) or at least on clean cardboard (low-cost fallback) rather than plastic.
- You discharge yourself before touching connectors (touch ground point first).
- Flex cables are handled by edges; connector pins are not touched.
- Battery is disconnected before swapping modules where possible.
- No metal pry tool is used near exposed battery tabs or board power areas.
Tool hygiene and storage: modular cases, labeling and quick-access layout
| Prep checklist (1 minute) | Do this before you start |
|---|---|
| Storage reset | Open your case, confirm every tool has a "home," and keep IPA and glue upright in sealed bags. |
- Mixing similar-looking bits (e.g., close Torx sizes) and rounding screws-label bit rows or keep a printed bit map.
- Storing glue without wiping the nozzle-leads to clogged tips and sudden over-dispense next time.
- Leaving IPA bottles unsealed-evaporation increases water content and reduces cleaning performance.
- Keeping metal tools loose with electronics-tips can chip screens or short contacts in transit.
- Using one "junk drawer" compartment-parts go missing; separate "opening tools," "drivers," "chemicals," and "consumables."
- Not isolating used wipes/swabs-contamination spreads adhesive and dust back onto clean parts.
- Storing suction cups under heavy items-deformed cups lose grip and cause slips.
- Skipping a quick post-job wipe-down-glue residue transfers to screens and cases.
If your goal is to ซื้อชุดเครื่องมือซ่อมมือถือ once and keep it usable, the case layout matters as much as the tools: fast retrieval prevents "improvised" prying and wrong-bit mistakes.
Maintenance and replacement schedule: inspections, consumables and replenishment checklist
| Prep checklist (1 minute) | Do this before you start |
|---|---|
| Restock routine | Check bit wear, spudger tips, glue nozzle condition, and IPA level before the next repair. |
Choose the approach that matches how often you repair and where you work:
- Ultra-budget maintenance: Replace only when failure is visible (rounded bits, bent spudger tips), keep spare wipes and a spare glue nozzle; best for occasional home use.
- Balanced "ready-to-go" routine: Keep duplicates of the most-used bits and 2-3 spudgers; restock IPA and wipes when you notice slower cleaning or more streaks.
- Mobile/field repairs: Maintain a small travel pouch with a minimal bit set, picks, suction cup, and sealed IPA wipes; keep the full kit at home for deeper work.
- Upgrade-on-wear strategy: Start with ชุดไขควงซ่อมอุปกรณ์อิเล็กทรอนิกส์ ราคาถูก, then upgrade only the first items to wear out (typically driver bits and opening tools).
Common pitfalls, rapid fixes and sourcing tips
I stripped a tiny screw-what should I do first?
Stop immediately, switch to a fresh, correctly sized bit, and increase downward pressure rather than torque. If it still slips, use a rubber band layer or a dedicated screw-extractor bit for micro screws.
My spudger keeps slipping and marking the frame-how do I prevent damage?
Warm adhesive slightly, start the gap with a pick, and keep pry depth shallow. Default to nylon tools; use metal only to start a gap on sturdy metal, then switch back to plastic.
Where should I attach the wrist strap if I don't have an ESD mat?
Clip to a known grounded metal point; avoid painted surfaces and unknown fixtures. If unsure, use an ESD mat/strap combo and connect both to the same ground point.
Can I use any alcohol for cleaning electronics?
Prefer 90%+ isopropyl alcohol for fast evaporation and fewer residues. Avoid perfumes/additives and do not soak components-apply to a wipe or swab, not directly into the device.
B-7000-type glue keeps oozing out-how do I control it?
Use a thinner bead, keep away from grills/buttons, and clamp lightly and evenly. Clean squeeze-out immediately with a minimally damp IPA swab.
What's the most cost-effective first upgrade after a cheap kit?
Upgrade the frequently used bits and add better opening picks/nylon spudgers. These directly reduce stripped screws and cosmetic damage.
Any buying tip in Thailand for getting the right kit quickly?
When you search ซื้อชุดเครื่องมือซ่อมมือถือ, check that the kit lists phone-relevant bits and includes opening picks and a suction cup. Buy chemicals (IPA, glue) from sellers with clear labeling and sealed packaging.