Safe CPU overclocking or undervolting is a controlled process: change one setting at a time, monitor temperature and voltage, and validate stability before going further. Overclocking targets higher frequency; undervolting targets lower voltage at the same performance. Your priorities are cooling, clean power delivery, a rollback plan, and repeatable stress tests.
Essential Safety Checklist for CPU Tuning

- Back up important data and note your current BIOS/UEFI settings before changing anything.
- Update BIOS/UEFI to a stable release and load defaults once, then re-enable only what you need (XMP/EXPO, fan curves).
- Confirm cooling capacity (mount pressure, airflow, fan curve) before raising limits; plan to ซื้อชุดระบายความร้อน CPU if your current cooler is already near its comfort zone.
- Use fresh thermal paste and correct application; if you're comparing options, treat ซิลิโคนระบายความร้อน CPU ราคา as secondary to known good brands and proper mounting.
- Verify your power path: stable wall power, good motherboard VRM airflow, and an appropriate พาวเวอร์ซัพพลาย (PSU) สำหรับคอมพิวเตอร์เกมมิ่ง if you're pushing sustained loads.
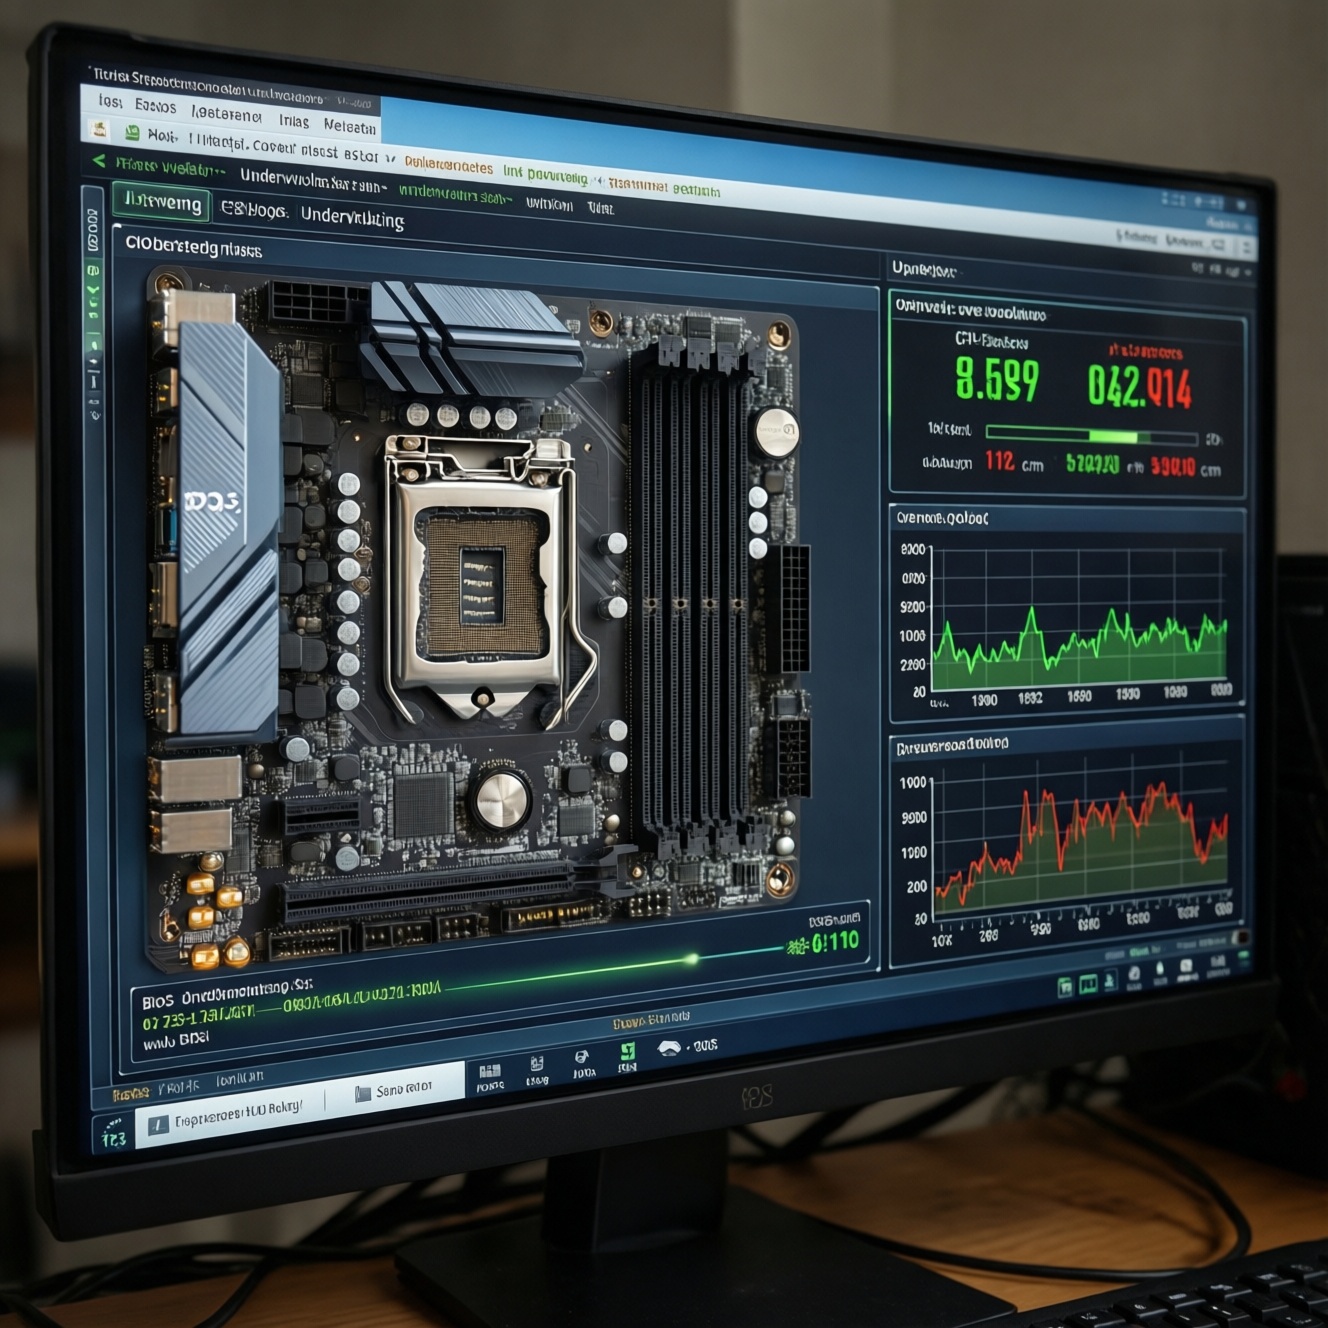
- Install monitoring tools (temps, clocks, voltages, power) and keep a simple change log (what changed, what test passed/failed).
- Know your recovery route: CMOS reset method, safe boot options, and how to revert to stock quickly.
Understanding Overclocking vs Undervolting: How Frequency, Voltage and Temperature Interact
Overclocking increases frequency targets and often needs more voltage, which raises heat and power. Undervolting reduces voltage for the same boost behavior, typically lowering heat/noise and improving sustained performance by avoiding thermal or power limits. Start with undervolting if your system is hot or noisy; consider overclocking only if you have cooling and power headroom.
Skip tuning (or keep it minimal) when you need maximum uptime, your case airflow is poor, your cooler is undersized, your motherboard VRM runs hot, or you rely on workloads that are sensitive to rare calculation errors (financial, scientific, critical work).
Preparing Hardware and Firmware: BIOS/UEFI Settings, Cooling Readiness and Power Delivery

- Access: BIOS/UEFI access and the ability to clear CMOS (button, jumper, or battery removal method).
- Monitoring: HWiNFO (sensors), CPU-Z (clocks/VID), GPU-Z if you also observe system power behavior, and a simple logging note.
- Stability tools: at least one heavy all-core test and one mixed/real-world test (choose what you can repeat consistently).
- Cooling readiness: clean dust filters, confirm fans spin up under load, set a fan curve that reacts to CPU temperature quickly, and re-seat the cooler if temps are erratic.
- Firmware settings to locate: CPU ratio/multiplier, CPU core voltage mode (auto/adaptive/offset/manual), load-line calibration (LLC), power limits (package power, current limits), and temperature protection options.
- Optional utilities: vendor tuning suites and โปรแกรมโอเวอร์คล็อก CPU exist, but BIOS/UEFI changes are usually more consistent and easier to recover from.
Safe Overclocking Procedure: Incremental Frequency Steps, Voltage Limits and Validation Points
- Baseline and capture a "known good" profile: Boot at stock (or your current stable settings), run a short stress test, and note peak temperature, sustained clock behavior, and whether the CPU hits power/thermal limits. Save a BIOS profile so you can revert in seconds.
- Lock down variables first (memory and cooling behavior): Enable XMP/EXPO only if it is already stable; otherwise keep memory at a known stable baseline while tuning CPU. Set a sensible fan curve so temperature changes are repeatable from run to run.
- Choose an approach: all-core ratio or "let boost boost": For many modern CPUs, the safest first move is not forcing a high fixed clock, but optimizing boost behavior via power limits and cooling. If you do use an all-core ratio, keep changes small and reversible.
-
Increase frequency in small steps: Raise the ratio one small increment, keep voltage mode conservative (often adaptive/auto at first), and do a short stability check. If it fails quickly, revert the last change rather than "chasing it" with large voltage jumps.
- Stop and reassess if temperatures spike unusually fast or the system throttles immediately.
- If your board exposes LLC, avoid aggressive LLC presets that can cause overshoot under transients.
- Adjust voltage only when needed, and only slightly: If the CPU is nearly stable (rare errors, late failures), apply the smallest practical voltage change in a controlled mode (adaptive/offset is often safer than a hard manual value for daily use). Re-test the same way every time.
- Validate with a staged test plan: After each step, pass a short stress run; after you reach your target, run longer tests and include at least one real workload (games, compilation, rendering) that reflects your daily usage.
- Finalize: reduce heat before chasing more MHz: Once stable, try to lower voltage slightly (or relax the last frequency step) to reduce heat, noise, and long-run stress. Save a final BIOS profile and keep your baseline profile intact.
Fast mode: a reduced algorithm for daily-safe tuning
- Record stock temperatures/clocks under one repeatable load; save a baseline BIOS profile.
- Improve cooling behavior first (fan curve, re-mount if needed), then raise frequency one small step.
- Run a short stability test; if it fails, revert the last step before touching voltage.
- If it's close to stable, apply a minimal adaptive/offset voltage change and re-test.
- When stable, do a longer test plus a real workload; save the final profile.
Controlled Undervolting Workflow: Using Curve Editors, Static vs Adaptive Modes and Targeting Stability
Undervolting is usually the best "first tuning" for thermals. The exact method depends on platform: some use a curve editor, others use an offset (adaptive/negative), and some laptops restrict it. If you're searching for วิธีอันเดอร์โวลต์ CPU, prioritize reversible settings (BIOS profiles) and consistent testing over aggressive targets.
- Start from stock or a known stable profile; change only CPU voltage behavior (not CPU ratio and memory at the same time).
- Prefer adaptive/offset undervolting for daily use; reserve manual/static voltage for controlled fixed-clock experiments.
- Apply a small negative offset (or one small curve step), then boot and verify idle stability (no WHEA errors, no random app closes).
- Run a short heavy load test; watch for clock stretching, sudden downclocks, or errors under transient load changes.
- Run a mixed workload (gaming + background tasks, compilation, content creation) to catch "real life" instability.
- Check sleep/standby resume stability; undervolts often fail there first.
- If you see rare errors, back off one step rather than compensating with higher power limits.
- Save two profiles: "Daily UV" and "Stock Safe" for quick switching.
Stability Testing and Metrics: Which Benchmarks, Durations and Telemetry to Trust
- Changing multiple variables at once: CPU ratio + voltage + memory + power limits in one go makes failures impossible to diagnose.
- Relying on a single benchmark: one pass of a quick test can miss transient or mixed-load failures; use at least two types of load.
- Ignoring error logs: WHEA events, application crashes, or silent calculation errors matter even if the system "doesn't blue-screen."
- Trusting "max temperature" alone: look at sustained temperature, throttling flags, clock stability, and whether power limits are being hit.
- Overreacting to brief spikes: focus on repeatable behavior under the same test rather than one-off sensor blips.
- Confusing VID/requested voltage with actual behavior: observe multiple voltage-related sensors and correlate with load and clocks.
- Letting fan curves hide instability: a delayed fan response can create heat soak that fails later; test with a stable, predictable fan curve.
- Declaring "stable" without testing your real apps: a CPU can pass synthetic loads and still crash in specific games or productivity tools.
Recovery, Diagnostics and When to Revert: Logs, Safe Modes and Protecting Your Hardware
- Use BIOS profiles as your primary safety net: keep "Stock Safe," "Last Stable," and "Current Test" profiles so you can revert without guessing.
- Clear CMOS when you can't POST reliably: if the system won't boot after a change, reset CMOS and re-apply the last known good profile.
- Switch strategy instead of pushing voltage: if overclocking needs disproportionate voltage, revert and use undervolting + improved cooling for better sustained boost.
- Upgrade fundamentals when tuning is fighting hardware limits: improve case airflow, re-mount the cooler, or ซื้อชุดระบายความร้อน CPU before attempting higher sustained loads; verify your พาวเวอร์ซัพพลาย (PSU) สำหรับคอมพิวเตอร์เกมมิ่ง is appropriate if you see power-related instability.
Practical Concerns and Quick Answers for Common Tuning Scenarios
Should I tune in BIOS/UEFI or with a โปรแกรมโอเวอร์คล็อก CPU in Windows?
Prefer BIOS/UEFI for consistent behavior and easier recovery. Windows tools can be useful for quick experimentation, but they add another layer that can complicate troubleshooting.
What's the safest way to start if I mainly want lower temperatures?
Start with a conservative undervolt (adaptive/negative offset or a small curve change) and keep clocks on auto. This is the most practical วิธีอันเดอร์โวลต์ CPU path for daily stability.
Do I need to buy a new cooler before any CPU tuning?
If your CPU already runs hot, throttles, or the fan is constantly loud under normal work, ซื้อชุดระบายความร้อน CPU first. Tuning cannot compensate for insufficient cooling capacity.
Does more expensive thermal paste always help (ซิลิโคนระบายความร้อน CPU ราคา)?
Correct application and good cooler mounting usually matter more than small differences between reputable pastes. Use a known, stable paste and focus on consistent contact and airflow.
Can an undervolt cause data corruption?
Instability can cause application crashes or computation errors. Treat undervolting like overclocking: validate stability with both stress tests and real workloads before calling it daily-stable.
How do I know if my PSU is part of the problem?
If you see sudden shutdowns under load, repeated instability across multiple CPU settings, or issues after adding power-hungry parts, review your พาวเวอร์ซัพพลาย (PSU) สำหรับคอมพิวเตอร์เกมมิ่ง and power connections. When in doubt, revert to stock and test again to isolate the cause.