Before flashing a ROM, create at least two independent backups: a full Nandroid image (system-level rollback) and a file-level copy (photos, documents, app exports) via ADB/OTG/PC. Verify integrity, store backups off-device, and document current partitions and firmware. This combo minimizes data loss and gives you a reliable restore path if the flash fails.
Essential backup goals before flashing
- Be able to revert to the exact pre-flash state (boot, system, vendor, data, and critical firmware partitions).
- Preserve irreplaceable user data (DCIM, downloads, app media, 2FA seeds, chat exports).
- Keep backups off the phone (PC + external storage) to survive a bootloop or storage corruption.
- Prove backups are usable (hash checks, test-mount or list contents, spot-restore a small file).
- Capture device state notes (ROM build, security patch, bootloader status, recovery version, encryption state).
Pre‑flash risk assessment and backup inventory
- Good fit for this guide: you can use ADB, you understand recovery/bootloader modes, and you can follow partition-sensitive steps.
- Pause and do not flash yet if: the device shows random reboots, storage errors, swollen battery, or you cannot reliably connect to a PC (fix hardware first).
- Stop if you depend on corporate/MDM policies: flashing can break compliance, encryption keys, and required security posture.
Backup inventory (what you should explicitly list before touching the ROM)
- User files: DCIM/Camera, WhatsApp/LINE/Telegram media and exports, Downloads, Documents, Music, Screenshots.
- Accounts and 2FA: Google/Apple IDs, banking apps, authenticator app export or recovery codes, passkeys.
- App-specific exports: notes apps, password managers, launcher layouts, game saves (if not cloud-synced).
- System rollback: Nandroid backup plus firmware/modem/EFS (where applicable) awareness.
Rollback trigger: if you cannot identify what you must preserve (especially 2FA) or you cannot store backups off-device, do not proceed.
Preparing device access: unlocking, drivers and storage layout
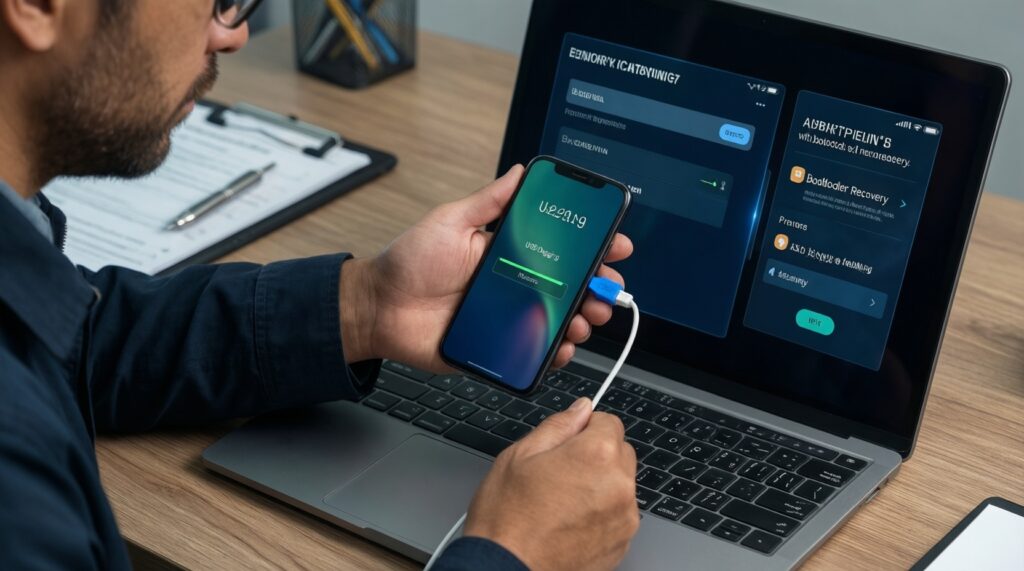
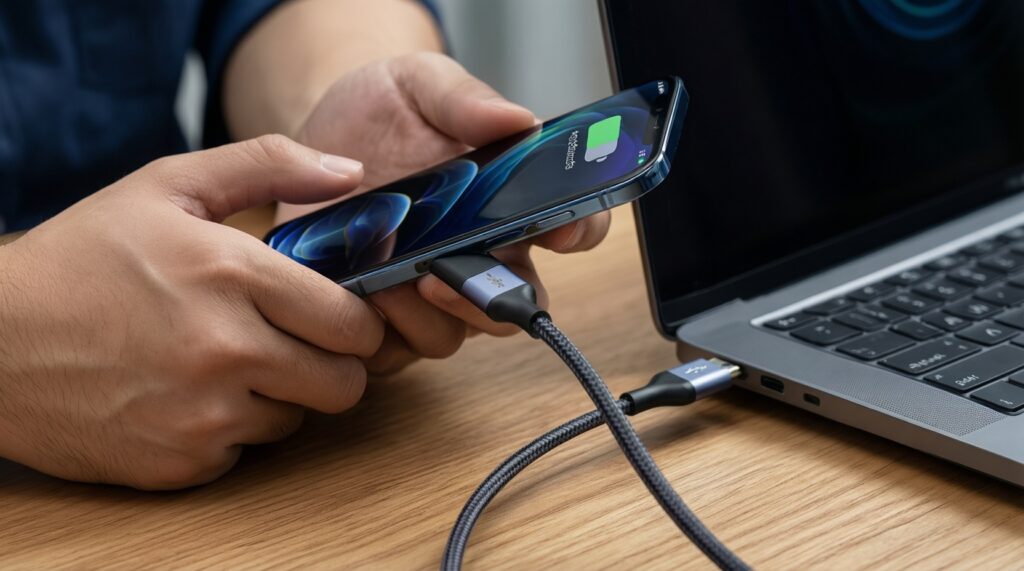
- PC setup: install platform-tools (ADB/Fastboot) and USB drivers suitable for your device; keep a known-good USB port/cable.
- Developer options: enable USB debugging; confirm ADB authorization prompt appears on the phone.
- Boot modes: know how to enter bootloader/fastboot and recovery; confirm you can boot to each without panic.
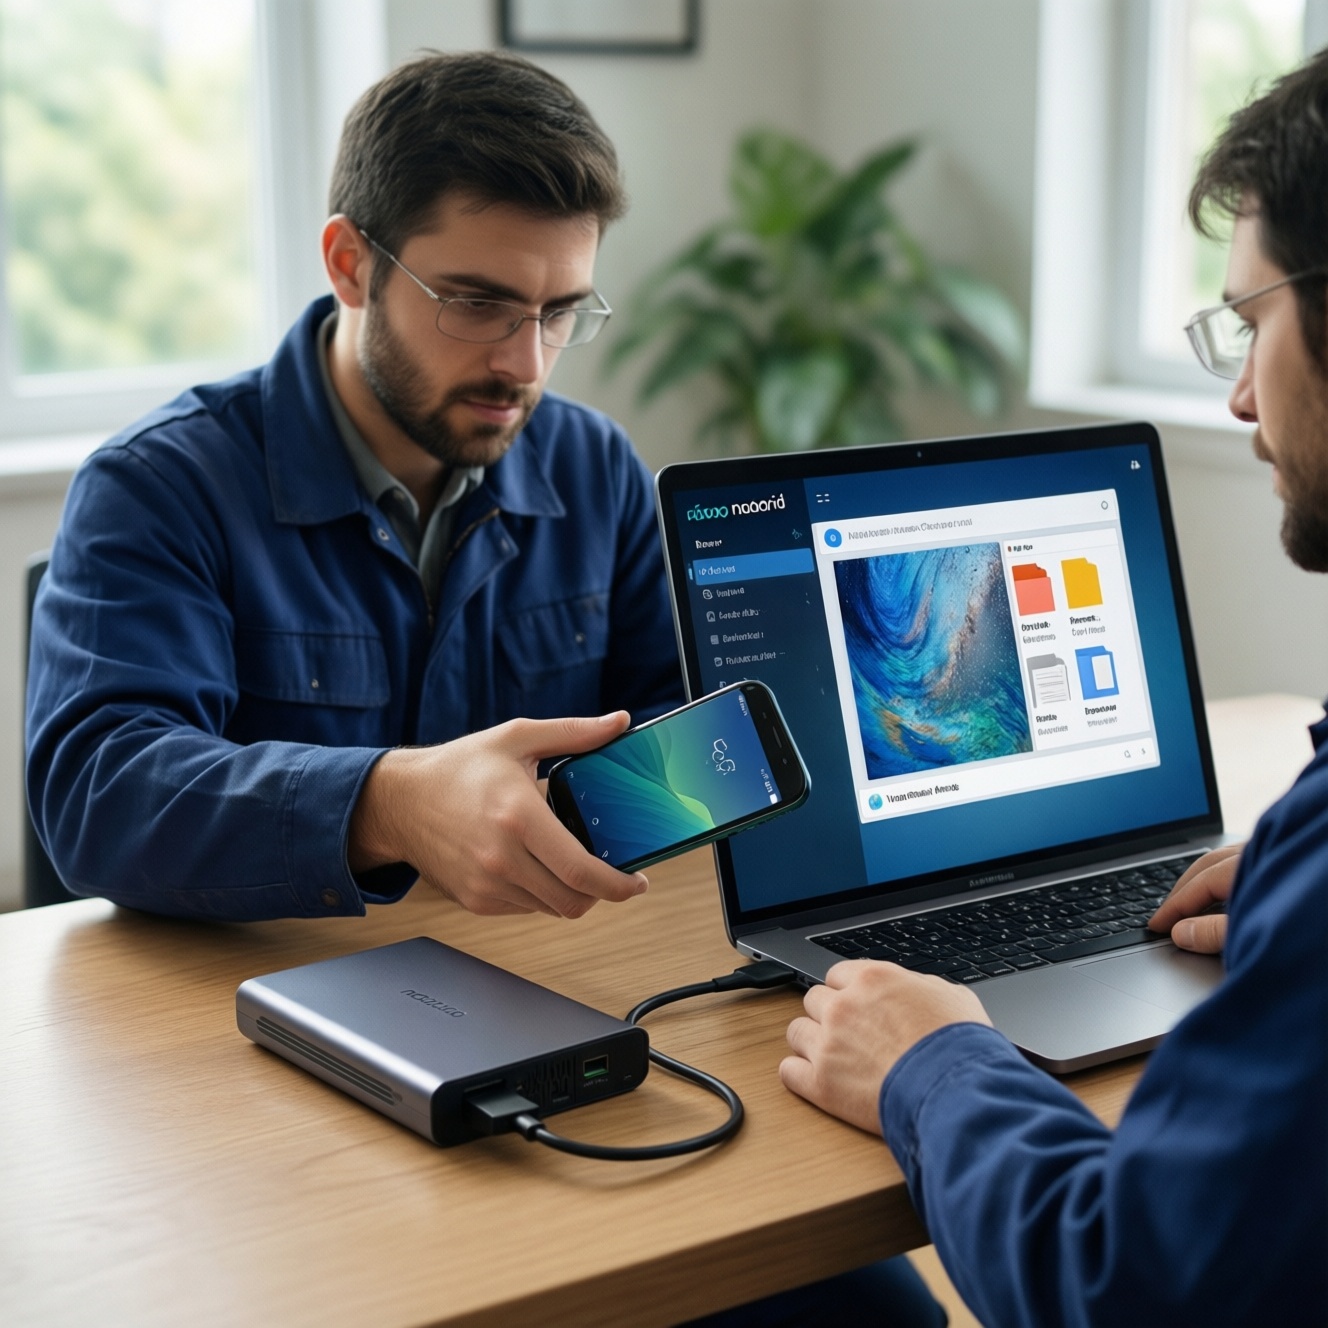
- Storage plan: choose at least two destinations: PC folder + external (OTG drive or another PC/NAS).
- Naming convention: use consistent names to avoid mixing devices/ROMs:
DEVICE_YYYY-MM-DD_preflash_build.
What to buy or use (Thailand context)
- If your connection is flaky, prioritize ซื้อสาย USB สำหรับ ADB Fastboot แท้ (a reliable data cable, not charging-only).
- If you want offline storage without a laptop, consider ซื้อแฟลชไดรฟ์ OTG สำหรับสำรองข้อมูลมือถือ and verify it mounts reliably in Android and in recovery.
- If you cannot do PC steps safely, it can be reasonable to use บริการสำรองข้อมูลมือถือก่อนแฟลชรอม from a trusted shop-but you still should understand what is being backed up and where it is stored.
Rollback trigger: if adb devices never shows your device as device (authorized), fix USB/debugging before doing anything else.
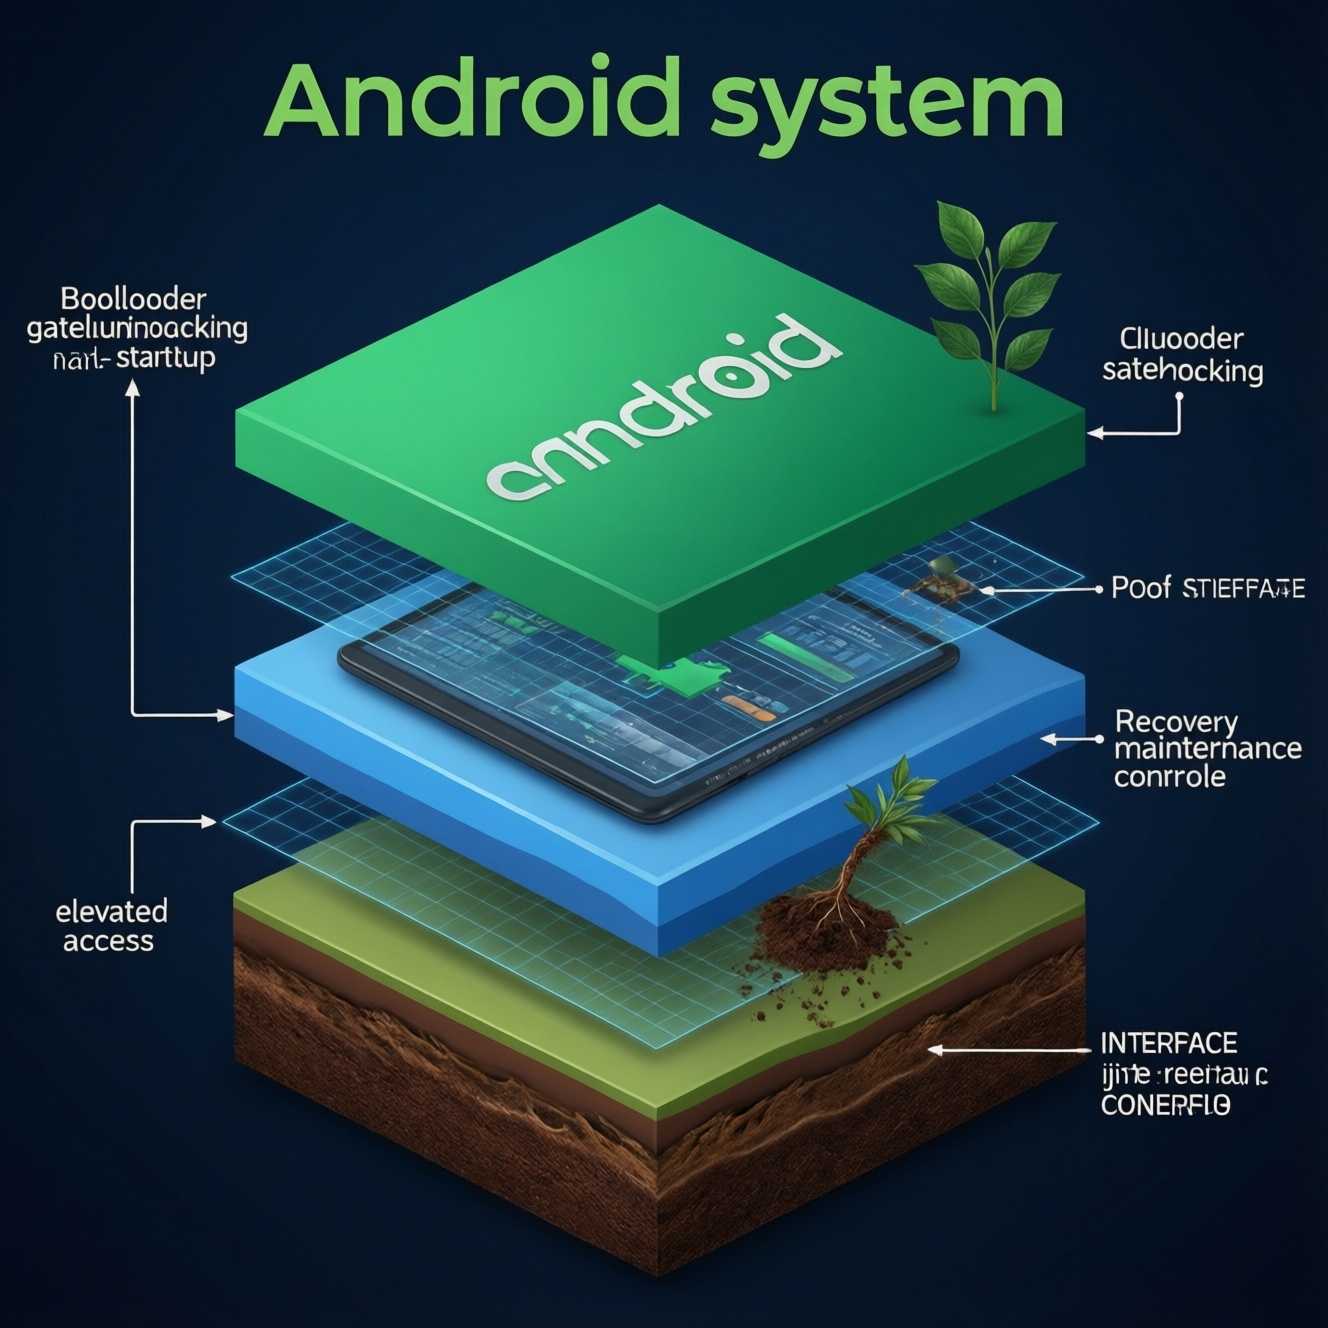
Full Nandroid backup with custom recovery (TWRP lineage)
- Charge to a safe level and keep the phone on a stable surface; avoid cable strain.
- Ensure you have enough free space for a full image (internal + external destination if supported).
- Remove screen lock temporarily if your recovery struggles with decryption (re-enable later).
- Decide your backup target: internal storage, OTG, or via
adb pullafter backup. - Write down current ROM build and recovery version for your notes.
-
Boot into custom recovery safely
Reboot to recovery using a method you trust (hardware keys oradb reboot recovery). Confirm the recovery loads without touch issues and shows storage correctly.- If recovery can't see storage, stop and resolve decryption/partition issues before continuing.
-
Unlock or decrypt data (if prompted)
If the recovery asks for a password/PIN to decrypt/data, enter it. If decryption fails, you may still back up system partitions, but user data restoration may be incomplete.- Caution: do not wipe
/datajust to make it work unless you already have a separate verified file backup.
- Caution: do not wipe
-
Select partitions for a rollback-grade backup
In Backup, select core partitions typically needed for full rollback (commonlyBoot,System,Vendor,Data). Add any device-specific critical partitions only if you understand them.- Prefer backing up to OTG/external if available to avoid losing the backup during internal storage failure.
-
Name the backup clearly and start imaging
Use a descriptive label such asDEVICE_2026-05-20_preflash_stock. Start the backup and do not interrupt; overheating or low battery can corrupt the image.- Caution: if the phone reboots during backup, consider that backup untrusted until verified.
-
Export the backup off-device immediately
After the backup completes, copy it to a PC and a second location (external drive/NAS). If recovery supports MTP, use it; otherwise use ADB from recovery.- Example (from PC):
adb pull /sdcard/TWRP/BACKUPS/ /path/to/PC/DEVICE_2026-05-20_TWRP/
- Example (from PC):
Rollback trigger: if the Nandroid backup fails, produces errors, or you can't copy it off-device, do not flash yet-fix the underlying storage/USB/recovery problem.
Image and file backups with ADB and Fastboot commands
Practical commands (copy-paste friendly)
- Check ADB connectivity:
adb devices - Capture device info for your notes:
adb shell getprop ro.build.fingerprint - Backup key folders (recommended):
adb pull /sdcard/DCIM/ /backups/DEVICE_2026-05-20/DCIM/adb pull /sdcard/Download/ /backups/DEVICE_2026-05-20/Download/adb pull /sdcard/Documents/ /backups/DEVICE_2026-05-20/Documents/
- Create a file list snapshot:
adb shell ls -la /sdcard/ > DEVICE_2026-05-20_sdcard_listing.txt - Reboot to bootloader:
adb reboot bootloader - Verify fastboot sees the device:
fastboot devices
Backup result verification checklist
- On PC, confirm the backup folder is not empty and contains expected subfolders (DCIM, Download, Documents).
- Open several random photos/videos/documents from the PC copy to confirm they are readable.
- Confirm filenames and timestamps look reasonable (no mass today timestamps unless expected).
- If you pulled a recovery backup, confirm it includes multiple files (not a single tiny file) and matches the device naming convention.
- Store one copy on a second medium (external drive/OTG/NAS) and disconnect it after copying.
- Keep a text note with ROM/recovery versions and the exact date/time the backups were made.
- Do a spot restore test: copy one file back to the phone and open it.
Rollback trigger: if you cannot open random samples from each important folder, assume the backup is incomplete.
Integrity checks, encryption considerations and safe storage
- Mixing backups across devices: avoid generic folder names like
backup; always include device + date. - Single-location risk: keeping the only copy on internal storage is unsafe; a bad flash can make it unreachable.
- MTP illusions: MTP may skip files silently; prefer
adb pullfor critical folders if you suspect instability. - Encryption lockouts: changing ROM/recovery can change decryption support; keep a separate file backup outside the encrypted data path.
- Authenticator and banking apps: many cannot be restored from a ROM image; export tokens or keep recovery codes before flashing.
- Cloud sync assumptions: do not assume chats/gallery are fully synced; confirm inside each app.
- Corrupted archives: if you compress backups, verify the archive by listing/extracting a sample-do not trust a successful zip created message.
- Unsafe sharing: do not upload unencrypted full-device backups to random cloud drives; they can contain sensitive app data.
Restoration workflow and post‑restore verification checklist
Option A: Full rollback with Nandroid restore (best for returning exactly to pre-flash)
- Boot into recovery, go to Restore, select the labeled pre-flash backup.
- Restore the same partition set you backed up; reboot and wait patiently for first boot.
- Verify core functions (network, calls, camera, storage) before reinstalling mods.
Option B: File-level restore (best when switching ROM families or when data decryption is tricky)
- Boot into Android, complete initial setup, then copy back DCIM/Downloads/Documents via ADB or OTG.
- Reinstall apps from official sources and import each app's export (chats, notes, password vaults).
Option C: Hybrid restore (useful when system is unstable but you still need your files)
- Restore only boot/system/vendor (no data) to recover a bootable state.
- Restore personal files from your separate ADB/OTG backup.
When should you use a professional service instead?
- If the phone won't boot and recovery can't decrypt storage, a ศูนย์ซ่อมมือถือรับแฟลชรอมและกู้ข้อมูล may be the safest route to avoid making damage worse.
- If you already flashed and lost access, ask specifically for บริการกู้คืนข้อมูลมือถือหลังแฟลชรอม and clarify whether they can recover from encrypted storage (often limited).
Post-restore verification checklist (do this before you declare success)
- Confirm you can unlock the phone and encryption is active as expected.
- Check calls/SMS/data, Wi‑Fi, Bluetooth, GPS, and camera.
- Open photos and documents; verify recent items are present.
- Confirm authenticator/banking access is restored using your recovery method.
- Keep the pre-flash backups for a while; don't delete them immediately after the first boot.
Troubleshooting common backup and restore scenarios
TWRP asks for a password but still cannot decrypt /data-what should I do?
Do not wipe data to fix it. Take a file-level backup of what you can access, then update recovery to a build known to support your encryption, or restore via Android after booting a working ROM.
Why is my Nandroid backup tiny or missing folders after copying it to my PC?
Assume the copy method failed (often MTP). Re-copy using adb pull and verify by opening random files from the backup directory.
How do I fix ADB showing unauthorized and blocking file pulls?
Unlock the phone and accept the USB debugging prompt, then run adb devices again. If the screen is broken, use recovery-based backups or OTG where possible.
What should I check when fastboot does not detect my device?
Change the cable/port, reinstall drivers, and confirm you are truly in bootloader/fastboot mode. In practice, a reliable data cable (not charge-only) resolves many cases.
What should I do if the phone bootloops for a long time after restoring?
Wait a reasonable amount of time for first boot, then re-enter recovery and clear cache/dalvik if available. If it persists, restore again or switch to file-only restore on a clean ROM install.
Why did my internal backup folder disappear after flashing a new ROM?
This happens when backups were stored on internal storage that got wiped or re-encrypted. Treat off-device storage (PC/external drive) as mandatory before flashing.