Flashing a custom recovery (like TWRP) and using Nandroid backup/restore lets you test ROMs safely because you can roll back the whole system image. The safe workflow is: prepare the device and PC tools, boot or flash recovery correctly for your partition scheme, create a complete Nandroid backup, verify it, then only flash changes you can undo.
Critical pre-flash safety checklist
- Confirm the exact device codename/model and whether it is A/B (seamless updates) or A-only; recovery and partitions differ.
- Have a known-good USB cable/port and a laptop/UPS power source; avoid flashing during unstable power.
- Ensure you can reach fastboot mode and recovery mode reliably before changing anything.
- Plan at least one rollback path: Nandroid backup, stock firmware package, or fastboot images.
- Keep at least one copy of backups off-device (PC or external storage) to survive data wipes.
Recovery variants explained: TWRP, CWM and stock differences
- TWRP (Team Win Recovery Project): touch UI, backups (Nandroid), flashing ZIPs, mounting, ADB; best for intermediate modding. Many people search for "ดาวน์โหลด TWRP Recovery" because it enables full-device rollback workflows.
- CWM (ClockworkMod): older, less common on modern devices; may lack support for dynamic partitions and modern encryption.
- Stock recovery: designed for official updates/wipes; usually cannot flash custom ZIPs or perform full Nandroid backups.
When you should NOT proceed: if your device uses strong file-based encryption that your recovery build can't decrypt, if the bootloader cannot be unlocked officially, or if you cannot obtain device-matched images (recovery/boot/vendor_boot) for your exact model/region.
Device readiness: bootloader unlocking, drivers and battery state
Prepare these prerequisites before attempting "วิธีแฟลช TWRP ด้วย fastboot" or any recovery change.
- Bootloader access: OEM unlocking enabled (when applicable) and bootloader unlock completed. Unlocking often wipes user data.
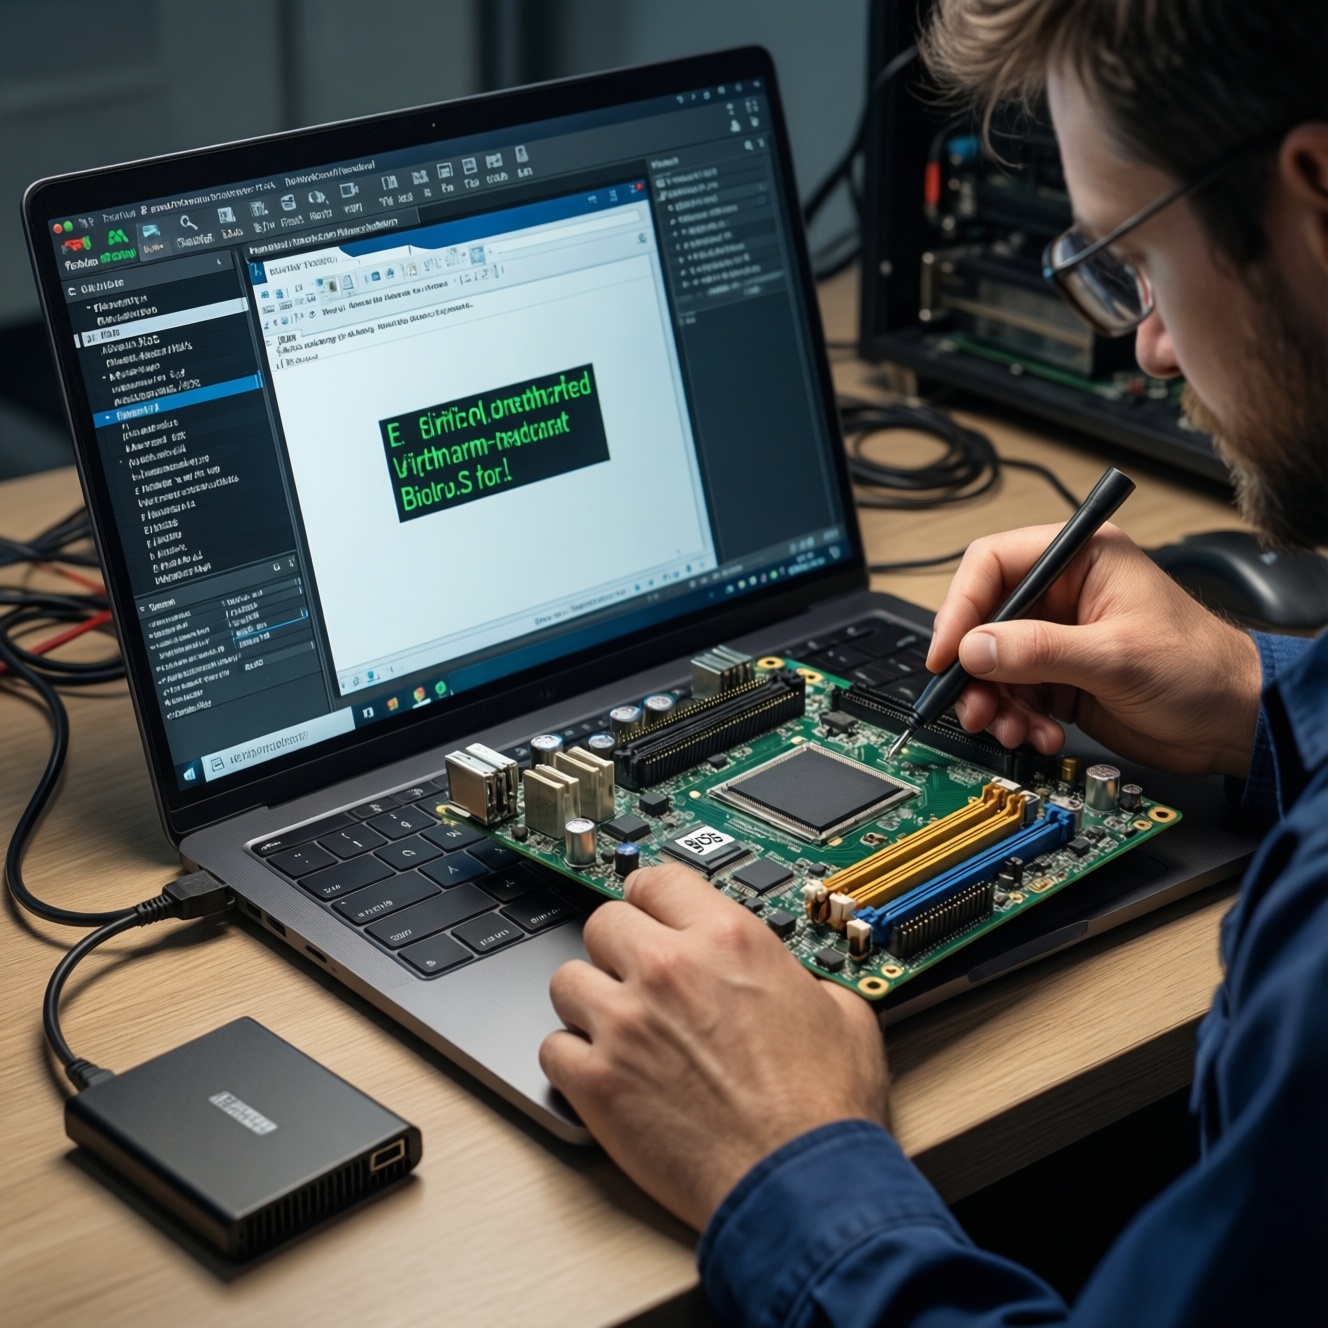
- Platform tools: install ADB/Fastboot (Android SDK Platform-Tools) on Windows/macOS/Linux.
- Drivers (Windows): proper USB drivers so
adb devicesandfastboot devicesshow your phone. - Battery: charge to a safe level (avoid flashing with low battery). If possible, keep it plugged into a stable USB port.
- File placement: keep images in a simple path (e.g.,
C:adbor~/platform-tools/) to avoid quoting/permission issues.
Quick connectivity check
- ADB check (Android running): enable USB debugging, then run
adb devices. Approve the RSA prompt on the phone. - Fastboot check: reboot to bootloader (
adb reboot bootloader), then runfastboot devices.
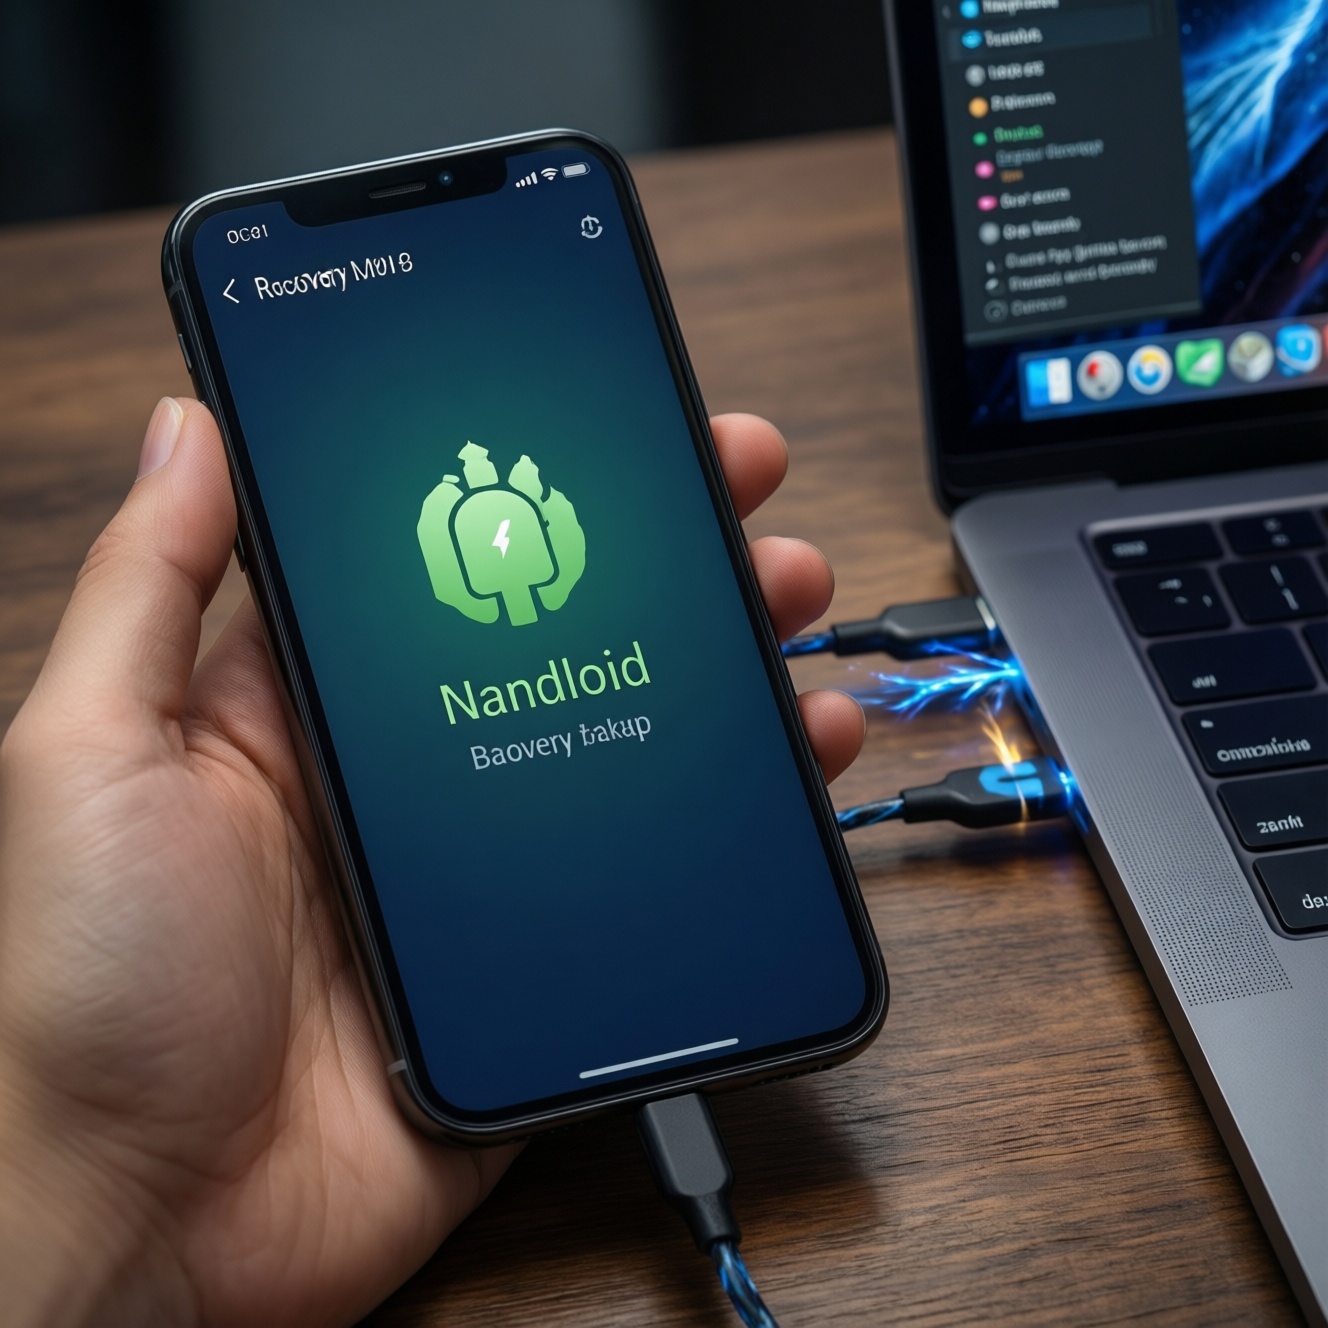
How to create a complete Nandroid backup (step-by-step)
- Risks and limits to understand first:
- A Nandroid backup is device-specific; restoring to a different model/variant can hard-brick.
- Backups may fail or be incomplete if storage is low or partitions are encrypted and not decrypted in recovery.
- On A/B and dynamic-partition devices, "recovery" may be part of
boot/vendor_boot; steps differ by device. - Restoring
boot/systemcan overwrite Magisk, kernels, or ROM-specific changes-plan accordingly.
-
Boot into recovery (prefer "boot" first, not "flash")
From fastboot, try temporary boot first to reduce risk:
fastboot boot twrp.img. If it works, you can use TWRP without permanently writing it.- If
fastboot bootis not supported on your device, you may need a device-specific method (often involvingboot/vendor_bootimages).
- If
-
Decrypt data (if prompted) and confirm internal storage access
If TWRP asks for a password/PIN and successfully decrypts, verify you can see internal storage. If it cannot decrypt, plan to save backups to USB-OTG or via ADB pull.
-
Select partitions for a true "Nandroid" snapshot
In TWRP: Backup → select partitions that represent a bootable state. Typical:
Boot,System,Vendor, andData(without media, if you need smaller backups).- On some devices you may also see
Vendor_boot,Product,DTBO,EFS/Modem(names vary). Back up radio/identity partitions only if you understand them-still, they can be critical for network/IMEI recovery.
- On some devices you may also see
-
Choose a safe storage target
Prefer external storage where possible: microSD or USB-OTG. If using internal storage, copy the backup off-device immediately after.
- This is the practical meaning of "สำรองข้อมูล Nandroid backup TWRP": backup + export it somewhere safer than the same phone.
-
Start backup and watch for errors
Swipe to start. If you see read/write errors or "0MB" partitions, stop and fix storage/partition selection before continuing with any flashing.
-
Copy the backup to a PC (recommended)
After rebooting (or from recovery with MTP/ADB), copy the entire TWRP backup folder to your computer and keep it unchanged.
- Example (from recovery):
adb pull /sdcard/TWRP/BACKUPS/ ./TWRP_BACKUPS/
- Example (from recovery):
How to verify backup integrity and check flash images
- Confirm the backup folder contains multiple files and is not suspiciously small; avoid proceeding if you only got a tiny metadata file.
- Check available free space before creating a backup; low space commonly causes silent corruption or incomplete sets.
- Do a test mount in TWRP: ensure
/dataand relevant partitions can be mounted without errors. - Verify the backup is readable off-device: copy to PC and confirm file copy completes without I/O errors.
- Ensure the TWRP build matches your device and Android version where required (especially for encryption and dynamic partitions).
- Confirm image provenance and naming: keep the exact filenames you intend to flash (e.g.,
twrp.img) in a clean folder to avoid mixing device variants. - On A/B devices, identify current slot:
fastboot getvar current-slot(if supported) and document it. - If your device uses
vbmeta/AVB, plan how you will handle verification (device-specific). Flashing mismatched images can cause immediate boot failure.
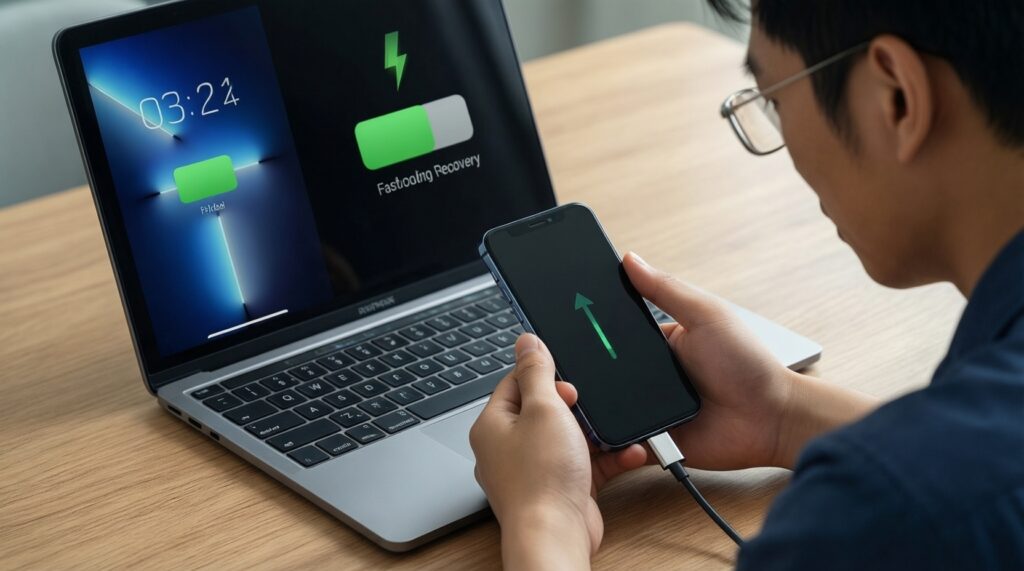
Flashing a custom recovery safely: commands, modes and common failures
Commands vary by device generation. The safest default is temporary boot (fastboot boot) first; permanent flashing depends on whether recovery is separate or integrated (A/B devices often don't have a standalone recovery partition).
-
Wrong partition (A/B vs A-only confusion)
If you flash
recovery.imgto a device without a recovery partition, you may overwrite something else or do nothing useful. Confirm partition layout in device forums or by checking fastboot partition commands (availability differs). -
Use "boot" to test before "flash"
For "วิธีแฟลช TWRP ด้วย fastboot", start with:
fastboot boot twrp.img. Only flash permanently after you confirm touchscreen, decryption, and backup functions work. -
Fastboot cannot see the device
If
fastboot devicesis empty: swap cable/port, reinstall drivers (Windows), and try a different USB mode. Avoid hubs. -
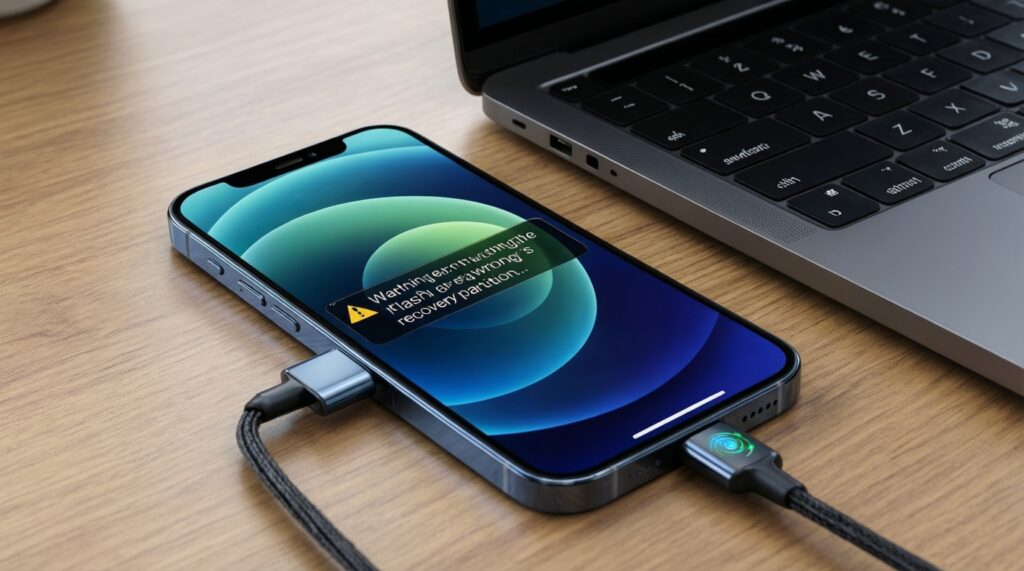
Stuck at boot logo after flashing
Usually indicates AVB/vbmeta mismatch, slot mismatch, or wrong image for your build. Don't keep rebooting; go back to fastboot/recovery and restore known-good images.
-
Recovery replaced by stock after reboot
Some ROMs restore stock recovery on first boot. Boot directly into recovery after flashing (do not boot into Android first), and disable restore scripts only if you understand the consequences.
-
Dynamic partitions and "super" layout surprises
On newer devices, system/vendor/product live inside dynamic partitions; not every TWRP build handles them equally. If backup/restore options look incomplete, stop and use a device-appropriate recovery method.
-
Encrypted /data not decrypting
If TWRP can't decrypt, you may still back up critical partitions (boot/system/vendor) but restoring user data will be limited. Prefer OTG backup and consider updating to a recovery build that supports your encryption.
Common fastboot patterns (device-dependent)
- Temporary TWRP:
fastboot boot twrp.img - Legacy recovery partition (some A-only devices):
fastboot flash recovery twrp.imgthen boot straight to recovery - Some A/B devices: may require flashing to
bootorvendor_bootusing a recovery-provided image; follow device-specific instructions only
Restoring a Nandroid backup and resolving bootloops
If a flash goes wrong, pick the least-destructive rollback that matches the failure mode.
-
Full rollback with TWRP restore (most direct)
Boot into TWRP → Restore → select the backup → restore the same set of partitions you backed up. This is what most users mean by "กู้คืนระบบด้วย Nandroid restore".
-
Bootloop after ROM/mod flash: restore only Boot first
If the device bootloops right after kernel/root/mod changes, restoring only
Boot(and sometimesVendor_boot) can fix it without overwritingData. -
System corruption: restore System/Vendor (and related dynamic partitions)
If Android can't start due to system changes, restore
System/Vendor(and any relevant partitions your backup includes). KeepDatauntouched unless you suspect data-level issues. -
No usable backup: return to stock firmware with fastboot/official tools
If you don't have a valid backup, use official firmware packages appropriate to your model/region. If you're not equipped to do this safely, "ร้านแฟลชรอม ติดตั้ง Recovery ใกล้ฉัน" searches often lead to local phone service shops-choose one that understands bootloader state and data-loss risks.
Short answers to frequent recovery risks and doubts
Can I flash TWRP without unlocking the bootloader?
On most Android devices, no. A locked bootloader typically blocks flashing or booting unsigned images, and attempts can trigger boot failure or enforced verification.
Is "fastboot boot twrp.img" safer than flashing?
Yes, because it tests recovery without permanently writing partitions. If it fails, you usually just reboot back to your original setup.
What should I select in TWRP backup for a reliable rollback?
At minimum: Boot plus the core OS partitions your device exposes (often System and Vendor), and Data if you need apps/settings preserved. Always store a copy off-device.
My TWRP cannot decrypt /data-should I continue?

Pause before flashing anything major. You can still back up non-data partitions, but your ability to restore a fully working state with user data will be limited.
Why does recovery disappear after I reboot to Android?
Some ROMs or boot scripts restore stock images on first boot. After flashing, reboot straight into recovery once to confirm it persists and to complete any required steps for your device.
Will Nandroid restore fix any bootloop?
It fixes bootloops caused by changes included in the backup set. If the bootloop is caused by AVB/vbmeta policy, wrong-slot flashing, or hardware issues, you may need stock images or device-specific repair steps.
When should I stop and use a professional service?
If you can't enter fastboot/recovery reliably, don't know your exact model/partition scheme, or you lack a verified backup. In those cases, a reputable local shop can reduce the chance of permanent damage and unexpected data loss.