
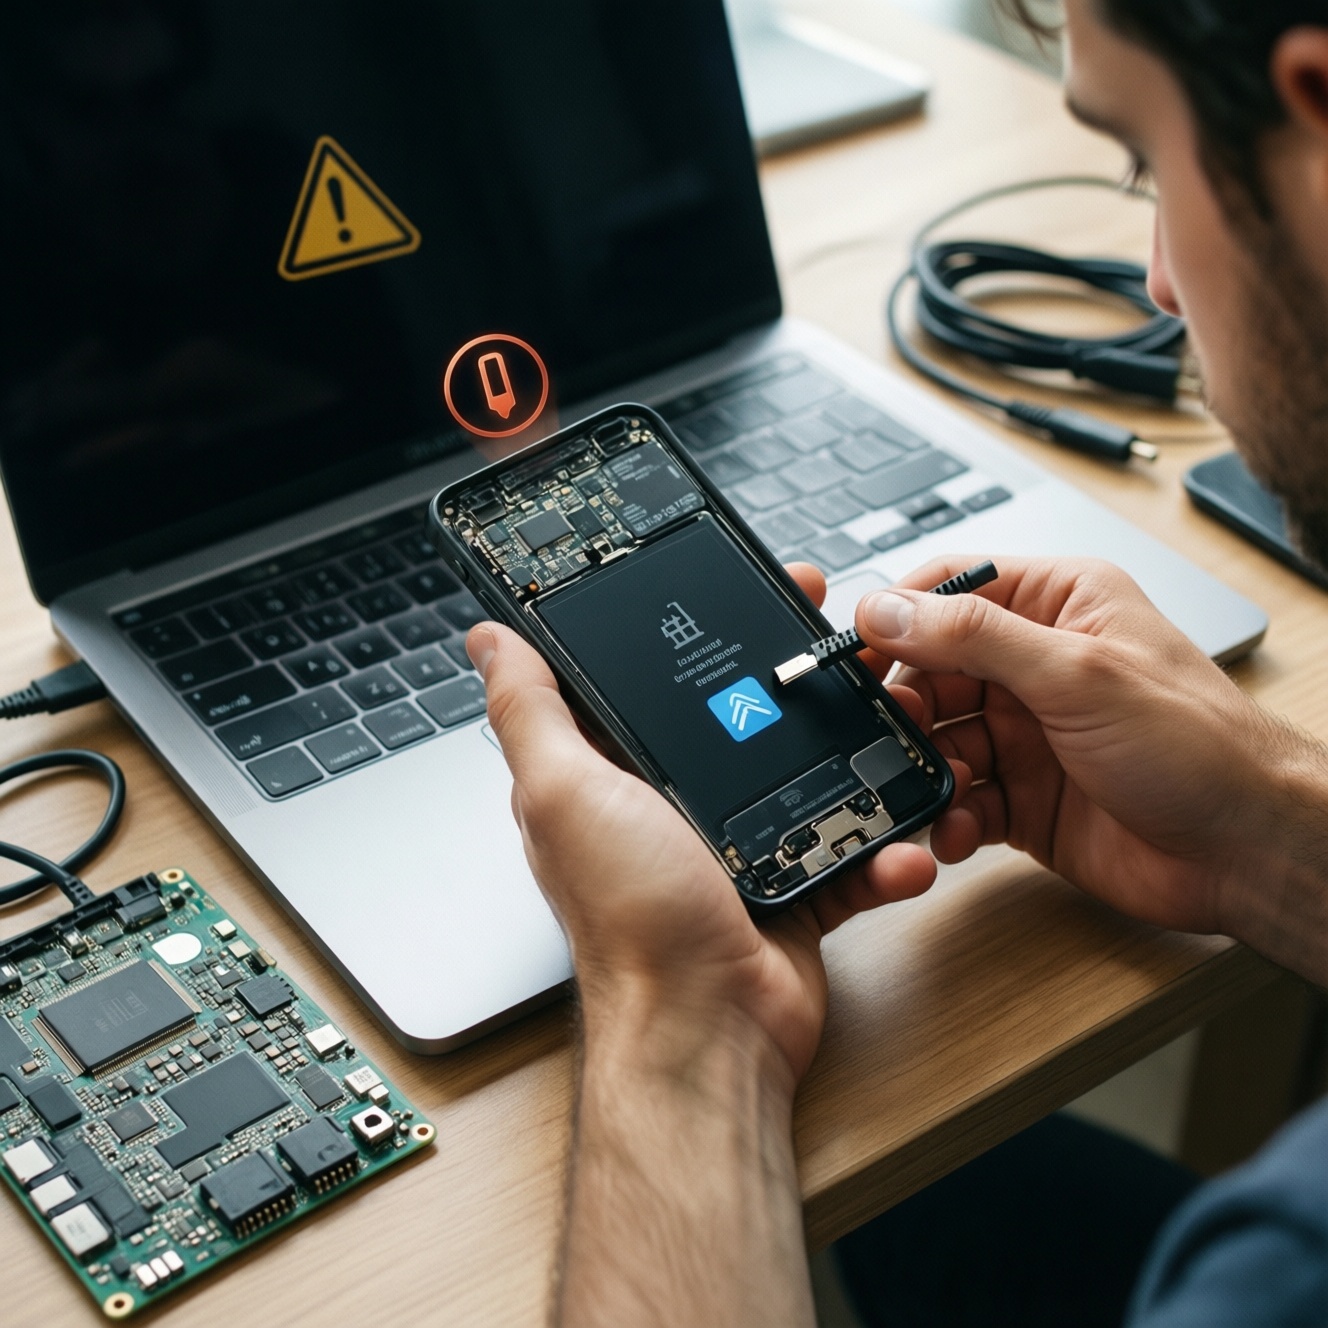
To install stock firmware or a custom ROM safely, you typically (1) unlock the bootloader, (2) set up ADB/Fastboot and drivers, (3) flash a trusted recovery or vendor flashing tool, then (4) flash the ROM and verify boot integrity. Expect data wipe on unlock, higher security responsibility, and possible warranty or banking-app impacts.
Pre-flash rapid checklist
- Confirm exact device model/region (same codename) and current Android version.
- Back up offline: photos, 2FA seeds, chats, and encryption keys; assume a full wipe.
- Install platform-tools (ADB/Fastboot) and OEM USB drivers; test a cable/port that can transfer data.
- Enable Developer options, OEM unlocking, and USB debugging.
- Download the correct ROM/firmware package and verify file integrity (hash if provided by maintainer).
- Ensure battery is well charged; keep a copy of stock firmware for rollback.
Bootloader fundamentals and implications of unlocking
Unlocking the bootloader allows the phone to accept unsigned or custom images (recovery, boot, system), which is required for most custom ROM workflows. It is suitable when you need a newer Android build, de-bloat, custom kernels, root, or to recover from a soft-brick.
- Do it when: you can identify your device codename, you can follow command-line steps, and you have a rollback path (stock firmware).
- Do not do it when: the phone is your only 2FA/banking device, you cannot afford a data wipe, you rely on locked-down enterprise management, or you cannot access a PC reliably.
- Common consequences: factory reset on unlock, some apps may detect an unlocked state, OTA updates may require manual flashing, and you must handle security updates proactively.
In Thailand you may also see service listings like ปลดล็อกบูตโหลดเดอร์ ราคา or บริการปลดล็อกบูตโหลดเดอร์ มือถือ. If you use a shop, still ask what exact images they flash and whether they provide a rollback package and a written step log.
Device prep: backups, drivers, OEM options and required tools
What you need
- PC: Windows/macOS/Linux with admin rights (for driver installation on Windows).
- Tools: Google platform-tools (ADB/Fastboot), OEM USB drivers (Windows), and optionally a vendor flashing tool (e.g., Odin-like tools, MiFlash-like tools depending on brand).
- Files: ROM/firmware ZIP, recovery image (if used), and stock firmware package for emergency restore.
- Access: device unlock method (PIN/password), and any OEM account login required by the brand's unlock process.
Backups that actually matter before unlocking
- Account and 2FA: export authenticator seeds (if supported) and verify you can log back into Google/OEM accounts.
- Chats: do an in-app backup (some apps need local + cloud to restore correctly).
- Media: copy DCIM/Downloads to PC and confirm files open.
- Device encryption expectation: assume internal storage will be wiped and unreadable after unlock/reset.
Enable required toggles on the phone
- Developer options: Settings → About phone → tap Build number until enabled.
- OEM unlocking: Developer options → OEM unlocking (if present).
- USB debugging: Developer options → USB debugging.
PC sanity checks (avoid driver/connection traps)
- ADB device check: connect the phone, approve the RSA prompt, then run
adb devicesand confirm it showsdevice. - Fastboot check: reboot to bootloader/fastboot mode, run
fastboot devicesand confirm an ID is listed. - Use a known-good cable/port: avoid charge-only cables and USB hubs during flashing.
Step-by-step bootloader unlocks: vendor-specific caveats
-
Identify the correct unlock method for your brand
Some devices unlock via Fastboot commands, others require an OEM website token/app. If your brand enforces a waiting period, do not attempt unofficial bypasses; they increase brick risk and account lockouts.
- Search by exact model + codename + "bootloader unlock".
- Download only from official OEM pages or well-known community maintainers.
-
Boot into bootloader/fastboot mode
Power off, then use the hardware key combo (varies by device) or run
adb reboot bootloader. Confirm the screen shows a bootloader/fastboot interface. -
Verify Fastboot connection
On the PC, run
fastboot devices. If nothing appears, fix drivers/cable before continuing; never flash while the connection is unstable. -
Trigger the unlock (wipes data)
Use the command your bootloader supports:
fastboot flashing unlockorfastboot oem unlock. Confirm on-device prompts carefully; once accepted, the phone usually factory-resets.- If the OEM requires an unlock token, follow their official tool workflow, then re-check Fastboot connectivity.
- If the device shows "unlock not allowed", re-check OEM unlocking toggle and OEM account binding steps.
-
Reboot and complete initial setup
Run
fastboot reboot, then complete Android setup minimally (Wi-Fi, login) so you can re-enable USB debugging and continue to flashing steps. -
Re-enable USB debugging after the wipe
Developer options reset after factory reset. Re-enable Developer options and USB debugging, then confirm
adb devicesworks again.
Fast mode (short algorithm)
- Backup + download: save data offline; download ROM/recovery/stock firmware for rollback.
- Tools ready: install ADB/Fastboot and drivers; validate
adb devicesandfastboot devices. - Unlock: enable OEM unlocking + USB debugging; run
fastboot flashing unlock(or OEM method) and accept wipe. - Flash: boot recovery or use vendor tool; flash ROM and required add-ons in correct order.
- Verify: first boot, check baseband/Wi-Fi, then restore data gradually.
Installing custom recovery and safely flashing a ROM
Choose a flashing approach that matches your device's ecosystem: some ROMs require a custom recovery; others rely on fastbootd or vendor flashing tools. If you are comparing options similar to ลงรอม Custom ROM ราคา or บริการแฟลชรอม มือถือ, prioritize transparent procedure (what partitions change) over speed.
| Name | Features | Risk level |
|---|---|---|
| TWRP (custom recovery) | ZIP flashing, backups (where supported), file manager; wide community usage | Medium (device-specific compatibility varies) |
| OrangeFox (custom recovery) | TWRP-like with extra patching/UX; often tailored builds per device | Medium (depends on maintainer quality) |
| LineageOS (custom ROM) | Clean AOSP-based experience, long-term community support on many devices | Medium (requires correct device build and install method) |
| Pixel Experience (custom ROM) | Pixel-like UI/apps on supported devices; typically simple user experience | Medium (support varies by device) |
| Vendor stock firmware (official) | Maximum compatibility, official updates path, easiest warranty discussions | Low (when using correct regional package) |
Recommended flashing sequence (generic, adapt to your ROM docs)
- Read the ROM's exact install page for your device and follow its partition and firmware prerequisites. If instructions mention firmware/baseband requirements, meet them first.
- Boot or flash recovery as required using the ROM's recommended method (some devices prefer booting recovery temporarily).
- Wipe only what is required (commonly data/cache) and avoid wiping partitions you do not understand (EFS/modem-like partitions can break network identity).
- Flash ROM package and any mandatory companion packages (vendor/firmware packages, boot images, or verified add-ons).
- Reboot and wait patiently on first boot; do not force-restart unless it is clearly stuck for an extended time and the ROM docs say so.
Post-flash safety checklist (verify success before restoring everything)
- Device boots to setup wizard without bootloops.
- Touchscreen, buttons, speaker, microphone work.
- Wi-Fi and Bluetooth toggle on and connect.
- Cellular network registers; calls/SMS/data work.
- Camera opens and captures a photo.
- Fingerprint/face unlock enrolls (if supported by ROM).
- Charging and USB data transfer work.
- Play Integrity/Safety checks (if you rely on banking apps) are acceptable for your use case.
After flashing: verification, restoring data and tweaking settings
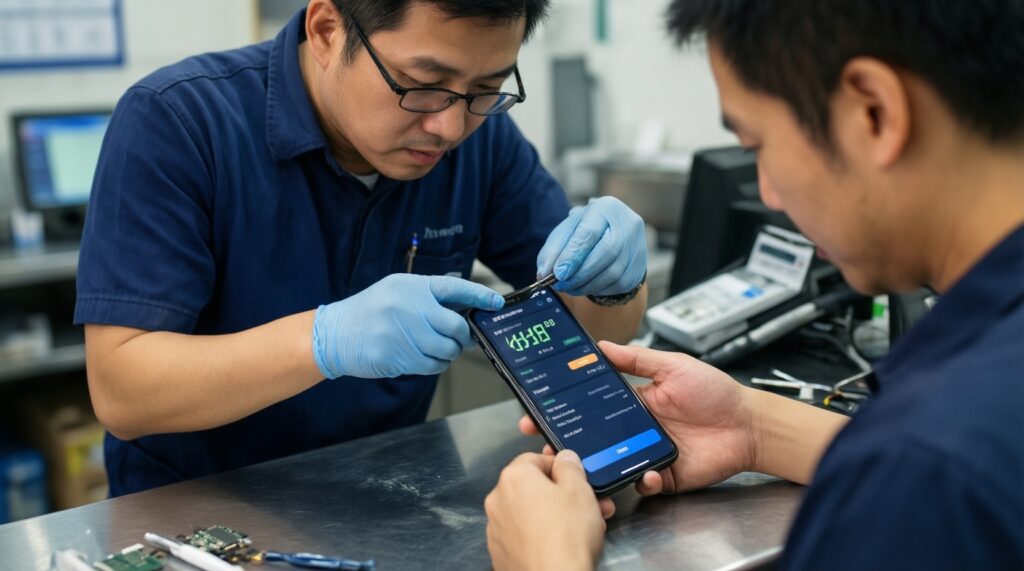
If you paid for บริการติดตั้งเฟิร์มแวร์ มือถือ, ask the technician to show these checks on your device before you leave. They catch most bad flashes early, when rollback is easiest.
- Bootloop right after logo: wrong ROM build/codename, missing required firmware, or incorrect wipe sequence.
- No cellular signal / IMEI issues: avoid restoring unknown modem/EFS backups; re-flash correct firmware and confirm you did not wipe radio-identity partitions.
- Stuck in fastboot/recovery: OS not flashed correctly, or vbmeta/boot mismatch; follow the ROM's recommended boot/vbmeta steps.
- ADB works, but MTP/file transfer fails: try a different cable/port; set USB mode to "File transfer"; confirm the ROM includes proper USB config.
- Random reboots: unstable kernel, wrong device tree, overheating, or incompatible mods; remove mods and retest on a clean ROM state.
- Battery drain: let the device settle after first boot; then check background services, radio settings, and disable aggressive syncing you don't need.
- Banking apps fail: unlocked bootloader detection or integrity checks; consider stock firmware or a ROM with a documented integrity approach.
- No OTA updates: custom ROMs often require manual update steps; read the maintainer's update path (dirty flash vs clean flash).
- Encryption/pin prompts in recovery: some recoveries cannot decrypt modern encryption; use the ROM's suggested recovery or fastboot-based install path.
Trade-offs: performance gains, security, updates and warranty impact
- Stay on official stock firmware when stability, banking apps, and warranty discussions are the priority.
- Use official regional firmware reflashing (no custom ROM) when you just need to fix boot issues, malware cleanup, or update/downgrade within supported channels.
- Choose a well-maintained custom ROM when you want longer device lifespan and cleaner software, and you can handle manual updates and troubleshooting.
- Pay for a transparent service when you cannot risk mistakes; if you see บริการแฟลชรอม มือถือ listings, insist on a written list of flashed partitions, exact ROM build, and a rollback plan.
Practical troubleshooting and quick answers
Will unlocking the bootloader wipe my data?
Usually yes. Plan for a full factory reset and treat it as guaranteed unless your OEM documentation explicitly states otherwise.
Why is the OEM unlocking toggle missing or greyed out?
It can be blocked by carrier/OEM policy, enterprise management, or missing account binding steps. Update the phone, sign into the OEM account if required, and ensure the device is not managed.
Fastboot does not detect my device. What should I do first?
Change cable and USB port, then reinstall OEM drivers (Windows). Confirm Device Manager shows the correct interface and retry fastboot devices.
Can I lock the bootloader again after installing a custom ROM?
Sometimes, but only if the ROM supports re-locking and you follow its documented procedure. Locking with mismatched images can hard-brick the device.
How do I choose between stock firmware and a custom ROM?
Use stock firmware for maximum compatibility and simplest updates. Use a custom ROM when you accept manual maintenance and verify your exact device is supported.
What is the safest way to recover from a failed flash?
Reboot back to bootloader/fastboot and flash the official stock firmware package for your exact model/region. Avoid random "fix" zips unless the ROM maintainer recommends them.
Are "ปลดล็อกบูตโหลดเดอร์ ราคา" and "ลงรอม Custom ROM ราคา" services worth it?
They can be, if the shop is transparent about the method, provides rollback files, and does not hide steps. If they can't name the ROM build or explain the wipe/backup plan, skip.

