To reflash BIOS/UEFI safely, first confirm the exact motherboard/laptop model, current firmware version, and a reliable power plan, then back up what you can and stage a recovery path before writing anything. Use only authentic firmware, verify its match, flash with the vendor method when possible, and validate settings and boot stability after the update.
What to Verify Before Reflashing Firmware
- You have the exact device identity: model code, board revision, and current BIOS/UEFI version.
- Power is stable: AC adapter connected (laptops) or UPS (desktops), no battery-only flashing.
- You can access firmware setup and know how to clear CMOS/EC reset for your device.
- You have a recovery plan: vendor USB recovery method and/or an external SPI programmer option.
- You have the right tools and permissions (admin rights, correct drivers, BitLocker keys if used).
| Prep item | Pass/Fail | Notes (what to check) |
|---|---|---|
| Correct model + board revision confirmed | Pass / Fail | Read from BIOS setup, OEM label, and system info; avoid guessing by marketing name |
| Stable power plan | Pass / Fail | Plug in AC; ensure battery is present/charged for laptops; avoid storms/unstable outlets |
| Firmware file matches device and method | Pass / Fail | Exact SKU match; correct capsule/ROM format for the selected flashing tool |
| Recovery path prepared | Pass / Fail | USB recovery media ready; programmer + SOIC clip available if needed |
| Disk protection plan ready | Pass / Fail | BitLocker recovery key saved; suspend BitLocker if applicable |
Preparation checklist: hardware, power and documentation
This is appropriate when you need อัปเดต BIOS UEFI to fix known firmware issues, improve hardware compatibility, or recover from a corrupted firmware state. Avoid reflashing if the system is stable and you cannot tolerate downtime, or if you cannot confirm the exact firmware target (common when mixing similar laptop SKUs).
- Do it yourself if you can access BIOS setup, can boot at least to a minimal environment, and can follow a recovery procedure.
- Do not proceed if the device overheats, power is unreliable, the firmware image is not clearly matched to your board, or you suspect a physical fault (shorts, liquid damage) that can interrupt flashing.
- Choose professional help when the machine is already bricked and needs chip-level work; in Thailand this is typically handled as บริการแฟลช BIOS by repair shops with SPI programmers.
Backing up current BIOS/UEFI image and NVRAM settings
You often cannot fully back up modern vendor-signed BIOS from within the OS, but you can still preserve critical configuration and create a rollback route. Plan backups before any แฟลช BIOS โน้ตบุ๊ก operation.
- Access requirements: Administrator privileges in Windows or root in Linux; ability to reboot into firmware setup.
- Tools you may need (depending on platform): vendor updater package,
fwupd(Linux), a UEFI shell, and optionally a hardware programmer (e.g., CH341A-class) for full SPI reads. - What to record manually (screenshots or notes): boot mode (UEFI/CSM), SATA/NVMe mode (AHCI/RAID/VMD), Secure Boot state and keys, virtualization settings, fan/thermal settings, and any BIOS passwords you control.
- Disk encryption: save BitLocker recovery keys; consider suspending BitLocker before flashing to avoid a recovery loop after firmware changes.
Sourcing the correct firmware and verifying authenticity
-
Identify the exact target (SKU + board revision)
Match the device using the OEM model code, motherboard revision, and current firmware ID shown in BIOS/UEFI setup. Similar laptop product names can map to different boards and EC firmware, so treat marketing names as insufficient.
- Prefer identifiers found in BIOS setup and the OEM support page for your serial/SKU.
- Be cautious with cross-flashing between regions or submodels.
-
Download only from the OEM/OEM-partner channel
Get the update package from the manufacturer support site or a vendor tool that pulls signed updates. If you are using a third-party โปรแกรมแฟลช BIOS UEFI, it should still point to authentic vendor firmware and the correct image format.
-
Confirm the update method and file type
Some platforms require a capsule update (UEFI-based), others a raw SPI image used only with a programmer. Do not force a raw ROM into a vendor capsule flasher (or vice versa).
- Common vendor methods: in-BIOS flash utility, Windows updater, USB recovery mode.
- Programmer method: raw SPI dump/ROM with external flashing hardware.
-
Validate integrity before flashing
Check the vendor-provided checksum/signature if available, keep the file unmodified, and avoid repacked archives. If the package includes a readme, follow the exact prerequisites (battery level, BIOS settings, supported versions).
-
Check for dependencies: EC/ME/AGESA and version constraints
Some updates require stepping through an intermediate version or updating embedded controller/management engine components. If the vendor notes an order, follow it strictly to reduce boot-failure risk.
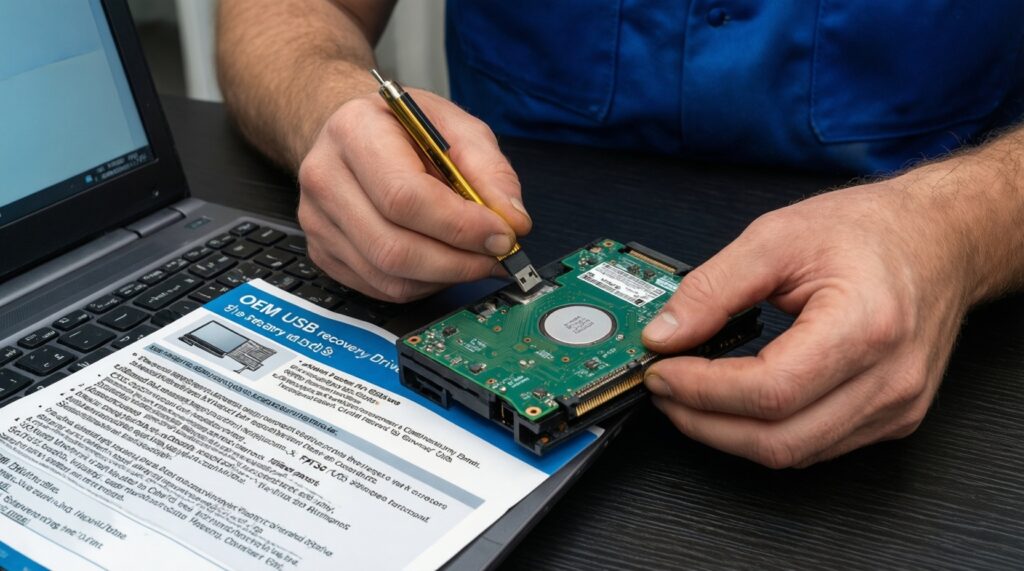
Building recovery and fallback media (USB and flash programmer)
Plan at least one recovery route before writing firmware. A vendor USB recovery is the fastest if supported; an external programmer is the last-resort path when the system cannot execute any recovery code.
Recovery-path example: USB recovery vs. external SPI programmer
- USB recovery: you prepare a FAT32 USB drive with the expected filename/layout, then trigger recovery via a key combo or dedicated BIOS recovery process. This helps when the boot block/recovery module still runs.
- External programmer: you read and write the SPI flash chip directly (often with a SOIC clip). This is appropriate when the device is fully bricked, repeatedly power-cycles, or shows no recovery screen.
Recovery readiness checklist
- USB drive formatted as FAT32 and tested on another PC (read/write OK).
- Recovery file placed exactly as the OEM requires (name, folder, and extension).
- Correct key combo or recovery steps printed/saved offline (you may not have a working screen).
- CMOS/RTC reset method known (jumper/button/battery disconnect procedure for your model).
- External programmer available if you are dealing with ซ่อมคอมเปิดไม่ติด อัปเดต BIOS scenarios.
- SOIC clip orientation confirmed (pin-1 marking), and you can physically access the SPI chip.
- You have time for multiple boots and retries; do not rush the first power-on after flash.
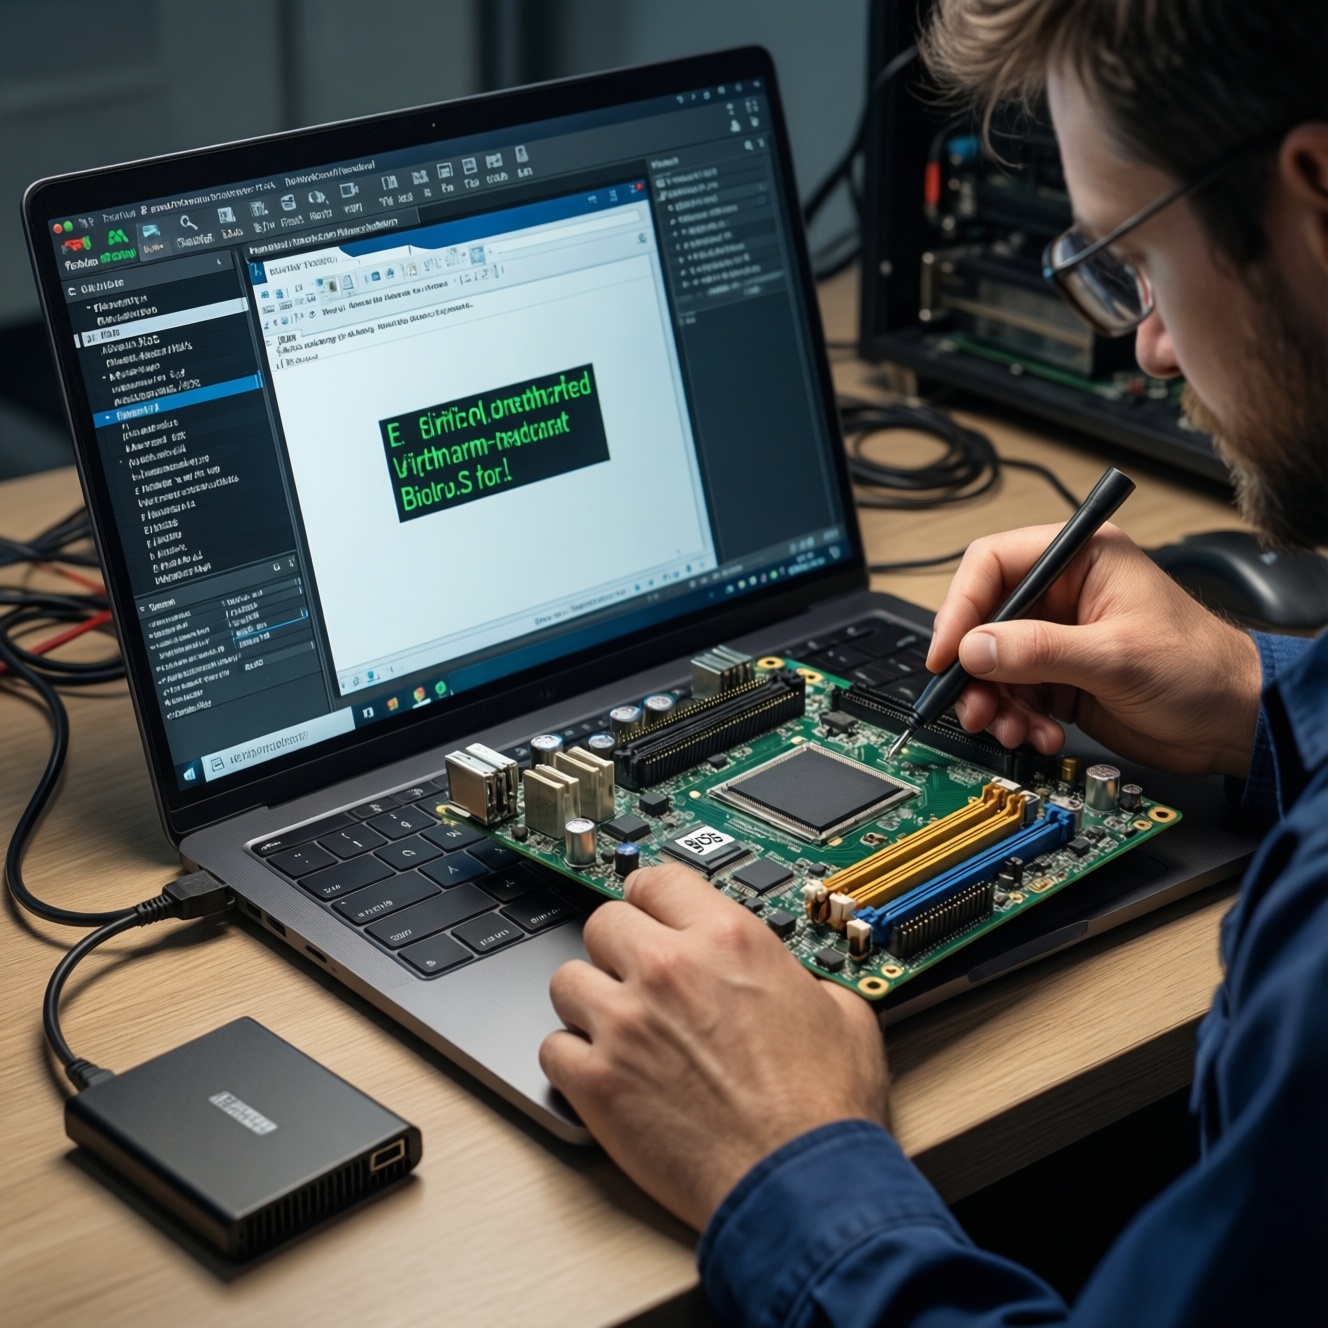
Step-by-step reflashing procedure with common tool examples
Mini prep checklist (do this immediately before flashing)
- Close all apps, disable sleep/hibernate temporarily, and ensure the system won't auto-restart for updates.
- Plug in AC power; on laptops keep the battery installed and charged.
- Disconnect unnecessary USB devices/docks; keep only keyboard/mouse if needed.
- Confirm you are flashing the intended file (re-check model/SKU and version).
- If using BitLocker, suspend protection and confirm you can unlock the drive after reboot.
- Preferred: flash from the built-in BIOS/UEFI utility
Copy the vendor firmware file to a FAT32 USB, reboot into firmware setup, open the built-in flashing tool (names vary by OEM), and select the file. This method typically enforces model checks and reduces mismatch risk.
- Alternative: vendor OS updater (Windows)
Run the OEM updater as administrator and let it reboot into a dedicated flashing environment. If the tool offers a verification stage, keep it enabled and do not interrupt the process.
- Alternative: Linux capsule update (where supported)
On supported platforms, a capsule update can be applied via
fwupd. Use the vendor-supported workflow for your distribution and do not mix images intended for other flashing methods. - Last resort: external programmer workflow
Read the current SPI contents first, save multiple copies, then write the verified image and re-read to confirm a byte-for-byte match. This is the most reliable recovery method but has the highest risk of physical handling mistakes (clip slip, wrong chip selection).
Common mistakes that cause boot failures
- Flashing the wrong SKU/board revision image because the laptop marketing name looks identical.
- Interrupting power or rebooting early during the write/verify stage.
- Using a generic flasher on a vendor capsule image (or flashing a raw ROM through the vendor utility).
- Forgetting BIOS settings that affect boot (AHCI/RAID/VMD, Secure Boot), leading to a non-booting OS despite a successful flash.
- BitLocker not suspended, causing a recovery key prompt or boot loop after firmware changes.
- USB recovery media prepared with the wrong filesystem, wrong filename, or incorrect directory structure.
- On programmer jobs: SOIC clip misalignment or reversed pin-1 orientation, resulting in bad reads/writes.
- Updating EC/ME components out of order when the vendor notes a required sequence.
Post-flash validation, rollback options and persistence checks
After any อัปเดต BIOS UEFI, validate both firmware behavior and OS boot stability before declaring success.
Validation steps to run after the first boot
- Enter BIOS/UEFI setup and load optimized defaults if the vendor recommends it; then re-apply only the settings you actually need.
- Confirm the new BIOS version is shown correctly and system time is correct.
- Verify boot-critical settings: UEFI/CSM mode, Secure Boot, storage mode (AHCI/RAID/VMD), and boot order.
- Boot into the OS and check device health (drivers, network, storage visibility) and stability across at least one full reboot.
- If you changed Secure Boot or TPM-related settings, confirm your OS login and encryption state are normal.
Alternatives when reflashing is risky or unnecessary
- Use the vendor recovery process first when the system partially boots or shows signs of a recovery screen; it's safer than forcing a programmer write.
- Rollback to a previous vendor version if the OEM provides an explicit downgrade path and your issue started only after an update.
- Replace the CMOS battery / clear CMOS when symptoms look like corrupted settings (no boot device, time resets), not corrupted firmware.
- Escalate to chip-level repair (professional บริการแฟลช BIOS) when there is no display, no recovery trigger, and repeated power cycling suggests firmware or hardware-level failure.
Answers to Common Boot-Failure Scenarios
The flash completed, but Windows won't boot now. What should I check first?
Re-enter BIOS and verify storage mode (AHCI/RAID/VMD) and boot mode (UEFI/CSM) match your previous configuration. Then check boot order and Secure Boot state.
I'm stuck on a black screen after flashing. Is USB recovery worth trying?
Yes, if your model supports it and the recovery block still runs. Use a FAT32 USB and the exact filename/layout the OEM expects, then follow the key combo precisely.
The system power-cycles repeatedly after a BIOS update. What does that usually mean?

It often indicates a bad flash, an incompatible image, or a required multi-stage update sequence. Clear CMOS/RTC first; if it persists, prepare for external programmer recovery.
Can I use a generic โปรแกรมแฟลช BIOS UEFI to update any motherboard?
No-method and image format must match the platform. Prefer the OEM's built-in utility or official updater to reduce mismatch and signature/descriptor issues.
What's the safest approach for แฟลช BIOS โน้ตบุ๊ก when I only have one machine?
Use the vendor-approved method, ensure stable AC power, and stage a USB recovery drive before flashing. Avoid experimental images and don't modify the firmware file.
When should I stop DIY and go for บริการแฟลช BIOS?
If the device cannot enter BIOS setup, cannot trigger USB recovery, or shows no display and no progress signs, an SPI programmer and experience are typically required.
If my goal is ซ่อมคอมเปิดไม่ติด อัปเดต BIOS, what's the least risky first move?
Try CMOS/RTC reset and vendor USB recovery before attempting any chip programming. Only move to an external programmer after you've confirmed the model and sourced the exact firmware.