To upgrade a laptop SSD safely, confirm your laptop slot type (2.5-inch SATA, M.2 SATA, or M.2 NVMe), then buy a matching drive, clone (or reinstall) Windows, swap the hardware carefully, and finish with BIOS/UEFI boot checks plus Windows TRIM and partition-alignment verification to keep performance smooth and reliable.
Upgrade snapshot: what to expect from an SSD swap
- Boot and app launch times improve when moving from HDD to SSD, and can improve again when moving from SATA SSD to NVMe (if supported).
- Most risk comes from mismatched form factor/keying (M.2) or cloning mistakes, not from the physical swap.
- Cloning is fastest when the old drive is healthy and used space fits on the new SSD; reinstalling is cleaner when the OS is messy or encrypted.
- Expect to touch BIOS/UEFI settings (boot order, storage mode) and verify TRIM after first boot.
- Plan for screws, a plastic pry tool, and a way to connect the new SSD externally (USB enclosure) if you want to clone.
Choosing the right SSD: SATA vs NVMe and form factors
The practical decision is compatibility first, speed second. If your laptop only supports SATA, an NVMe SSD will not work even if the connector looks similar. When people ask SSD โน้ตบุ๊ก รุ่นไหนดี, the correct answer depends on your slot type, thermal limits, and whether you need DRAM, power-loss protection, or just a reliable mainstream model.
Quick fit guide:
- 2.5-inch SATA (7mm): common in older laptops; easiest swap; capped by SATA speeds.
- M.2 SATA: M.2 card but SATA protocol; not interchangeable with NVMe in many laptops.
- M.2 NVMe (PCIe): best performance; requires NVMe-capable M.2 slot (often M-key).
When you should NOT upgrade (or should postpone):
- Your laptop storage is soldered (no removable SSD).
- The laptop is under warranty with tamper seals you cannot break.
- The existing drive shows SMART errors or frequent I/O freezes; clone success becomes unpredictable (consider backup + clean install).
- You rely on BitLocker/device encryption but don't have the recovery key and cannot suspend encryption first.
For buyers comparing SSD M.2 NVMe กับ SATA ต่างกัน: NVMe typically offers much higher throughput and lower latency, but only matters if your laptop supports it and your workload benefits (large file transfers, heavy multitasking). For basic office work, a good SATA SSD still feels "night and day" versus HDD.
Verifying laptop compatibility and connector limitations
Before purchasing, confirm the exact connector, supported protocol, and physical length. Many confusion cases come from "M.2" being a form factor, not a guarantee of NVMe support.
- Check the service manual/spec sheet: look for "M.2 PCIe/NVMe" vs "M.2 SATA".
- Inspect the slot and keying: M-key is typical for NVMe; B-key/B+M often indicates SATA (but not always-verify specs).
- Confirm M.2 length: common sizes are 2242/2260/2280 (the screw post position must match).
- Confirm boot support: some older systems can't boot from NVMe even if they can see it as a secondary drive.
- Check for a second bay: dual-drive setups simplify cloning (old and new installed simultaneously).
What you'll need (typical):
- Precision screwdriver set (often Phillips #0/#00; sometimes Torx)
- Plastic pry tool/spudger
- ESD precautions (at least work on a non-carpeted surface; discharge static)
- USB-to-SATA adapter or M.2 NVMe USB enclosure (matching your new drive type) for cloning
- Windows recovery USB (recommended even if cloning)
Pre-upgrade preparation: backups, firmware, and tools checklist
Mini prep checklist (do these before you open the laptop):
- Confirm the slot type and size (2.5" SATA vs M.2 SATA vs M.2 NVMe) and buy the matching SSD.
- Make a verified backup of important data (at least your user profile and key documents).
- Prepare a Windows recovery or installer USB, and ensure you can sign in (Microsoft account / local admin).
- If using BitLocker/device encryption, suspend it and save the recovery key.
- Have the correct USB enclosure/adapter ready if you plan to clone.
| Preparation item | What to prepare | Why it matters | Typical time |
|---|---|---|---|
| Tools | Precision screwdrivers, pry tool, small tray for screws | Avoid stripped screws and broken clips | 10-20 min |
| Recovery | Windows installer/recovery USB | Fallback if clone fails or boot breaks | 15-30 min |
| Backup | External drive or cloud backup + quick restore test | Prevents data loss from cloning or hardware issues | Varies |
| Firmware/settings | BIOS/UEFI access keys noted; BitLocker suspended if used | Reduces boot and encryption lockouts | 5-10 min |
| Cloning path | Correct USB enclosure (SATA vs NVMe) + cloning app | Wrong enclosure is a common blocker | 10-15 min |
-
Record your current storage layout and free space
In Windows, open Disk Management and note disk size, partitions (EFI/MSR/Windows/Recovery), and used space. Ensure the used space on the source disk fits on the target SSD if the new SSD is smaller.
-
Back up data and export keys
Back up user files and any critical app data. If encryption is enabled, save recovery keys and suspend encryption before cloning.
- BitLocker: Control Panel > BitLocker Drive Encryption > Suspend protection (then reboot once).
- Save the recovery key to a safe location you can access offline.
-
Update BIOS/UEFI and storage-related firmware (only if stable)
If your vendor provides a BIOS update that improves storage compatibility, apply it before the swap. Avoid beta firmware and don't update if you have power instability.
-
Prepare a recovery path
Create a Windows installer USB and confirm you can boot to it. Also note the BIOS/UEFI boot menu key (often F12/Esc/F9 depending on brand).
-
Choose your migration approach (clone vs reinstall)
Cloning preserves apps and settings; reinstalling is cleaner and avoids carrying issues forward. If you're comparing โปรแกรมโคลน SSD ฟรี, prioritize GPT/UEFI support and the ability to copy EFI and recovery partitions correctly.
Cloning your system: methods, software choices, and gotchas
Two common cloning workflows:
- External clone: put the new SSD in a USB enclosure, clone old->new, then swap drives.
- Internal clone (dual-slot): install the new SSD internally as a second drive, clone, then change boot order and optionally wipe the old drive.
Software selection notes (practical):
- Pick a tool that correctly clones EFI System Partition (ESP) and keeps GPT layout for UEFI systems.
- Avoid file-copy migration tools for OS drives; use disk/partition cloning.
- If your source disk has bad sectors, cloning may stall; back up files and consider a clean install instead.
- If you use a free tool, verify it supports your disk type (NVMe) and your partition scheme (GPT/UEFI).
Cloning procedure (generic):
- Connect the target SSD properly via the correct USB enclosure/adapter (NVMe enclosures are not interchangeable with SATA).
- Initialize nothing unless required; if Windows prompts to initialize the disk, cancel and let the cloning tool handle it.
- Clone disk-to-disk and include all required partitions (ESP/MSR/Windows/Recovery). Use "proportional" or "fit to target" resizing if the target is larger.
- Shut down fully after the clone completes (avoid Fast Startup issues).
Result verification checklist (before opening the laptop):
- Clone completed with no read errors reported by the tool.
- Target disk contains an EFI System Partition (for UEFI boot) and a Windows partition.
- Disk style matches your system mode: GPT for UEFI is typical on modern laptops.
- Used space on the target looks reasonable (not a tiny C: due to wrong resize settings).
- BitLocker is still suspended (or you have the recovery key ready).
- You have a bootable Windows installer USB as a fallback.
- If possible, perform a test boot: on dual-slot systems, set boot order to the new SSD and confirm Windows loads.
In Thailand, if you're weighing บริการโคลน SSD และติดตั้ง Windows โน้ตบุ๊ก vs DIY: service makes sense when you can't risk downtime, don't have the correct enclosure, or need help dealing with encryption/UEFI issues. DIY is reasonable if you can follow the verification checklist above.
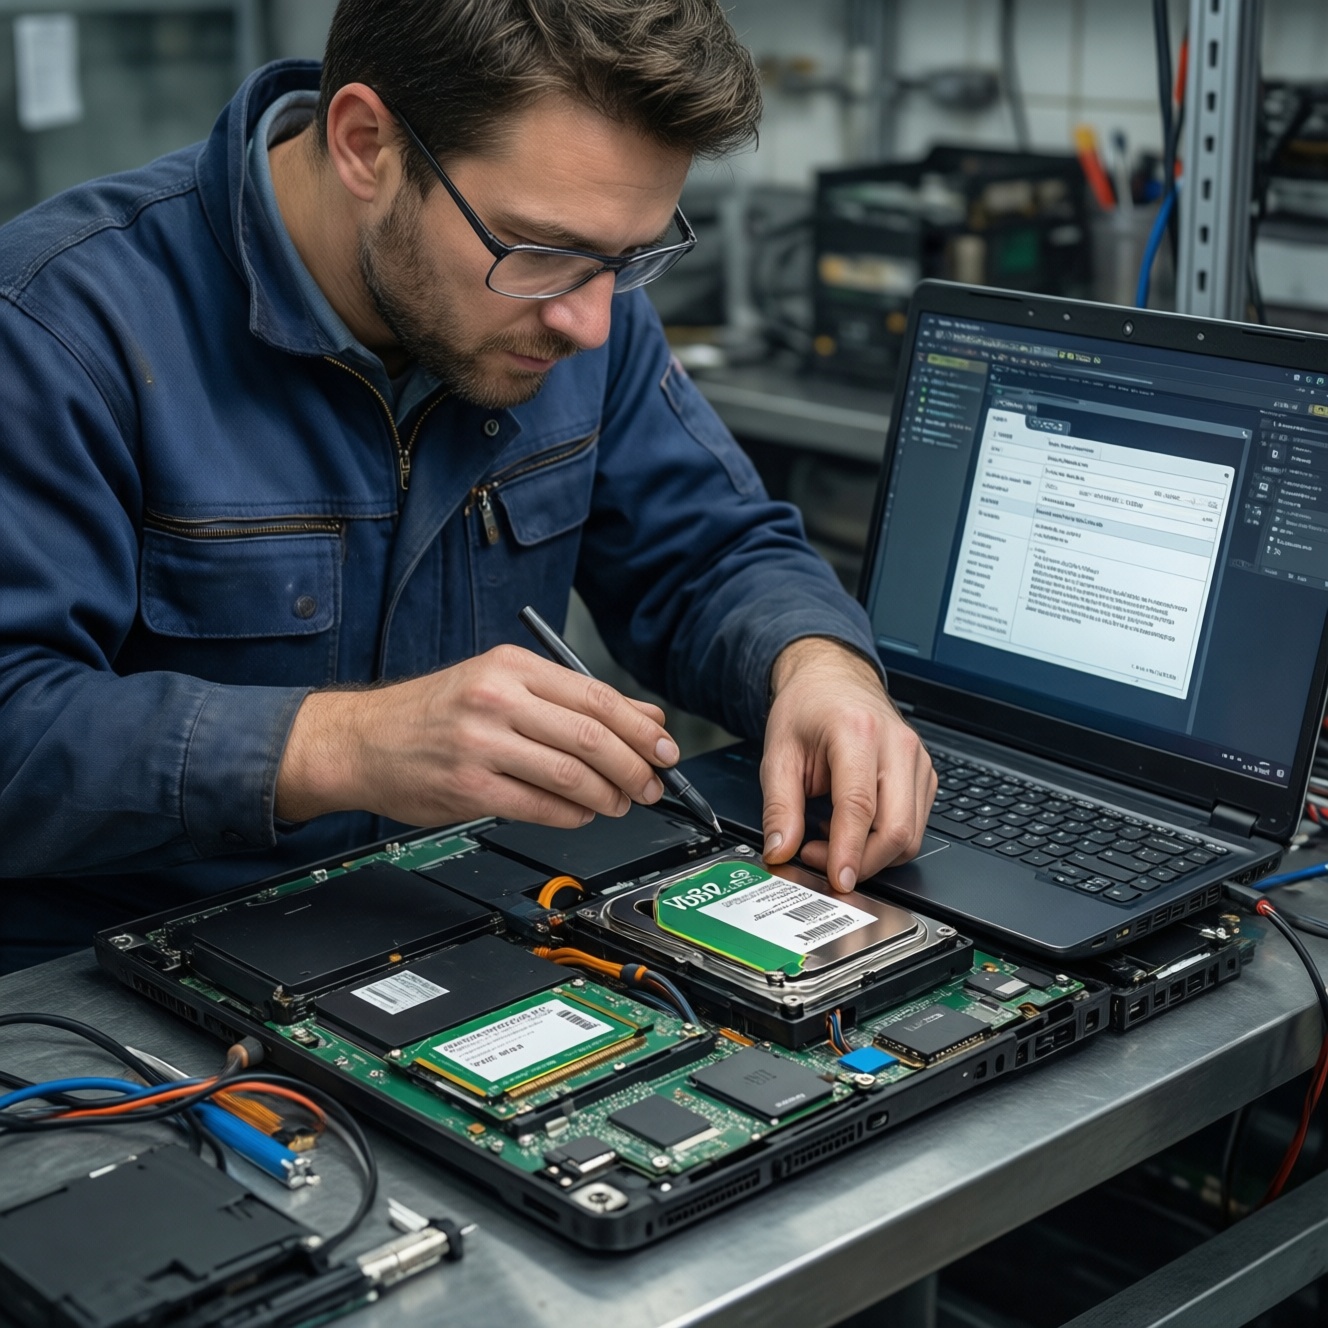
Physical swap: safe disassembly, drive installation, and resealing
- Power down correctly and unplug AC; if the laptop supports it, disable Fast Startup in Windows before the final shutdown.
- Discharge and isolate power; hold the power button for several seconds after unplugging to reduce residual charge.
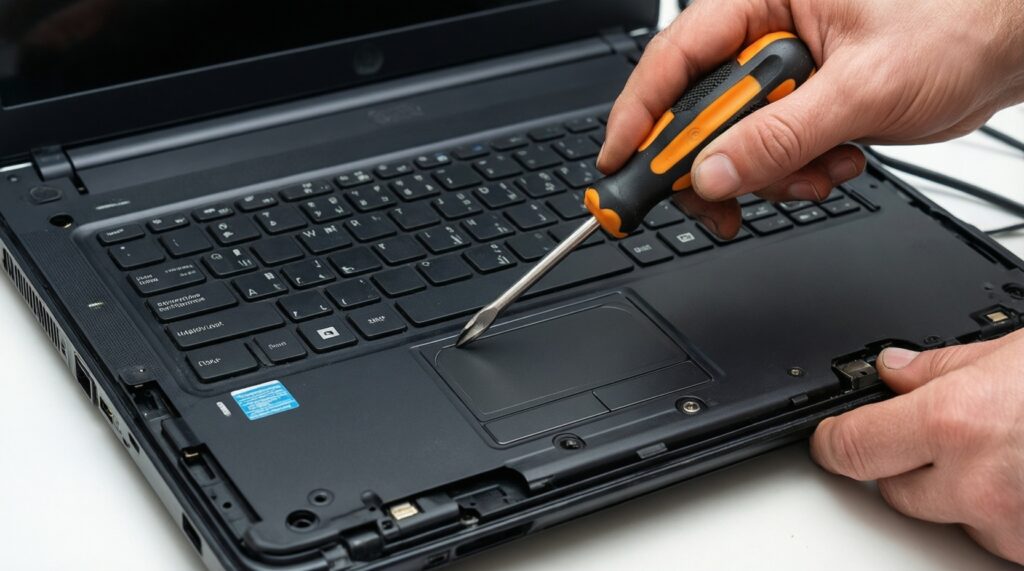
- Open the bottom cover carefully using the correct screwdriver and a plastic pry tool; keep track of screw lengths and positions.
- Disconnect the battery (if accessible) before touching internal components.
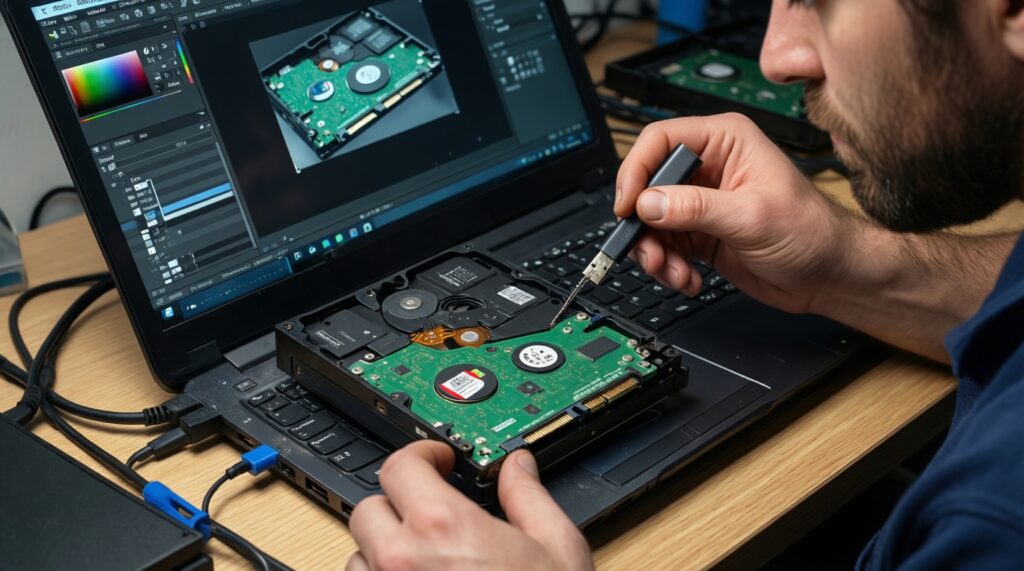
- Replace the drive:
- 2.5" SATA: remove the bracket/caddy, swap the drive, reattach gently.
- M.2: remove the retention screw, slide the SSD out at an angle, insert the new SSD fully, then secure the screw without overtightening.
- Reassemble ensuring all clips seat properly and no cables are pinched; reconnect the battery last.
Common mistakes to avoid:
- Using excessive force on the bottom cover and snapping clips.
- Mixing screw lengths and puncturing the chassis or damaging the motherboard area.
- Installing an M.2 SSD with the wrong key/protocol (a frequent cause of not detected).
- Overtightening the M.2 retention screw and cracking the PCB or stripping the standoff.
- Forgetting to reconnect the battery or a SATA ribbon cable fully.
- Touching components without discharging static, especially in dry, air-conditioned rooms.
- Leaving protective films/thermal pads misaligned on some OEM heatsinks.
For planning cost, เปลี่ยน SSD โน้ตบุ๊ก ราคา varies mainly by SSD capacity, whether you need an enclosure/adapter for cloning, and whether you pay for installation. Budget extra for the correct enclosure if you're moving to NVMe.
Post-upgrade setup: BIOS/UEFI settings, alignment, and performance tweaks
After first power-on, enter BIOS/UEFI, confirm the new SSD is detected, and set it as the first boot device if needed. Then verify Windows boot mode and storage settings.
- BIOS/UEFI checks: confirm boot order; keep UEFI enabled for GPT installs; avoid switching storage mode (AHCI/RAID) unless you know your current configuration.
- Verify TRIM in Windows (Admin CMD):
fsutil behavior query DisableDeleteNotify. A result of0indicates TRIM is enabled. - Confirm partition alignment (PowerShell):
Get-Partition | Select DiskNumber,PartitionNumber,Offset. Offsets should be aligned (typically multiples of 4096); misalignment is rare with modern tools but worth checking after unusual migrations.
Alternatives you may choose instead (when appropriate):
- Clean Windows install if the old OS is unstable, heavily bloated, or the clone fails repeatedly.
- Fresh install + restore files only if you want a clean base but must preserve documents and game libraries.
- Keep the old drive as secondary storage on dual-bay laptops after confirming stable boot from the new SSD; then wipe the old OS partition safely.
- Professional migration service if you can't risk BitLocker lockouts, need guaranteed same-day turnaround, or lack tools (often the reason people choose บริการโคลน SSD และติดตั้ง Windows โน้ตบุ๊ก).
Typical post-upgrade issues and quick fixes
Why does BIOS/UEFI not detect the new SSD?
Recheck form factor and protocol (M.2 SATA vs NVMe), reseat the drive, and confirm the standoff position matches the SSD length. Update BIOS/UEFI if your vendor notes storage compatibility fixes.
What should you do if Windows shows no boot device after cloning?
Set the new SSD first in the boot order and ensure you cloned the EFI System Partition. If needed, boot from Windows installer USB and run Startup Repair.
How do you fix a cloned C: drive that is smaller than expected?
Open Disk Management and extend the Windows partition into unallocated space. If the unallocated space is not adjacent, use a partition tool or re-clone with correct resizing options.
Why does BitLocker ask for a recovery key after the upgrade?
Enter the recovery key, then suspend and re-enable BitLocker to re-seal TPM measurements. For future swaps, suspend BitLocker before cloning and hardware changes.
How can you reduce NVMe heat and throttling in a thin laptop?
Ensure any heatsink/thermal pad is installed correctly and the bottom cover is seated. Consider a lower-power NVMe model if your laptop has poor airflow.
What if performance feels inconsistent after SSD migration?
Confirm TRIM is enabled and that you're not booting from the old drive by mistake. Update chipset/storage drivers from the laptop vendor if Device Manager shows generic or missing components.