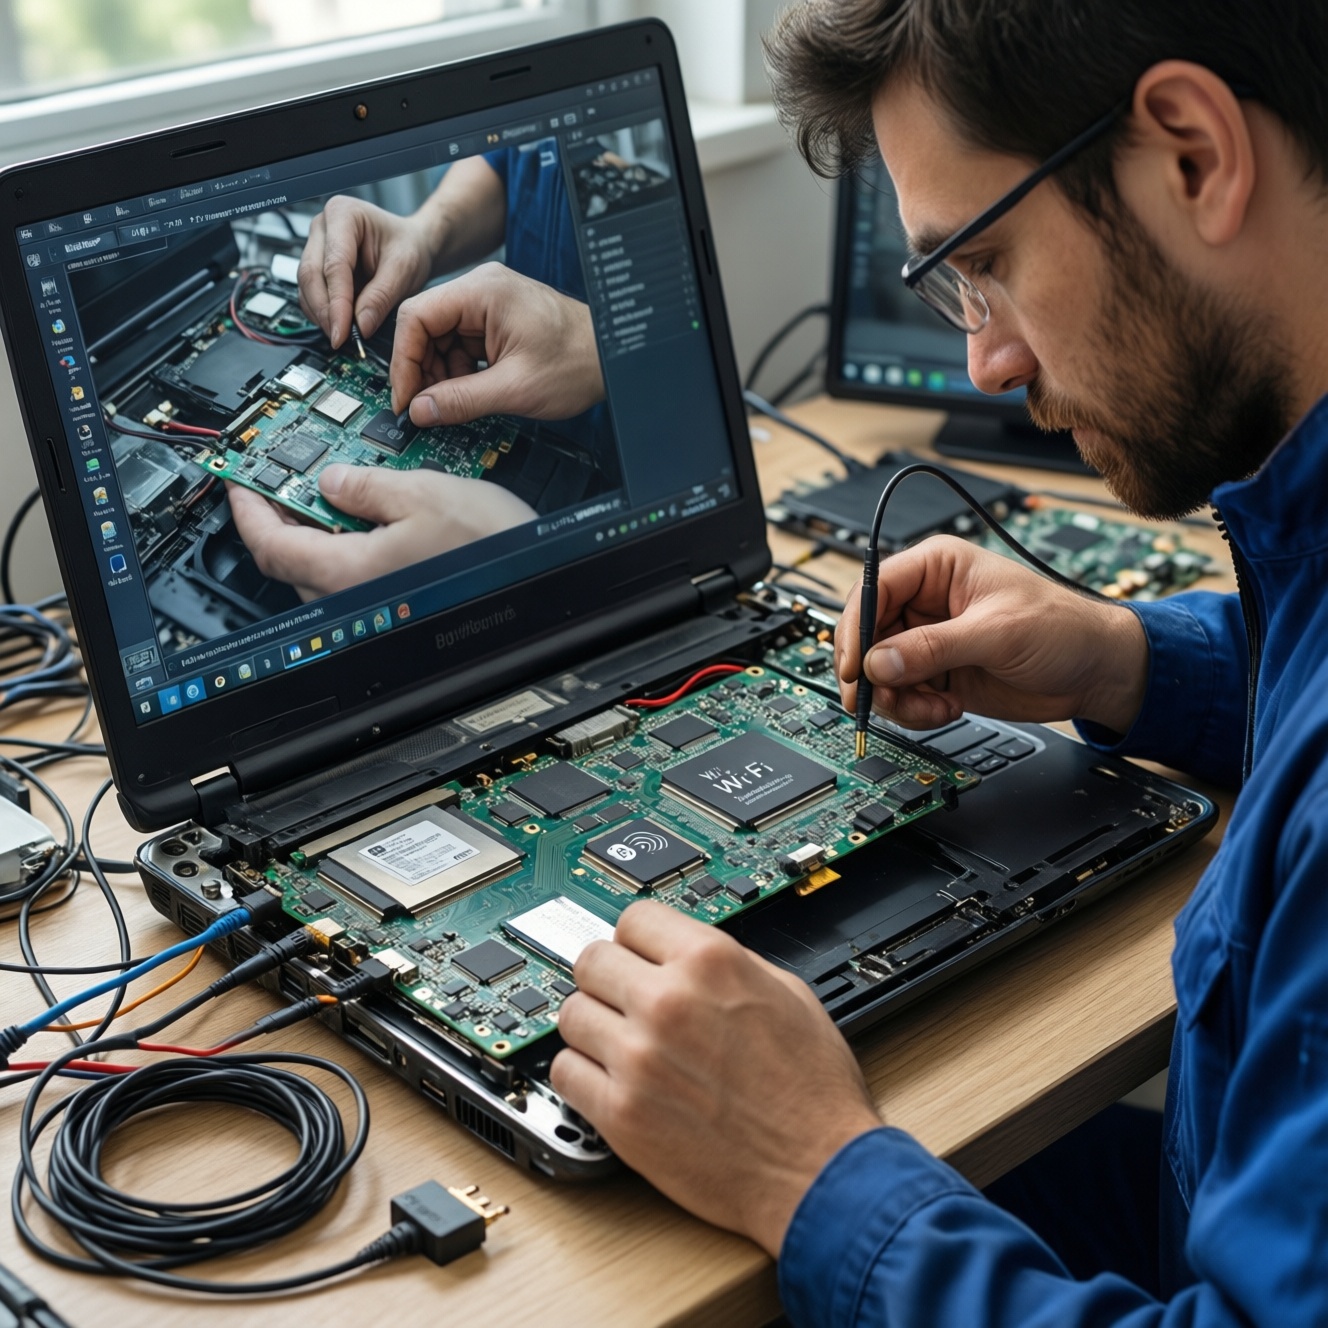
Installing a custom ROM usually requires unlocking the bootloader, installing a custom recovery (or using fastboot), then flashing the ROM and any required add-ons. The safe approach is to confirm your exact device variant, back up everything, understand warranty and security trade-offs, and prepare a rollback plan before changing anything on your phone.
Core preparations before flashing a custom ROM
- Identify the exact model/variant (region, chipset, codename) and verify ROM compatibility.
- Back up data with at least one offline copy and record critical accounts/2FA recovery methods.
- Install platform tools (ADB/Fastboot), correct USB drivers, and confirm stable USB connection.
- Download ROM, firmware, and optional packages, then verify file integrity before flashing.
- Plan a recovery path (stock ROM package, factory images, and known working boot/recovery).
How bootloader locking works and manufacturer policies
A bootloader enforces what can boot on your device. Unlocking it typically allows unsigned images (custom recovery, kernels, ROMs) but can trigger a full data wipe, change security state, and affect some protected services.
- Good fit: you want longer updates, debloat, privacy features, root experimentation, or custom kernels-and you can troubleshoot boot loops.
- Not recommended: you rely on strict enterprise security, banking apps that must pass device integrity checks, or you cannot afford downtime.
- Policy reality: OEMs differ. Some provide official unlock flows; others restrict unlocking or require waiting/approval. Samsung devices often behave differently due to Knox and model-specific limitations.
If you are considering paid help in Thailand, you may see searches like บริการปลดล็อกบูตโหลดเดอร์ มือถือ ราคา or ร้านลง Custom ROM ให้ มือถือ ใกล้ฉัน. Use them carefully: ask what exact steps they will perform, whether you keep your data, and what rollback support you get if the device fails to boot.
Device readiness: backups, data preservation, and battery management
What you should have ready
- A computer: Windows/macOS/Linux with admin rights to install drivers/tools.
- ADB/Fastboot tools: platform-tools installed and accessible in PATH.
- Cables and ports: reliable USB cable, avoid flaky hubs; prefer a direct port.
- Unlocked access: your phone PIN/password, Google account credentials, OEM account where required.
- ROM packages: the ROM zip/image, and any required firmware or vendor packages for your exact build.
Backups that actually help during a bad flash
- Off-device media backup: photos/videos/documents copied to PC or external drive.
- Cloud backup: useful for app data sync, but don't rely on it as your only copy.
- App/2FA recovery: export authenticator tokens or recovery codes where possible.
- Stock restore package: official firmware bundle or factory image for your region/variant.
Battery and stability rules
- Charge to a comfortable level and keep the phone stable; do not flash during low power or overheating.
- Disable battery optimization for any OEM unlock tools used on the phone.
- Pause OS updates on the phone and avoid switching USB modes mid-process.
Step‑by‑step bootloader unlocking for major OEMs
Risks and limitations to accept before you start
- Unlocking commonly triggers a full data wipe and resets device encryption keys.
- Some devices permanently record an unlock state (may impact warranty handling and resale value).
- Device integrity checks can change; some apps may refuse to run or require extra configuration.
- Wrong images for your variant can lead to a boot loop or no-boot state requiring factory restore.
- Carrier-locked or region-specific variants may block unlocking even if similar models can be unlocked.
-
Confirm the exact device variant and unlock possibility
Check model number, codename, and chipset. Search for the device's official unlocking method and confirm whether your variant supports unlocking (especially carrier editions).
- If you are specifically looking for วิธีปลดล็อกบูตโหลดเดอร์ Xiaomi/Samsung/OPPO/Vivo, treat each brand separately: the steps and approval requirements differ by OEM and model line.
-
Enable Developer Options and OEM unlocking
Enable Developer Options, then turn on OEM unlocking (if present) and USB debugging. If OEM unlocking is missing or greyed out, stop and resolve that first rather than forcing the process.
-
Install ADB/Fastboot and device drivers
Install platform tools on your computer and the correct USB drivers (commonly needed on Windows). Verify the phone is detected by ADB before attempting any unlock command.
- Use a known-good cable and keep a single stable USB connection until the step completes.
-
Boot into bootloader/fastboot (or OEM download mode)
Reboot to the bootloader interface using key combinations or via ADB reboot command. Some OEMs use a separate download mode; follow the vendor-specific instruction for your model.
-
Run the official unlock flow for your OEM
Use the manufacturer's supported path when available (for example, OEM unlock tool + account binding for certain brands). Avoid unofficial "one-click" unlock apps that don't clearly explain what they change.
- Xiaomi: typically requires account binding and an official unlock utility, then an unlock confirmation in fastboot.
- Samsung: many models don't use a standard fastboot unlock; limitations can depend on region/model. Research your exact model's supported approach.
- OPPO/Vivo: unlock availability varies; some models require OEM-approved method or may not support unlocking at all.
-
Accept the device wipe and complete first boot
After unlocking, allow the device to wipe and boot once into Android. Complete minimal setup, re-enable USB debugging if needed, and confirm the unlock state is correctly reflected in Developer Options or bootloader screen.
Installing a custom recovery: choosing and flashing TWRP or alternatives
Custom recovery is common for ZIP-based ROMs, but some devices use fastbootd or vendor-specific flashing tools instead. Choose the method that matches your ROM's official install instructions for your device.
When to choose which approach
- TWRP: useful when your device has a maintained build and you need ZIP flashing, backups, or advanced wipe options.
- OrangeFox or other recoveries: sometimes better maintained for specific devices; follow the ROM community's recommended recovery.
- Fastboot/fastbootd method: common for modern devices/ROMs that ship as images or require dynamic partition handling.
Post-flash verification checklist (recovery stage)
- Recovery boots reliably using the expected key combo (not replaced by stock recovery).
- Device storage can be mounted or decrypted (or you understand the required format step).
- You can transfer files via MTP/ADB sideload if needed.
- Correct partition handling is available for your device (A/B, dynamic partitions, fastbootd support if required).
- You have the stock boot/recovery image available to revert if the device won't boot.
- You can reboot to system and back to recovery without losing recovery (common issue on some devices if flashing is incomplete).
- Battery level is sufficient and the device remains stable (no random disconnects).
Safely flashing a custom ROM, GApps and firmware dependencies
Use the ROM's official install guide for your device and build. Many popular distributions are obtained through official project pages-people often search ดาวน์โหลด Custom ROM ยอดนิยม (LineageOS/Pixel Experience); download only from official sources to reduce tampering risk.
Common mistakes that cause boot loops or broken radios
- Flashing the wrong build for your variant: same device name can have different chipsets/regions.
- Skipping required firmware/vendor updates: ROM may depend on a minimum vendor/firmware base; mismatches can break camera, modem, or boot.
- Incorrect wipe/format step: some transitions require formatting data (encryption change); doing only a cache wipe can leave the system unbootable.
- Mixing incompatible add-ons: wrong GApps package, outdated Magisk modules, or kernel not built for your ROM version.
- Re-locking the bootloader too early: locking with non-stock images can hard-brick on some devices.
- Not accounting for A/B slots: flashing to the wrong slot or not switching slots when required.
- Disconnecting during flashing: interrupted writes can corrupt partitions and complicate recovery.
- Assuming all recoveries behave the same: TWRP/alternatives may need specific builds to properly handle dynamic partitions or decryption.
Post‑flash validation, restoring data and common recovery paths
Validate before you restore everything
- Confirm first boot completes and you can reboot at least once without issues.
- Test core functions: calls/SIM, Wi‑Fi, camera, GPS, Bluetooth, fingerprint/face unlock (if you use it).
- Check battery drain/thermal behavior after initial setup settles.
Rollback and recovery options (use when appropriate)
- Reboot to recovery and re-flash correctly: use this if you likely missed a wipe step, flashed the wrong GApps, or need to apply the correct firmware package.
- Flash stock firmware/factory image: best when modem/radio is broken, boot is unstable, or you need a clean baseline before trying again.
- Use fastboot/EDL or OEM restore utilities (device-dependent): for deeper failures where recovery won't load; only follow reputable device-specific guides.
- Professional service with a clear scope: if you can't access bootloader/recovery or suspect hardware/partition damage. In Thailand you'll see queries like ศูนย์ซ่อมมือถือ แก้เครื่องบูตไม่ขึ้นหลังลงรอม ราคา; ask whether they can restore stock firmware for your exact model and whether they preserve data (usually they cannot).
Practical safety notes and legality concerns
Will unlocking the bootloader erase my data?
Commonly yes. Plan for a full wipe and assume encryption keys will be reset, making old on-device data unrecoverable without a proper backup.
Is it legal to install a custom ROM in Thailand?
Generally, modifying your own device is allowed, but warranty terms and service policies can change after unlocking. Always use legitimate firmware/ROM sources and avoid distributing copyrighted images.
Can I re-lock the bootloader after installing a custom ROM?
Only do this if the ROM explicitly supports re-locking for your device and you understand the required signing state. Locking with non-stock images can prevent booting and may require full restore.
Why do some banking or streaming apps stop working after unlocking?
They may rely on device integrity checks that change when the bootloader is unlocked or the system is modified. Some users configure additional tools, but results vary by device and app policy.
What is the safest way to choose a ROM build?
Use official ROM pages and device-specific install instructions, matching the exact codename and required firmware baseline. Avoid re-packed files from random mirrors.
Should I pay a shop to do it for me?

If you use a service (for example, ร้านลง Custom ROM ให้ มือถือ ใกล้ฉัน), demand a written plan: backup expectations, exact ROM/recovery versions, and how they'll restore stock if something fails.